What is the Search Page Component in Content Hub?
The search page component in Sitecore Content Hub offers administrators granular control over how users search for content, allowing for the customization of fields, filters, and the visual presentation of the results. The component can be added to most pages, but it is particularly critical for the Assets Page, as it's the most common page for users to access approved assets in the DAM.
In this blog, we'll explore the search component's primary tabs through a step-by-step demo on configuring these tabs to sort assets on the Assets Page by Type.
How to Configure Search on the Assets Page
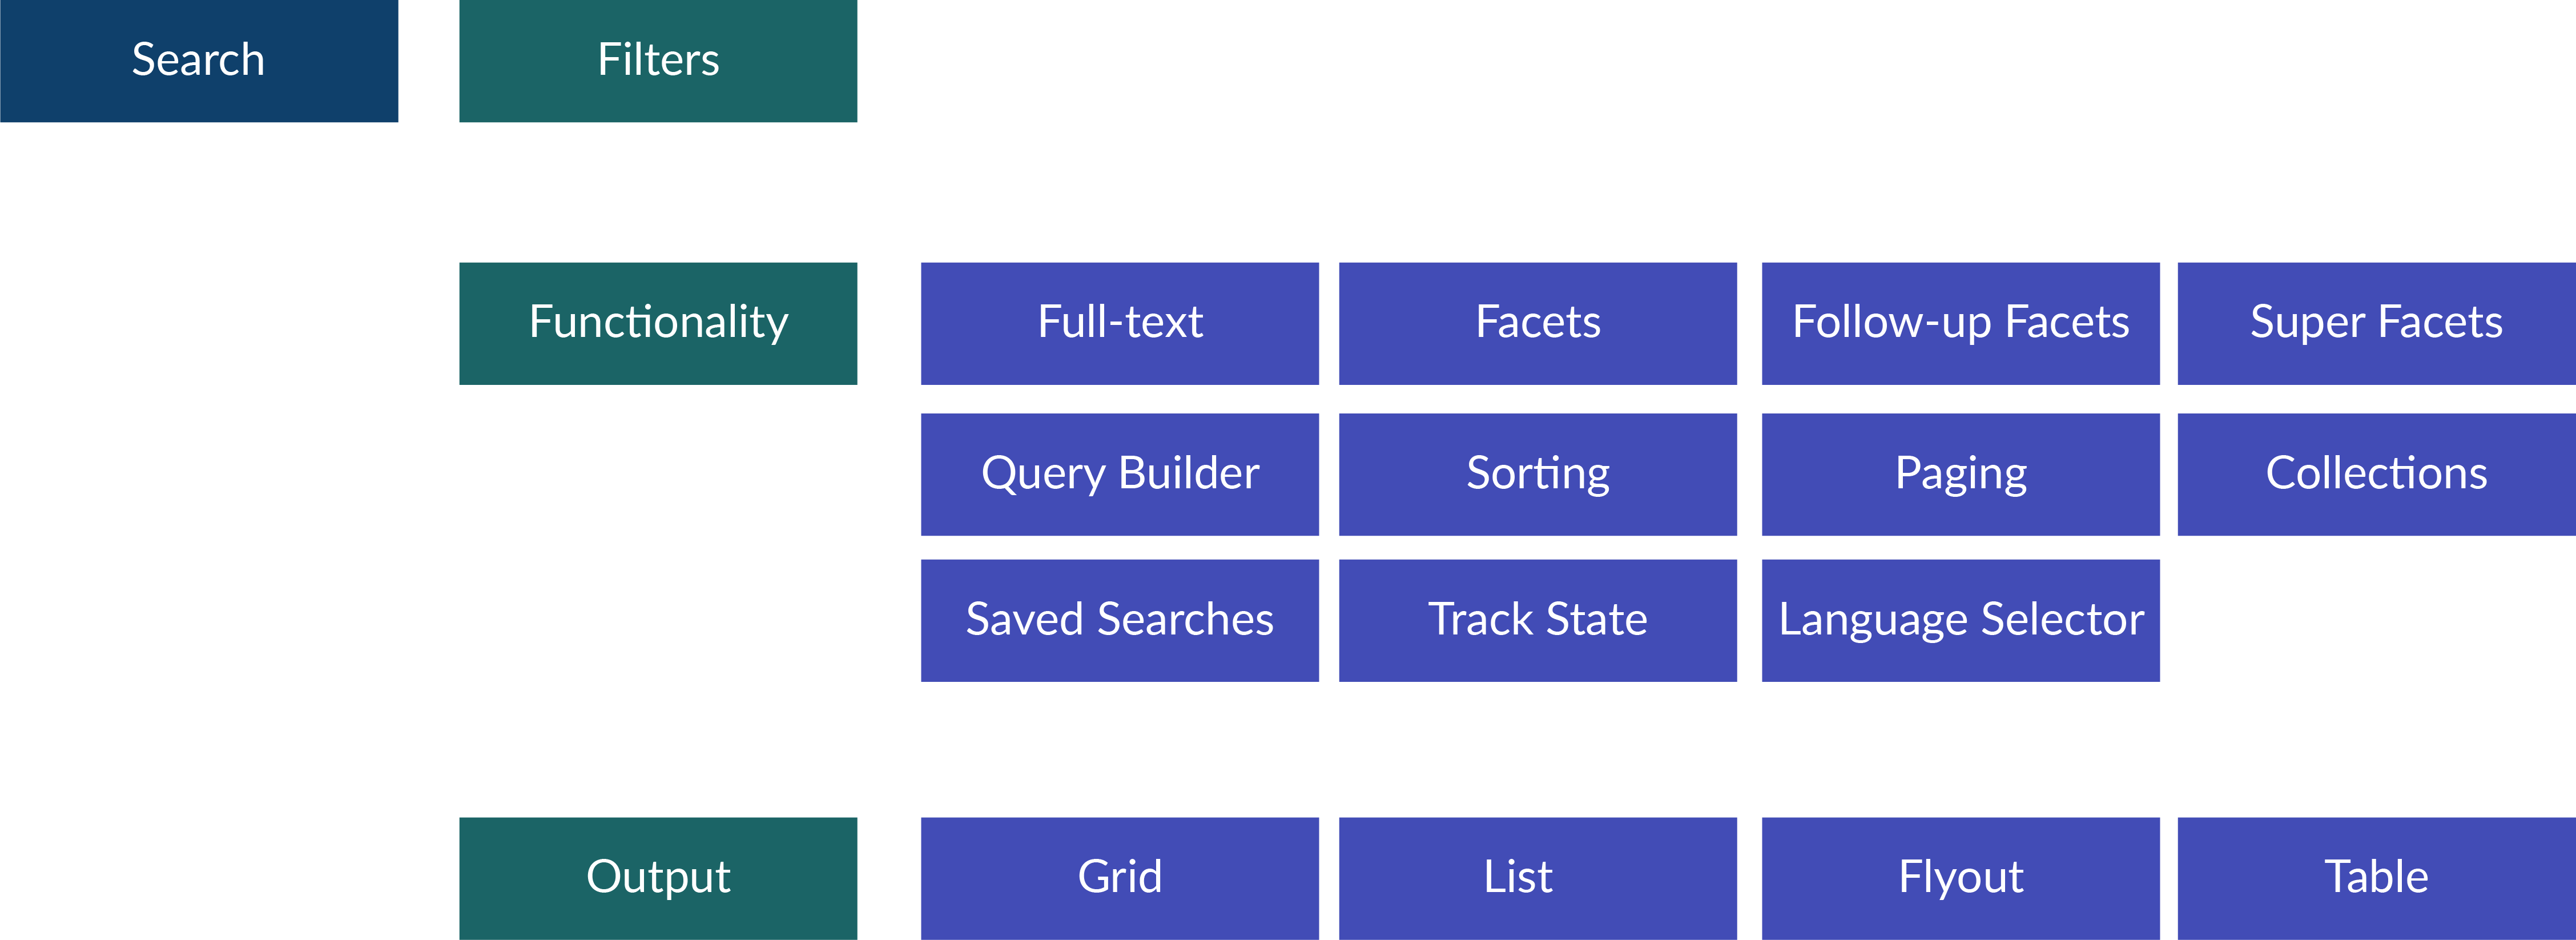
All search page components in Content Hub are optimized via three primary sections (they look like tabs from the administrator's view). By understanding how they all work together, admins can create a seamless user experience, ensuring users can find exactly what they need when they need it. These sections are:
- Filters to refine the search scope.
- Functionality to determine the operational aspects of search.
- Output to manage the presentation of the search results.
Here is an overview of the search administration function:
Step One: Navigate to the Search Component for the Assets Page
-
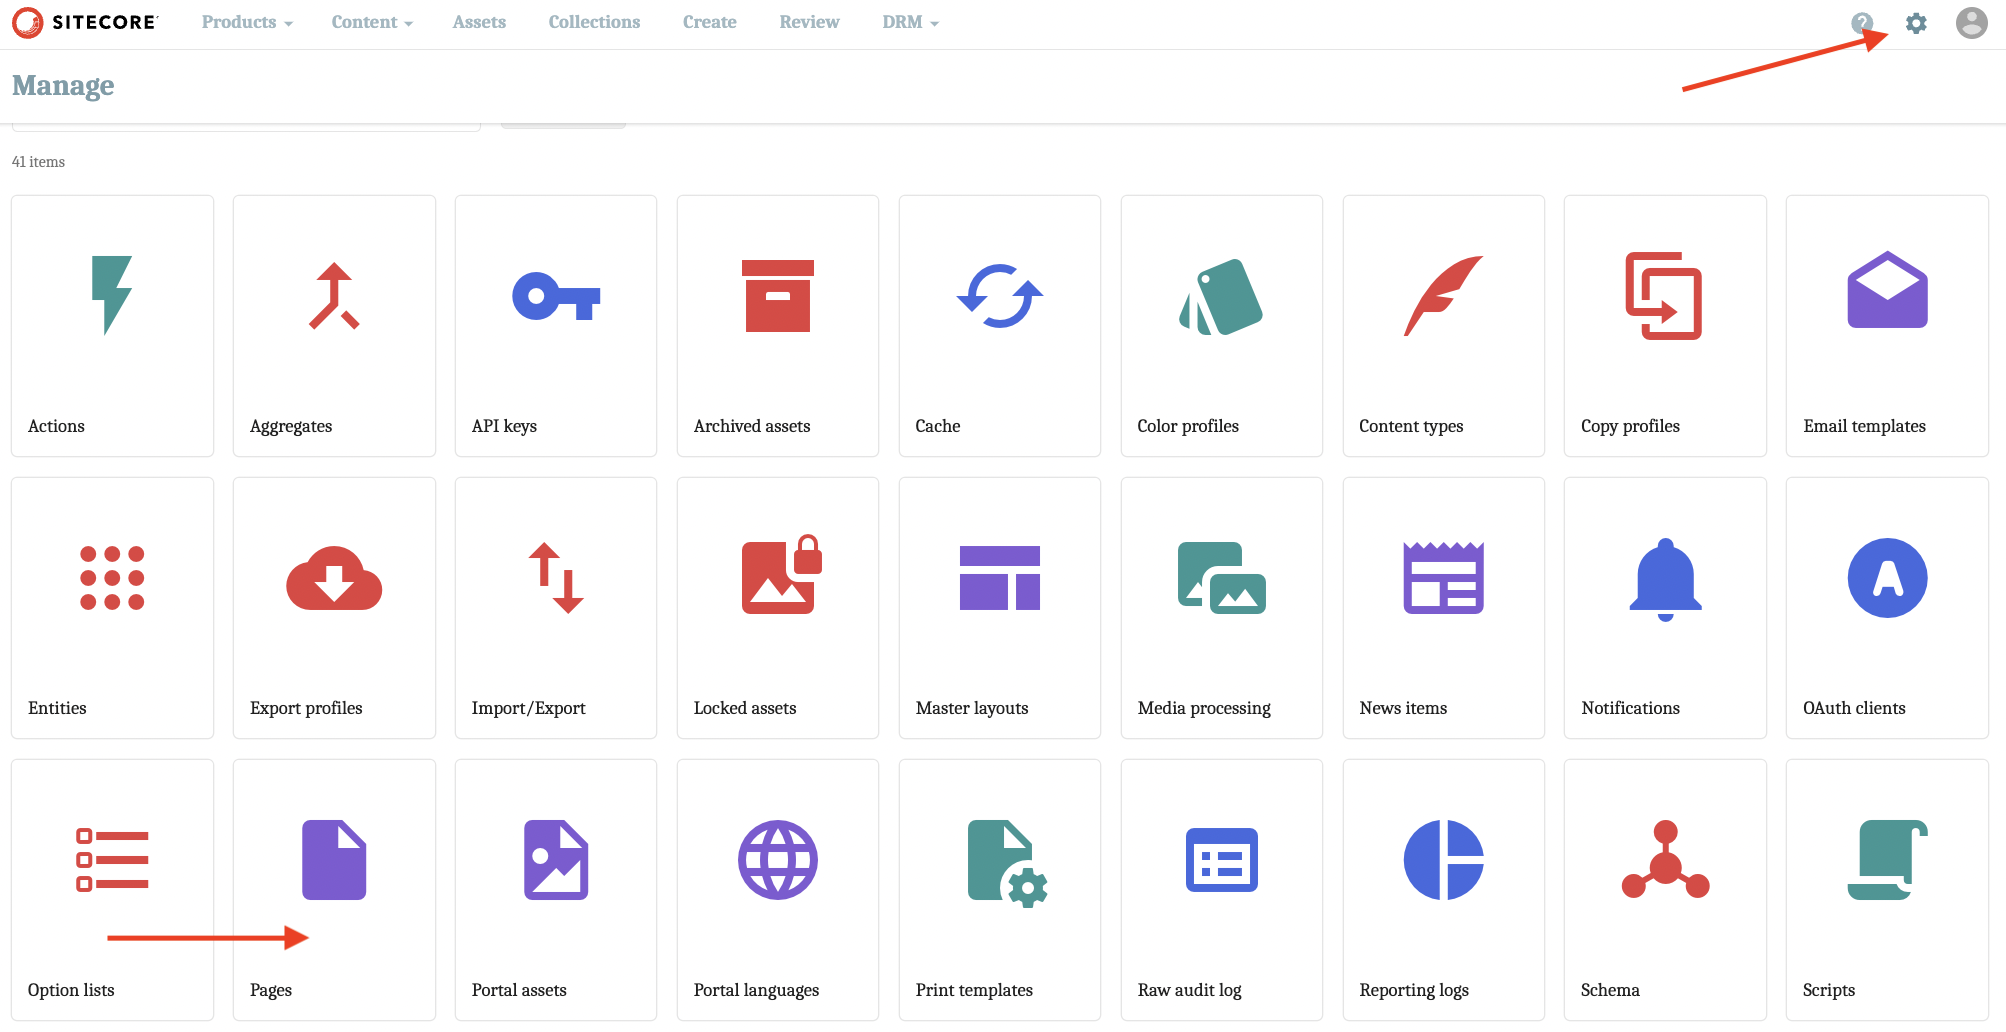
Click the Manage icon (cog) to get to the Manage page. Then, select Pages.
-
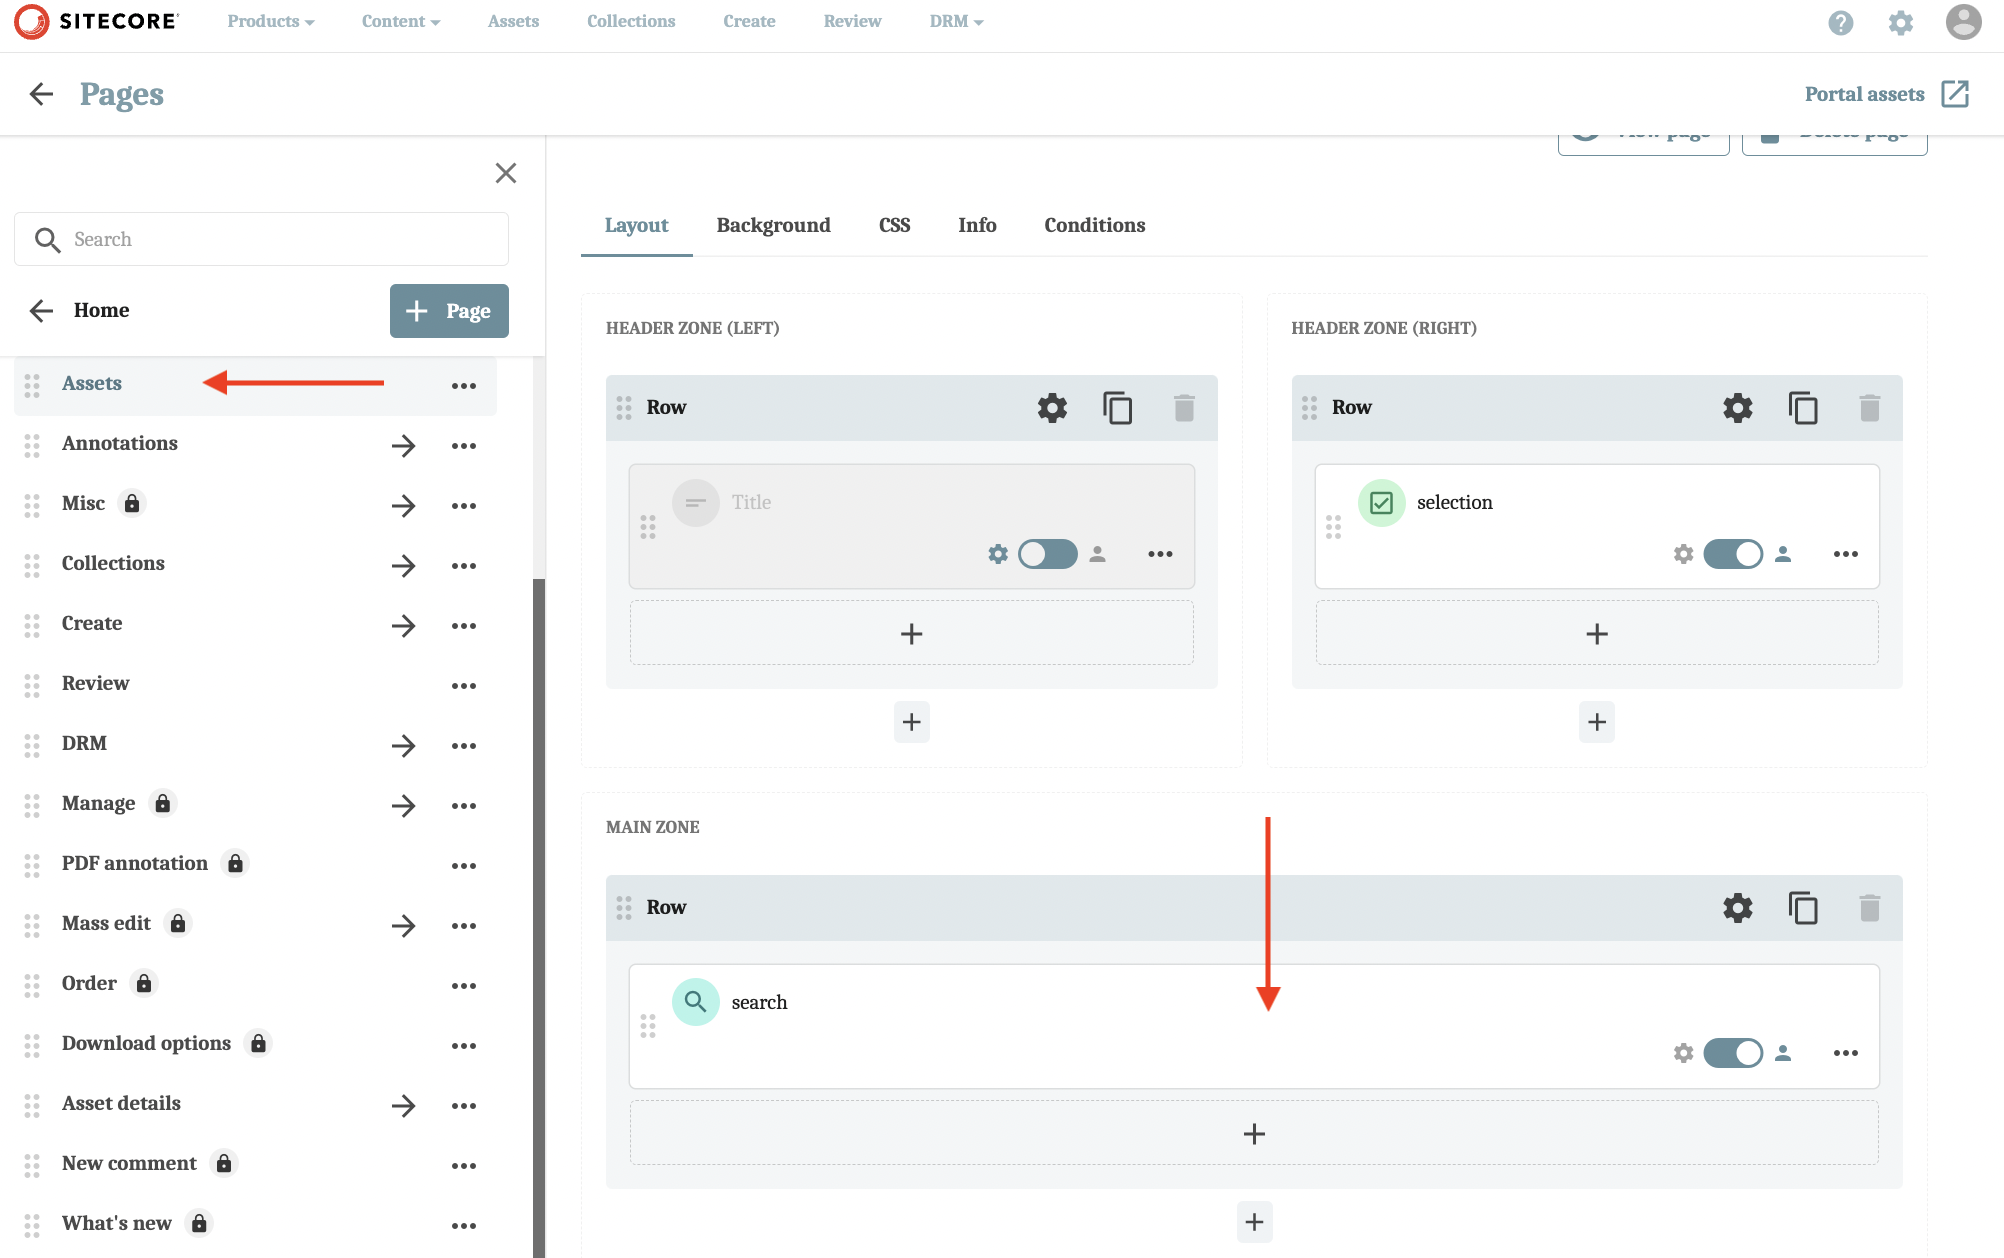
Select the Assets page from the sidebar on the left. Then, on the Layout tab of the Assets page, click the Search component under the Main Zone to open its details page.
Step Two: Optimizing the Filters Section
Filters allow you to categorize and sort content based on various attributes or metadata fields you've configured within your Content Hub instance. This could range from basic fields like 'Date of Publication' and 'Author' to specific custom fields tailored to your organization's unique content taxonomy. Filters can be simple or composite and set to definition, property, or relation.
Simple Filters
Simple filters isolate entities sharing common traits – such as assets of a particular asset type or lifecycle status – ensuring assets only show in results if they meet all defined criteria.
To add a simple filter:
-
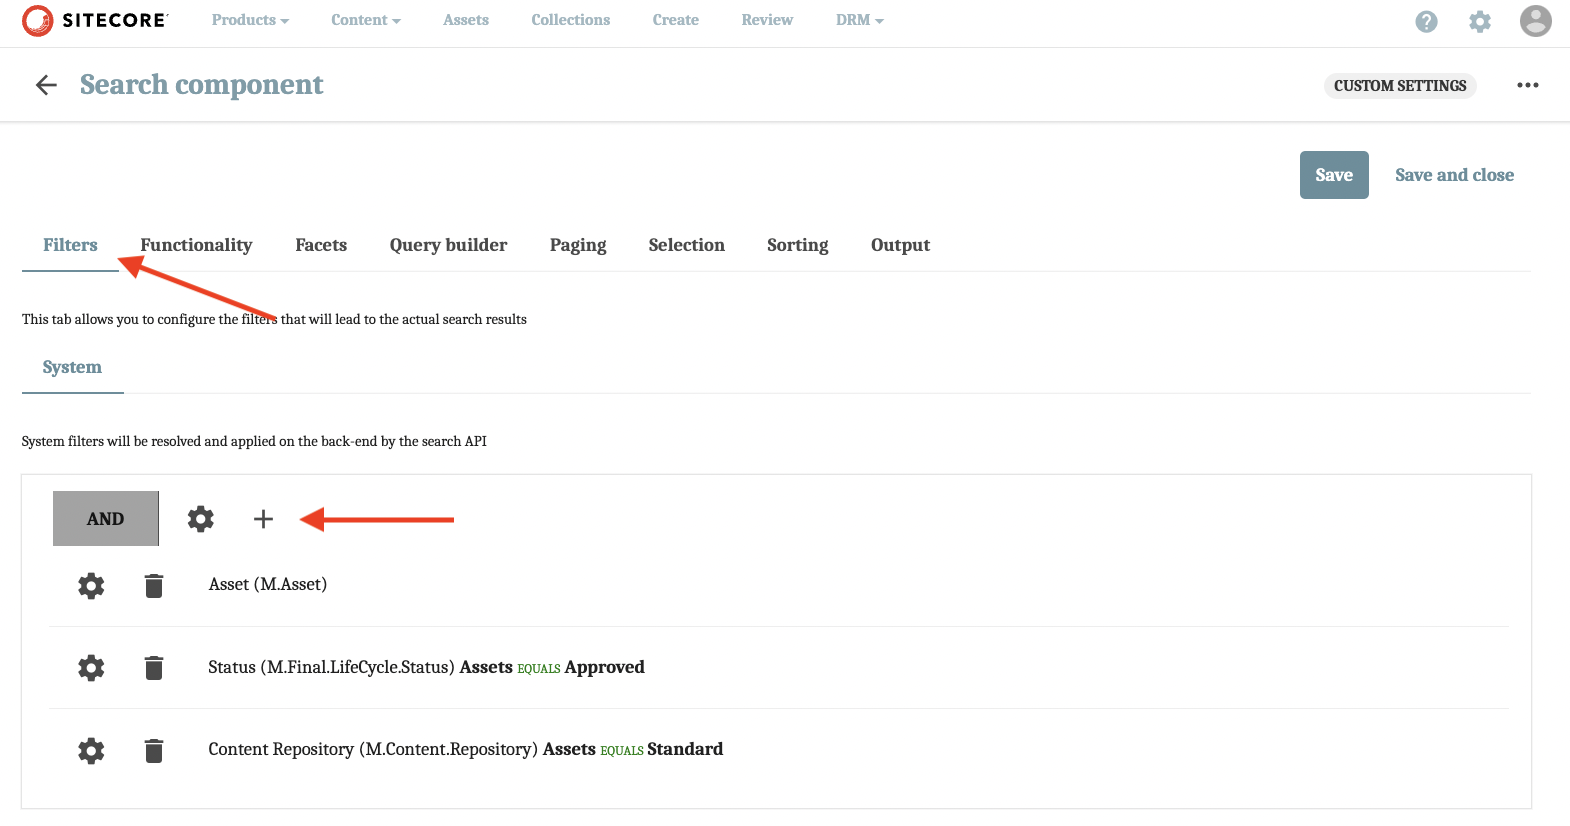
Click the Filters tab and then click the System tab (this should be the page you land on from the Assets management page).
-
Click the + sign to add a new filter.
-
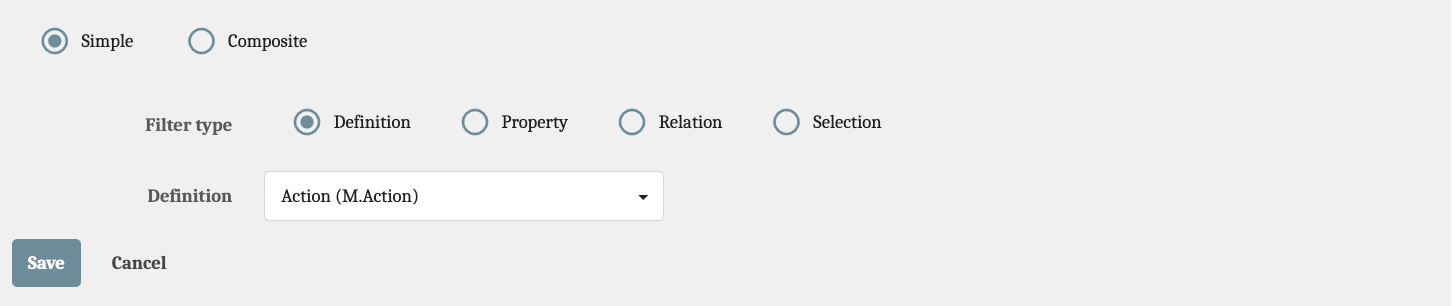
Select the Simple option and then choose one of the following Filter Types:
- Definition – Use this if you want the search to focus on a particular entity definition.
- Property – Ideal if you need the search to pinpoint a specific entity definition field and its value. This is generally for more precise searching.
- Relation – Only assets of a specified type with a relationship with a particular Entity will be shown when the Relation is selected.
- Selection – Selection filters based on a predefined entity definition selection pool.
For this example, we only want the Assets page to display l approved standard assets, so we’re going to set the following three simple filters:
- Once you've made all your configurations, don't forget to click Save.
| Filter Type | Definition | Field | Operator | Tags |
|---|---|---|---|---|
| Definition | Asset (M.Asset) | - | - | - |
| Relation | Status (M.Final.LifeCycle.Status) | Assets (FinalLifeCycleStatusToAsset) | equals | Approved |
| Relation | Content Repository (M.Content.Repository) | Assets (ContentRepositoryToAsset) | equals | Standard |
Composite (or Complex) Filters
We won’t create a composite filter in this example, but FYI: Composite filters facilitate advanced searches, allowing for the amalgamation of several simple filters using 'and/or' operators.
When you put simple filters inside a composite one, they work together, following the rule set by the composite filter's operator. You have two choices:
- AND operator: All the simple filters inside need to be true.
- OR operator: Only one of the simple filters inside needs to be true.
This way, users can easily and effectively create search conditions that best suit their needs while managing content in the DAM.
Step Two: Configuring the Functionality Section
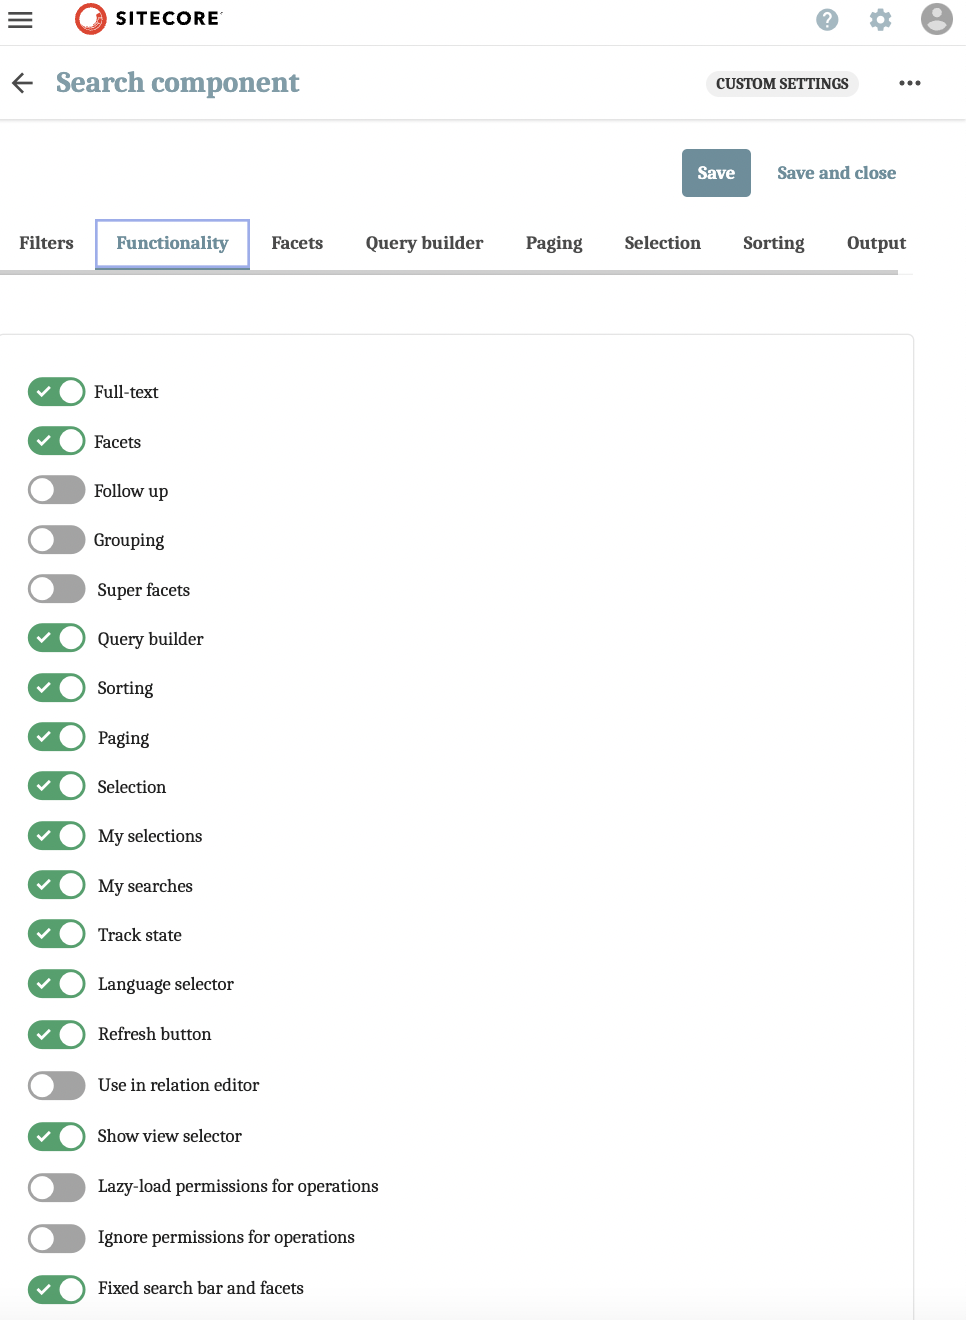
The Functionality section allows you to activate any of the following search features.
| Name | What It Does |
|---|---|
| Full-text | Lets you search using any text |
| Facets | Lets you use faceted search |
| Follow up | Adds follow-up facets |
| Grouping | Puts search results into categories |
| Super facets | Adds super facets |
| Query builder | Gives more search options |
| Sorting | Sets up how to sort. Can't use if 'Manual relation sort' is on. |
| Manual relation sort | Lets you sort results yourself. Needs a fixed filter and is only for lists. |
| Paging | Puts search results on different pages. Can't use if 'Manual relation sort' is on. |
| Selection | Adds a selection part |
| My selections | Lets you make personal collections |
| My searches | Lets you save searches |
| Track state | Keeps filters set even when you leave the page and come back |
| Language selector | Adds a language selector |
| Refresh button | Adds a button to refresh results |
| Use in relation editor | Sets the search for use in the relation editor where no display is needed |
| Show view selector | Lets you switch between displays. Needs at least two displays set |
| Lazy-load permissions | Loads needed permissions slowly. Can't use with 'Ignore permissions'. |
| Ignore permissions | Skips security checks. Can't use with 'Lazy-load permissions'. |
| Fixed search bar | Lets you scroll through facets independently. Good for long lists. |
To enable a feature, toggle it on. Once enabled, you’ll notice that a new tab/section will appear (i.e., Facets, Query builder, Paging, Selection) for some features. We’ll go over these next.
-
Toggle on the same features as shown in the screenshot below:
- Click Save.
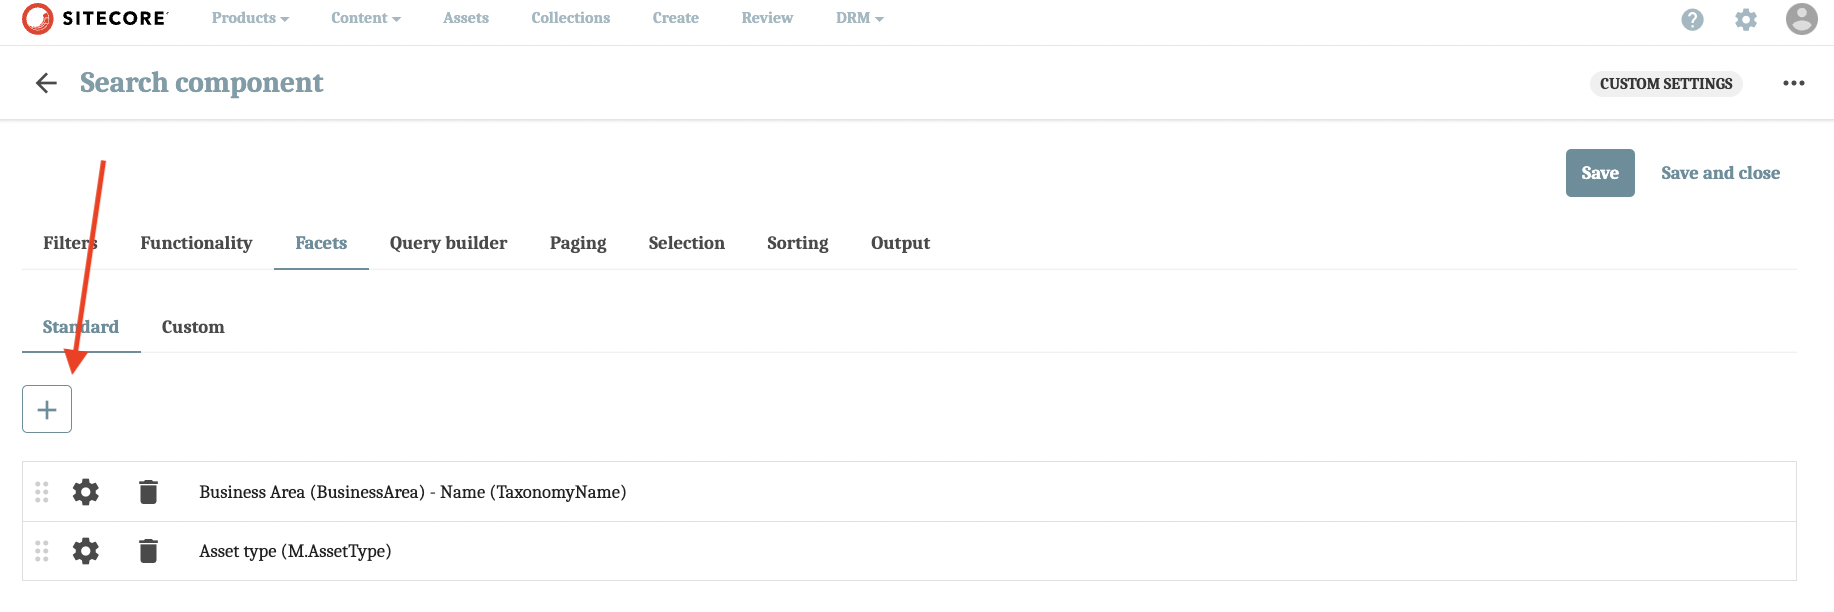
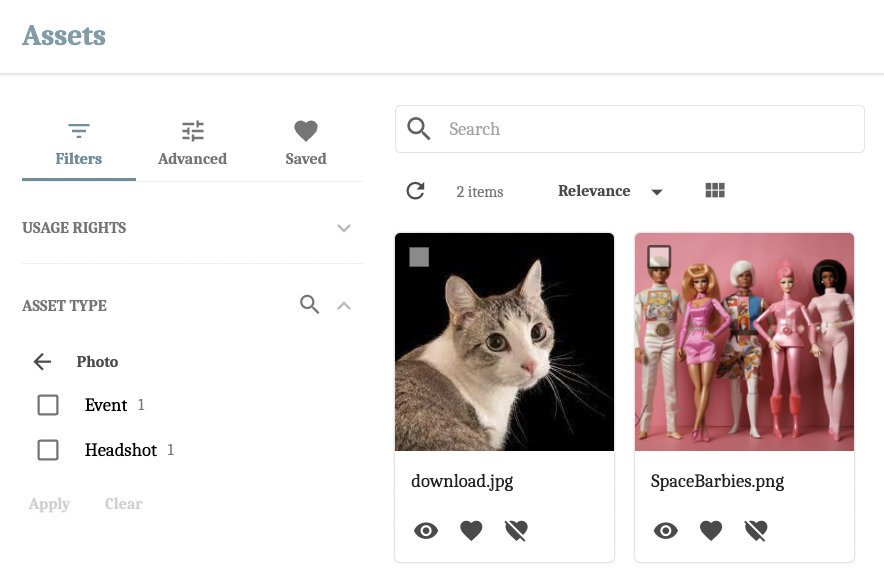
The Facets Section
The Facets section only appears when it's toggled on and will allow us to sort our assets by Fields or Taxonomy items (i.e., facets). For example, to sort by Asset type:
-
Add a facet by clicking the + button.
-
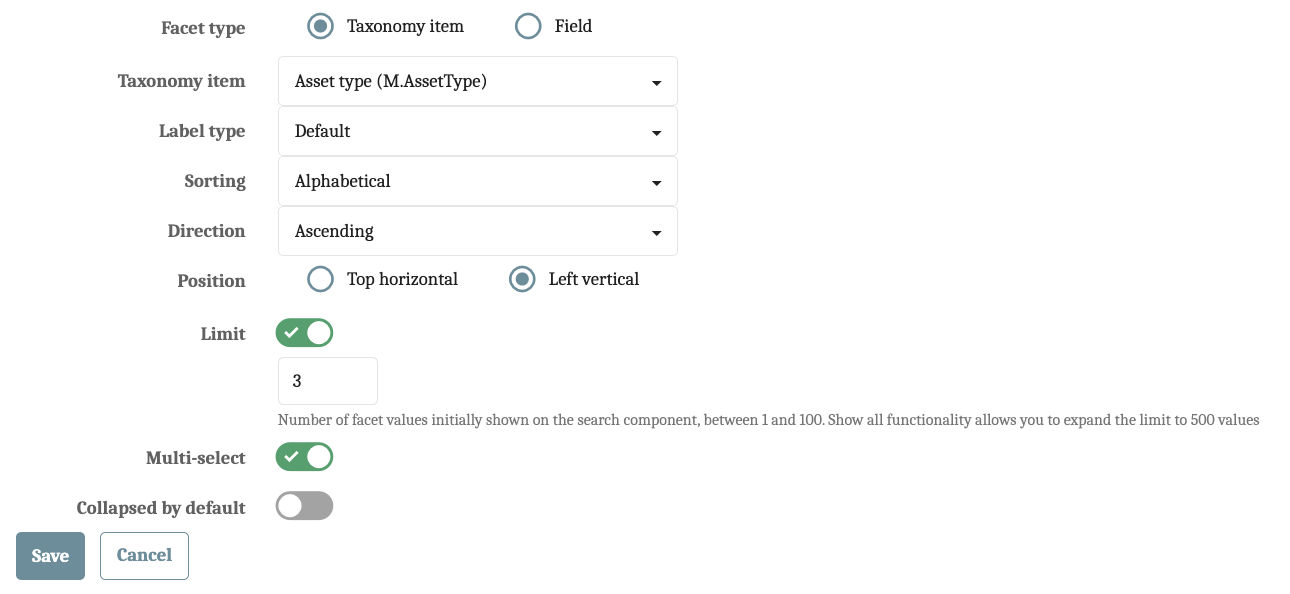
Asset type (M.AssetType) is a taxonomy item, so select that as its Facet type. Next, select Asset type (M.AssetType) from the Taxonomy item dropdown. (Note: You will need to have Asset type set up as a taxonomy for results to render.)
- Keep the Label type as Default.
- Position refers to the actual location of the search. Some prefer Top horizontal for a wider asset screen, but I like Left vertical best. Choose what works for you.
- Limit refers to the number of facet values shown on the component. For the most part, you won't need to limit facet values, except in instances where there are an overwhelming amount of values. For example, auto-tags in Content Hub generate an unseemly amount (IMO), so I often restrict the number of values shown to 10 or so. I selected three for this demo as I only have a few Asset types available in my dev instance.
- Multi-select allows users to select more than one facet value. For example, if they are looking for a video or a photo, they can select both values when searching for assets. We're going to toggle this on.
- If Collapsed by default is toggled on, the facet type will be collapsed, and users will have to press the Expand button to see facet values. I am keeping this toggled off only for the purposes of this example.
If everything has been configured correctly, this is how the search should look something like this on the Assets page:
The Query Builder
The Query Builder section controls the Advanced search. You can organize advanced search by fields, like 'File Name' or 'Created by date,' or dynamic values, like 'Last X Days.'
For our purposes, we want users to be able to search by file name using more complex filters, like 'is not empty' or 'starts with'.
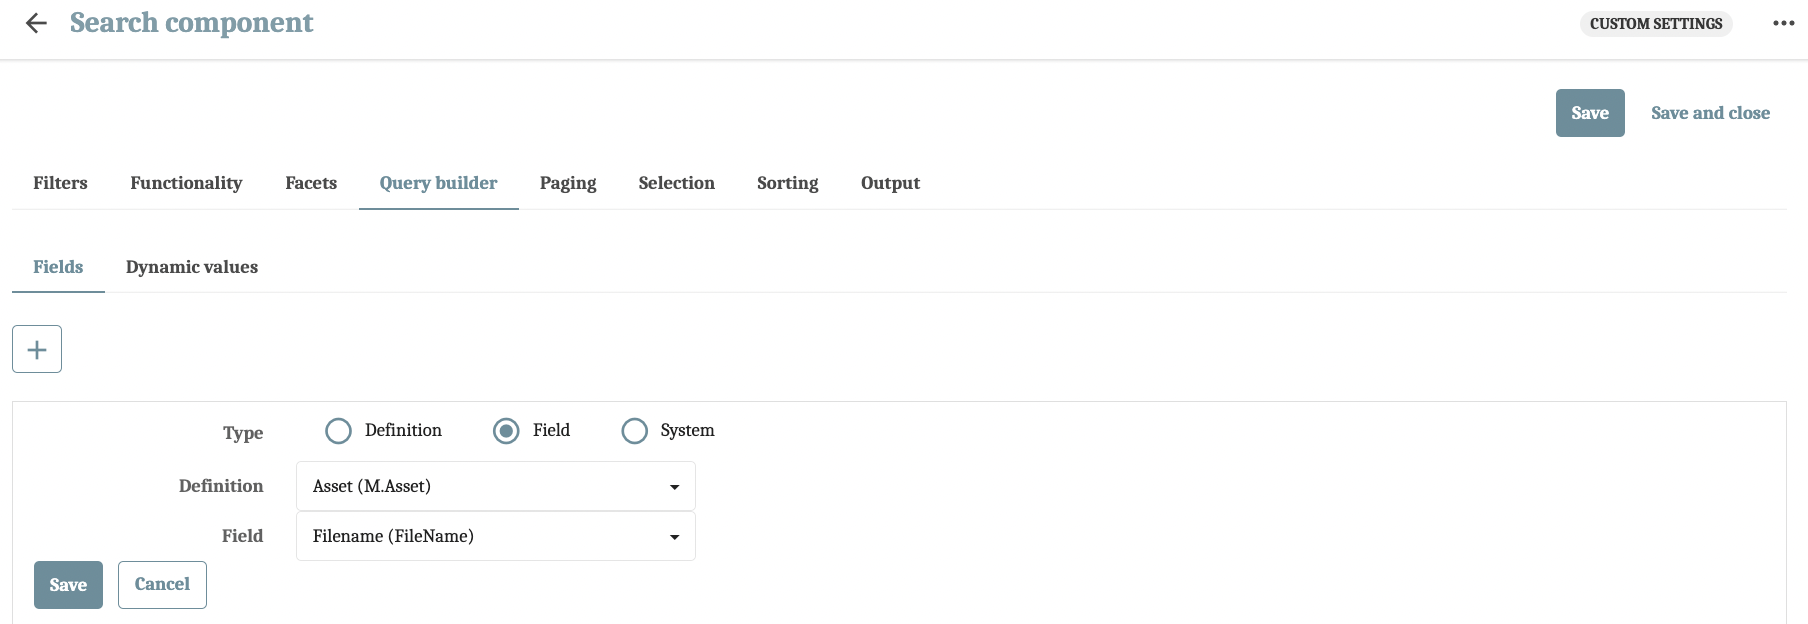
- Navigate to the Query builder tab and click the + symbol under the Fields sub-tab to add a new query.
-
Fill in the following details (i.e., Type = Field, Definition = Asset (M.Asset), and Field = FieldName), then click Save.
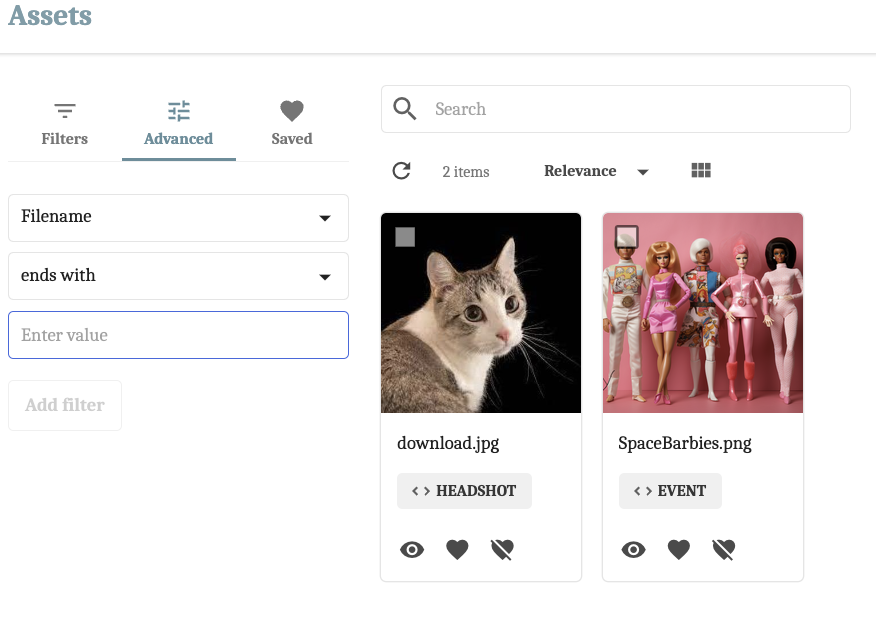
Now, users can search for specific words in the file name:
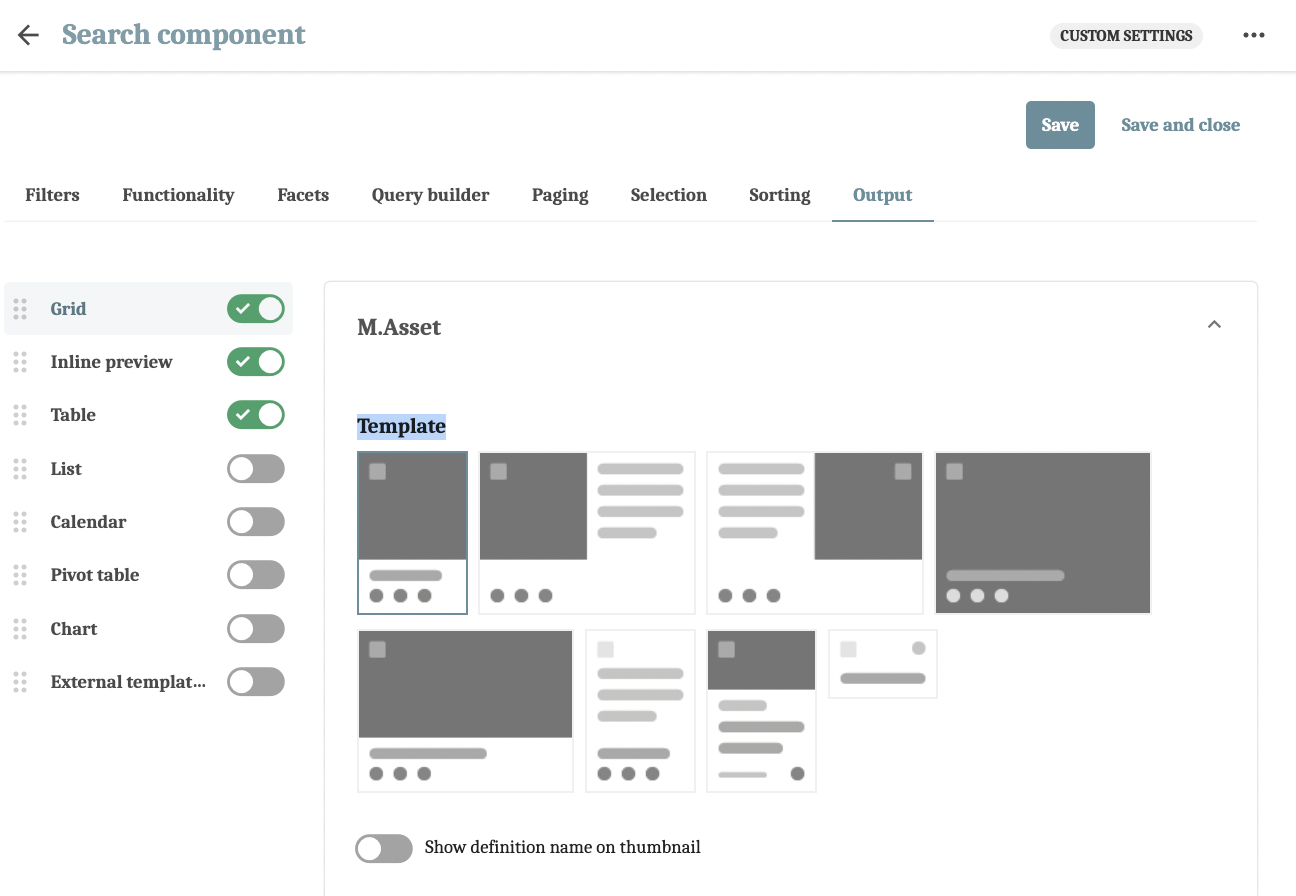
Step Four: Configuring the Output Section
The Output section allows you to configure how the search results will look. Here, you can set multiple ways to display results, which means users can see the information in different styles or formats.
If you set up multiple displays, the Show view selector button on the Assets page lets users easily switch between them.
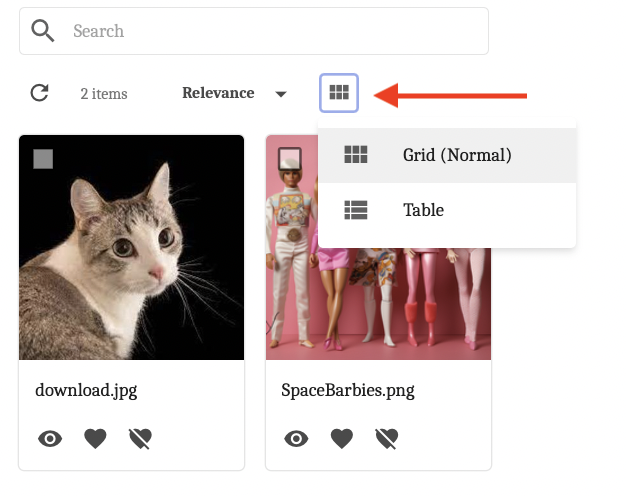
There are several different views to choose from. We’re going to walk through how to configure a Grid view, but the full list includes the following:
| Type | Description |
|---|---|
| Grid | This standard view setting provides a clear and structured content presentation, showcasing thumbnails and applicable fields based on the chosen template. |
| Inline Preview | Previously termed the fly-out view, the inline preview allows you to view selected operations and entity details on the search page. |
| List | Assets are detailed in a straightforward list. This view is similar to what you'd see if you opened a folder on your computer. |
| Table | Outputs assets in a table, each row corresponding to a single entity, allowing for organized viewing. |
| Calendar | Shows content across varying timelines; particularly beneficial for items with defined start and end dates, like projects. |
| Pivot Table | Renders assets as a statistics chart, summarizing data to deliver insightful aggregations. You can choose from a few different visualization types, including area charts, bar charts, and heat maps). |
| Chart | Represents search outcomes in a comprehensive, multi-dimensional chart, facilitating various aggregation processes and in-depth explorations. |
To configure the Grid output for the Assets page:
- Navigate to the Output tab and toggle Grid "on" from the sidebar on the left.
-
Select the template that best suits your needs. I like the first one because it’s compact.
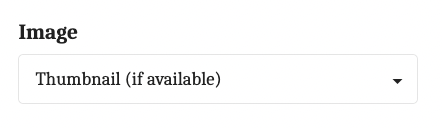
-
Under the Image field, make sure Thumbnail (if available) is selected.
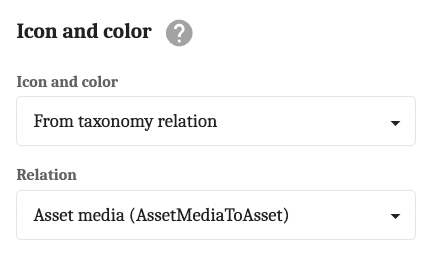
- Suppose you have assets like PDFs or Word documents (basically, anything other than something that can be displayed via an image). In that case, you can style search items based on their definition or taxonomy relations using the Icon and color dropdown menu.
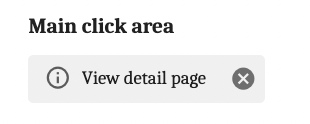
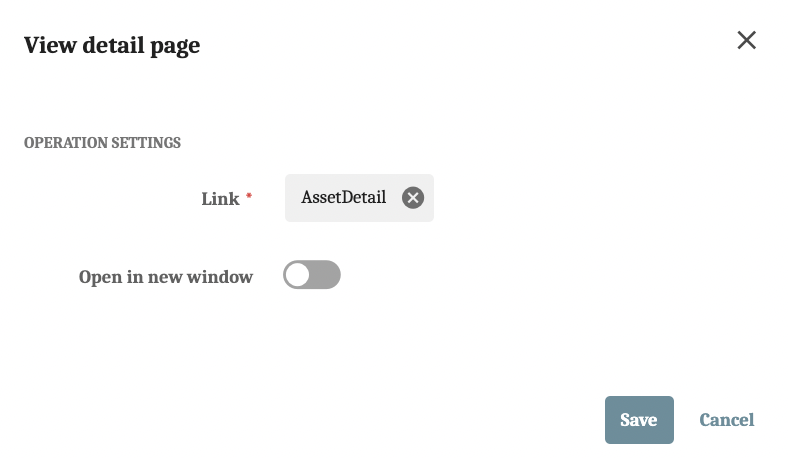
- Next, the Main click area should be configured to display the View detail page, but if it’s not, click into the area and link the AssetDetail page. Toggle Open in new window if you want assets to appear in a new tab on click.
-
To configure which details appear under the assets, add relevant Fields by clicking on the + sign. We’re going to add two: title and asset type.
-
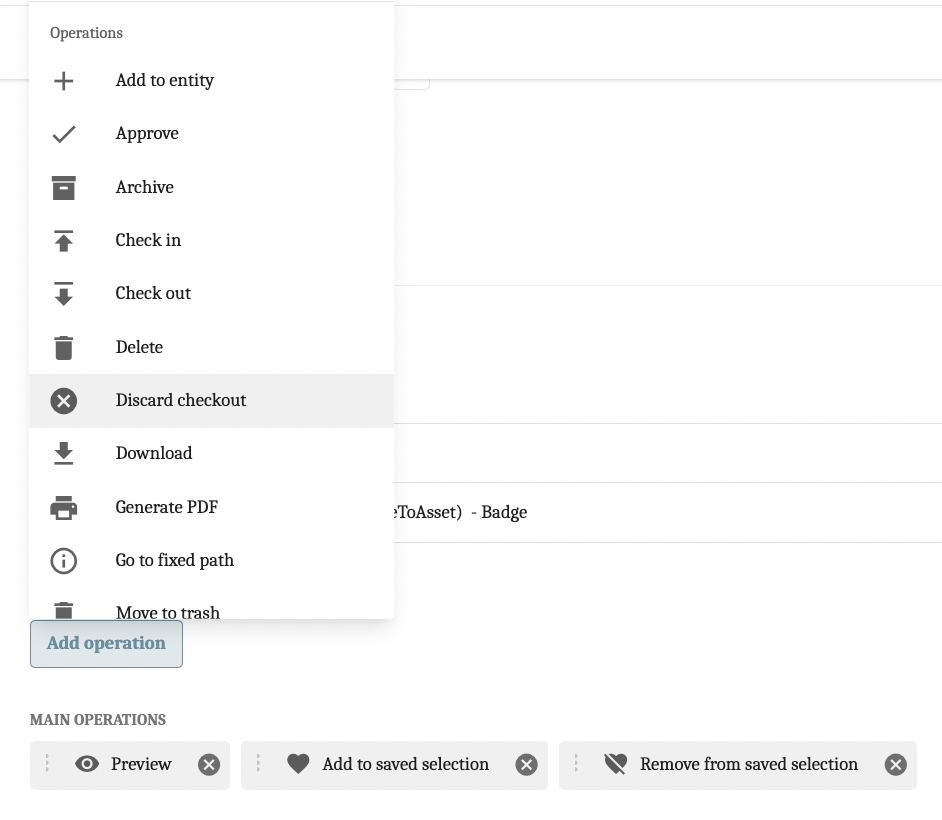
Next, we’re going to add a few operations. Click the Add operation button to add a new operation. For my Assets page, I wanted to keep it simple by only displaying the Preview, Add to saved selection, and Remove from saved selection, but choose the operations that best work for your users. Keep in mind that the appearance of these operations on the final Assets page is dependent on a user’s security permissions (set via user groups).
-
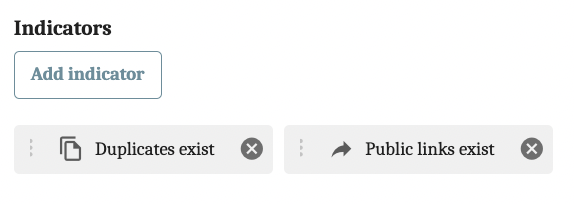
Last, we’re going to add a few indicators. Click the Add indicator button to add. I’m going to select Duplicates exist and Public links exist.
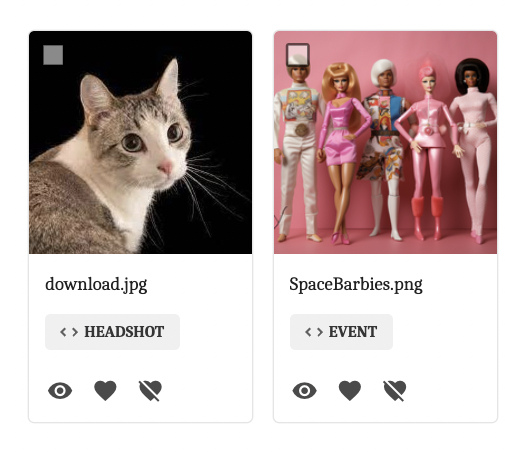
-
Click Save at the top right. The final result:

Configuring the Search Component in Content Hub: Final Thoughts
Setting up the search in Sitecore Content Hub the right way helps users find what they're looking for easily and quickly. By tweaking settings in the filters, adjusting how the search works, and picking the best display in the right tabs, we ensure everyone can find what they need.
Happy configuring!

Meet Robyn James
Content Marketing Strategist | Sitecore Strategy MVP
📚⛰️🎨
Robyn brings over ten years of experience crafting impactful content marketing and communications solutions for a number of high-profile brands. With diverse sector experience—including healthcare, energy, tourism, hospitality, and telecommunications—she has a deep knowledge set and the ability to easily adapt to differing industry needs.
Robyn is adept at blending data-driven research with a pragmatic approach to creativity, delivering results that inform audiences, change perceptions, or inspire action. In her spare time, she enjoys digital painting, reading, and being a pet mom to her fluffy brood of three.