Decision Model Migration and Backup
Not everyone will need to migrate their Decision Model setup from staging to production when it comes to CDP & Personalize. Perhaps you don’t even have a staging environment. Well, you might even want to backup or download your Decision Model so you have it for reference. What I’m going to walk through will cover both.
Backing Up the Staging Decision Model
The first step in migrating your Decision Model to production is we have to effectively backup and download the existing one. In our case, we’re going to download the Decision Model highlighted below.
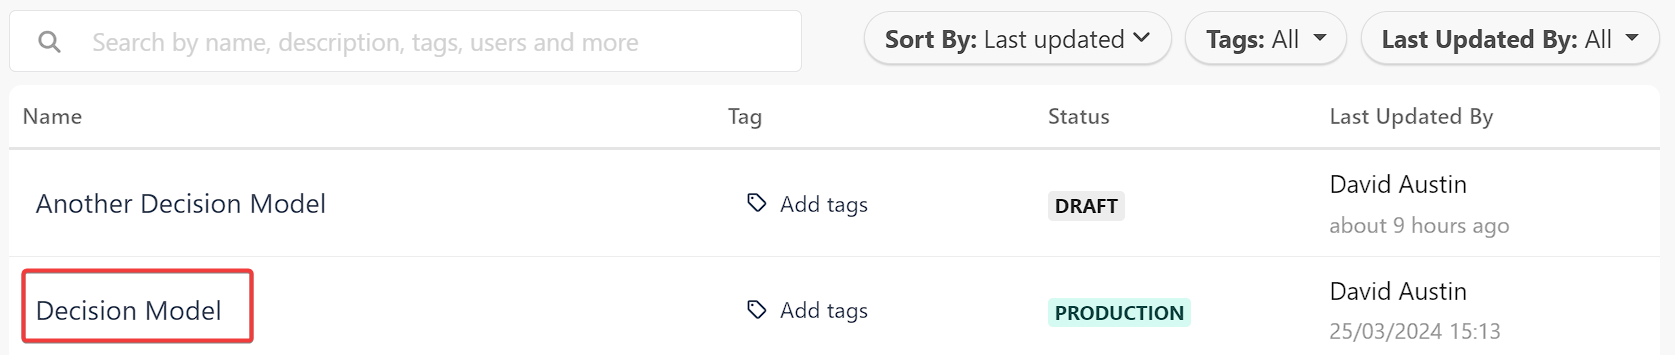
Now it’s a little misleading, the status of it shows PRODUCTION but it’s only that way for staging environments or any environment that points to it. It should be noted, unless your environment can use a cookie on the root domain such as .abccompany.com then Personalize is not usable.
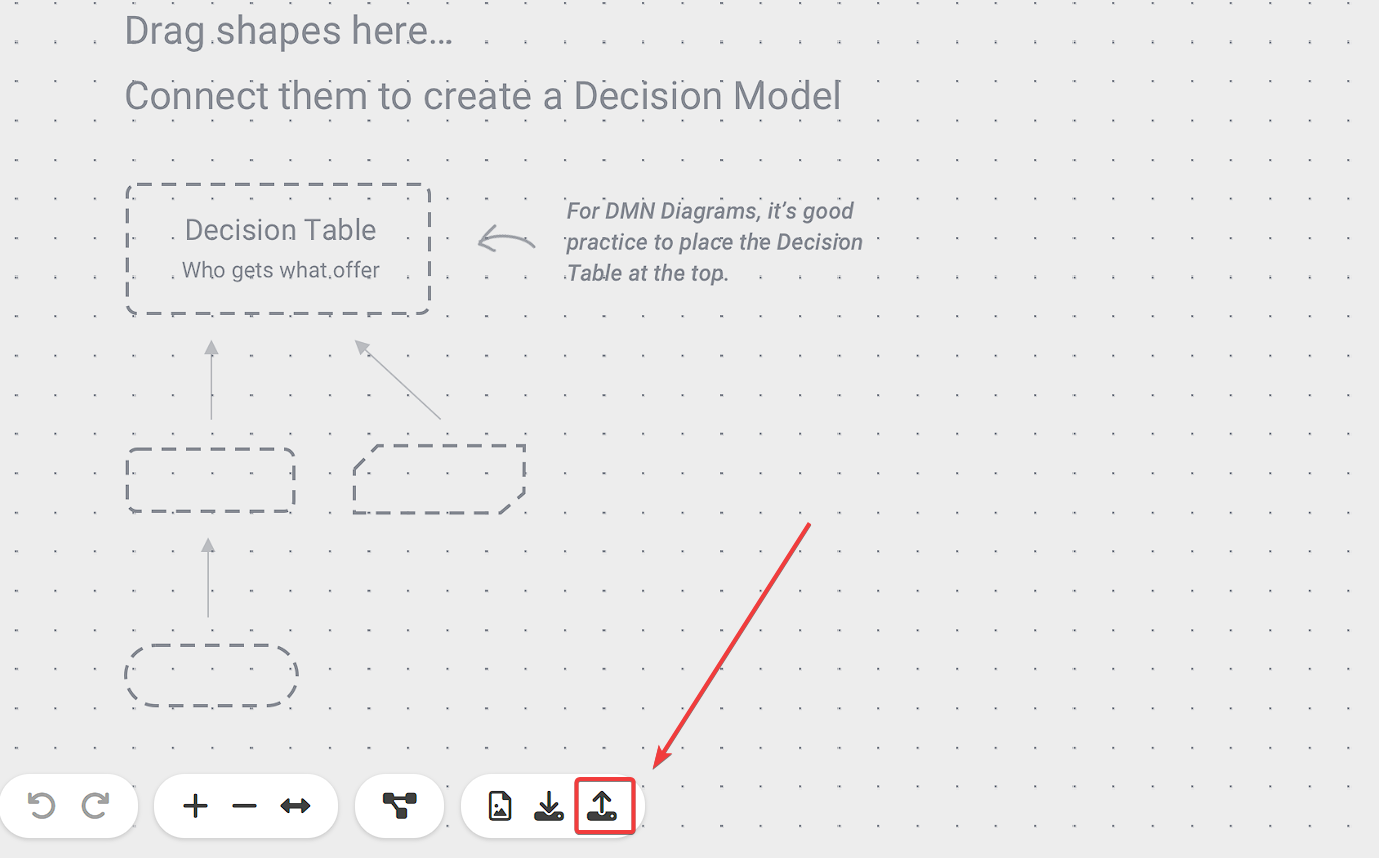
Let’s open up our Decision Model and then immediately open up the Variant that is running in Production. At the bottom of the Canvas locate the Export As XML icon.
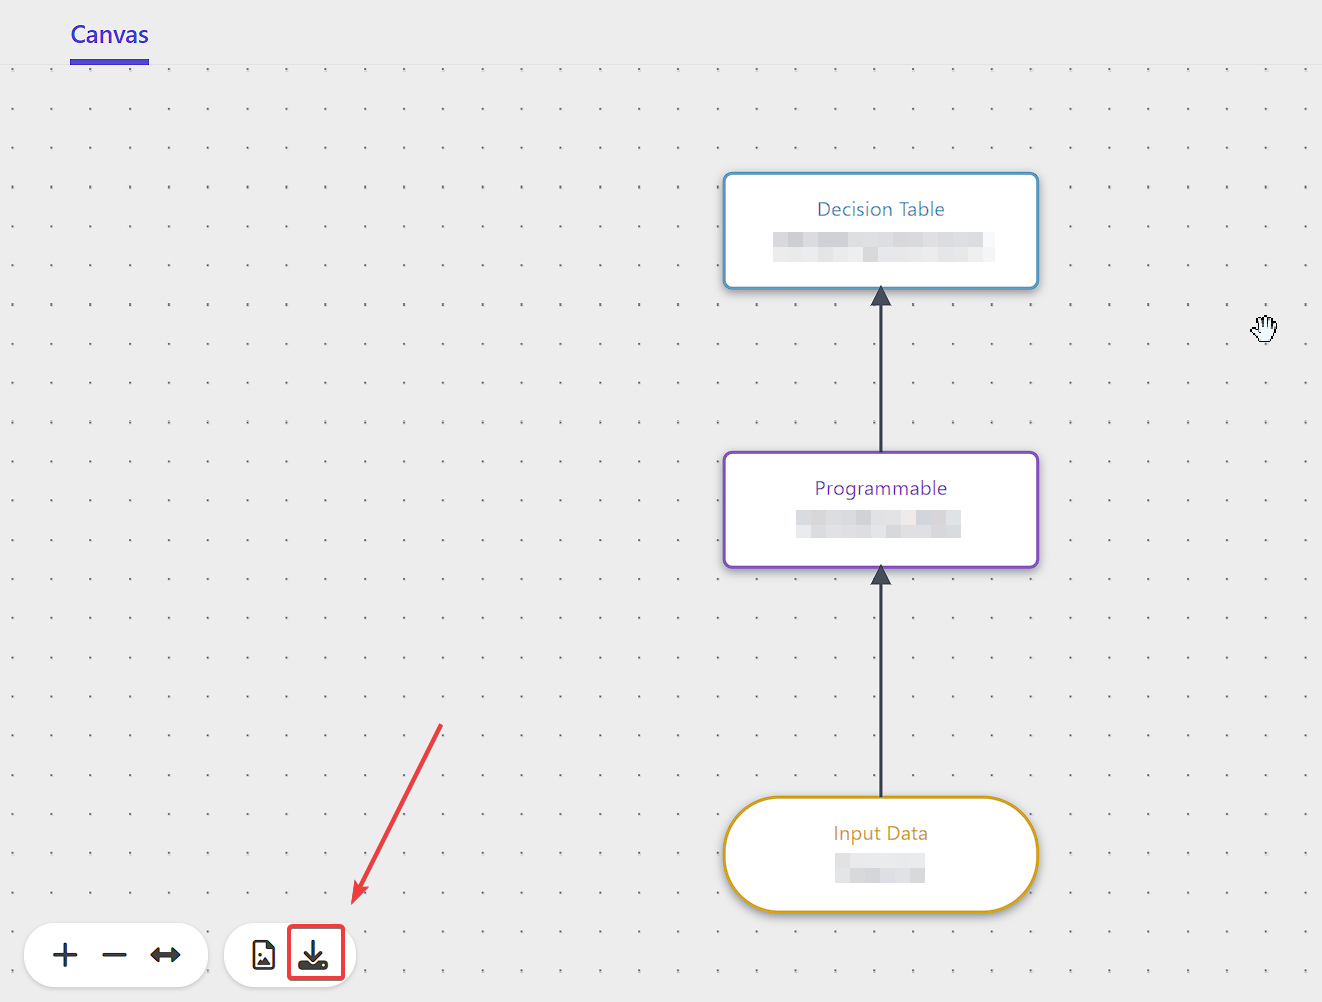
When ready, click the icon. Your browser will then download the entire Decision Model in an XML format.
It is entirely possible the download will be blocked, so check your browsers Downloads and see if this is the case.
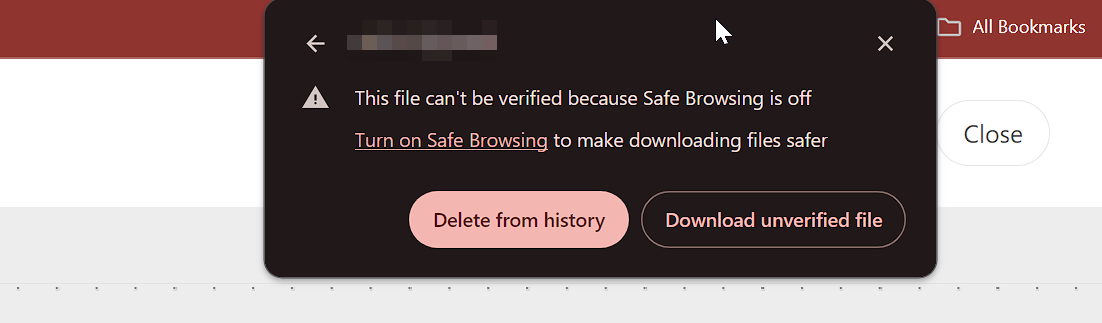
Click Download unverified file if necessary and locate where it is saved.
What’s in This Backup?
Well, essentially everything that’s in the Decision Model is in this XML. And thus, taking a copy of it, you can actually add this into your git repo if so desired and track changes. You can open up the document and even see the Programmable item in our Decision Model.
        ...
        <literalExpression id="literal1707573081206" expressionLanguage="javascript">
            <text><![CDATA[(function () {
 var session = guest.sessions[0];
 if (!session) {
 return {};
 }
 for (var j = 0; j < session.events.length; j++) {
 var data = session.events[j].arbitraryData;
 if (
 (session.events[j].type === "IDENTITY") &&
 data &&
 data.ext
 ) {
 return data.ext;
 }
 }
 return {}; //Default
 })();]]></text>
        </literalExpression>
        ...
Migrate the Decision Model
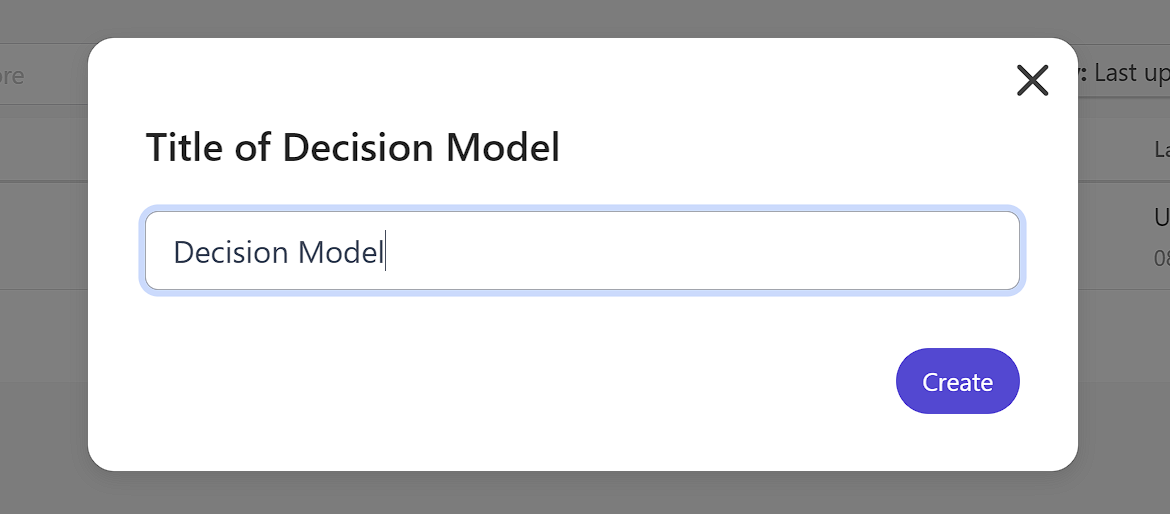
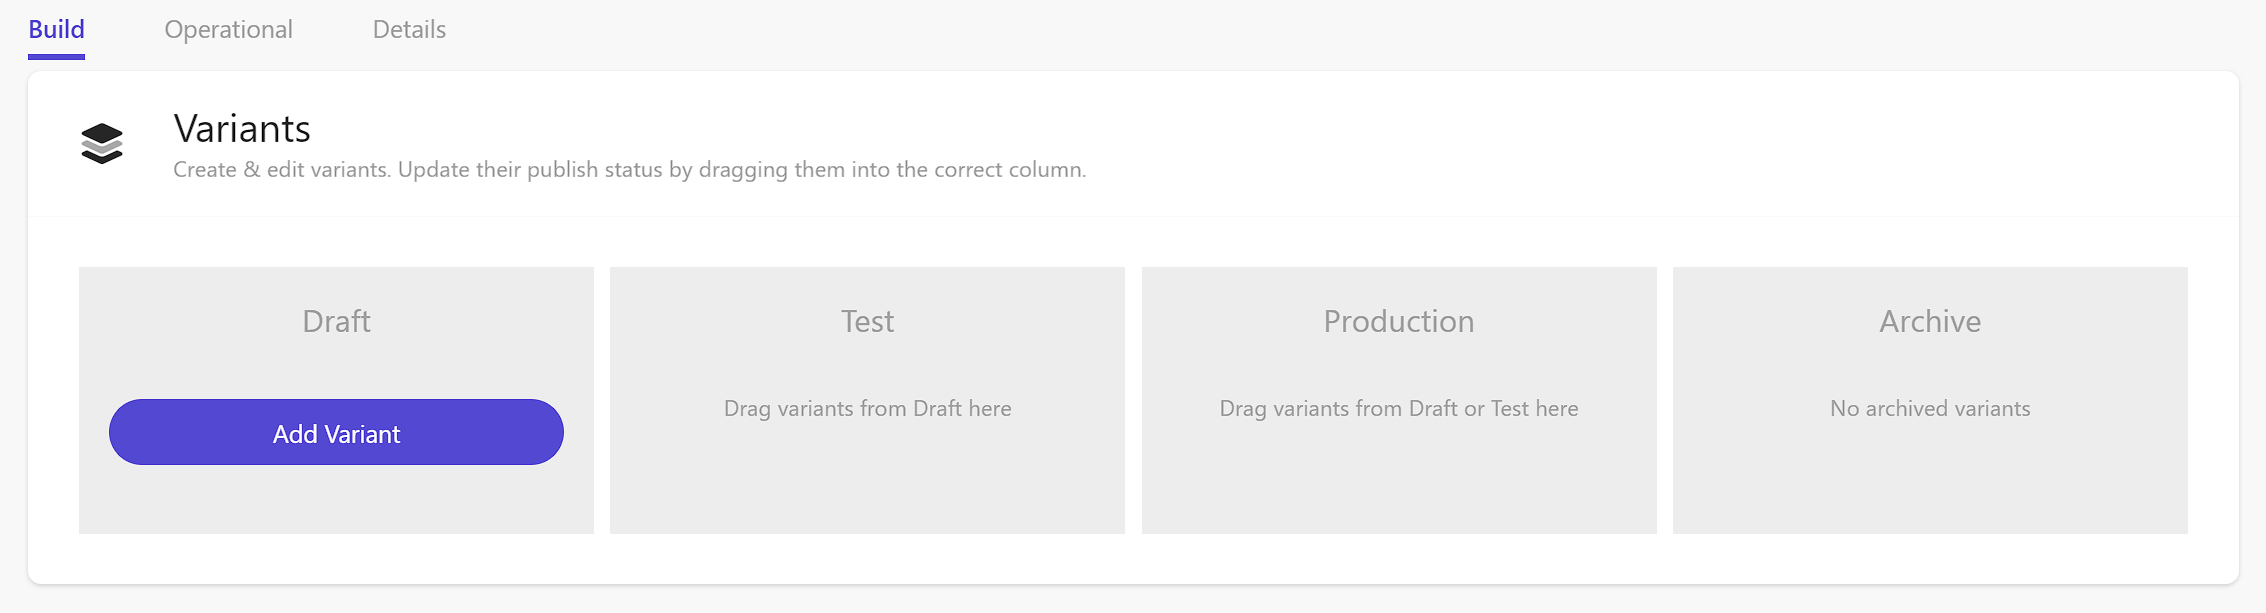
Let’s now head over to the production environment and head to the Decisioning area. Depending on your setup, if you’ve never yet created the Decision Model we’re going to need to create it first.

When prompted, give it the same name that is in the staging environment. This will just ensure consistency when you are going back and forth.
Next up, let’s add a new Variant. Click Add Variant.
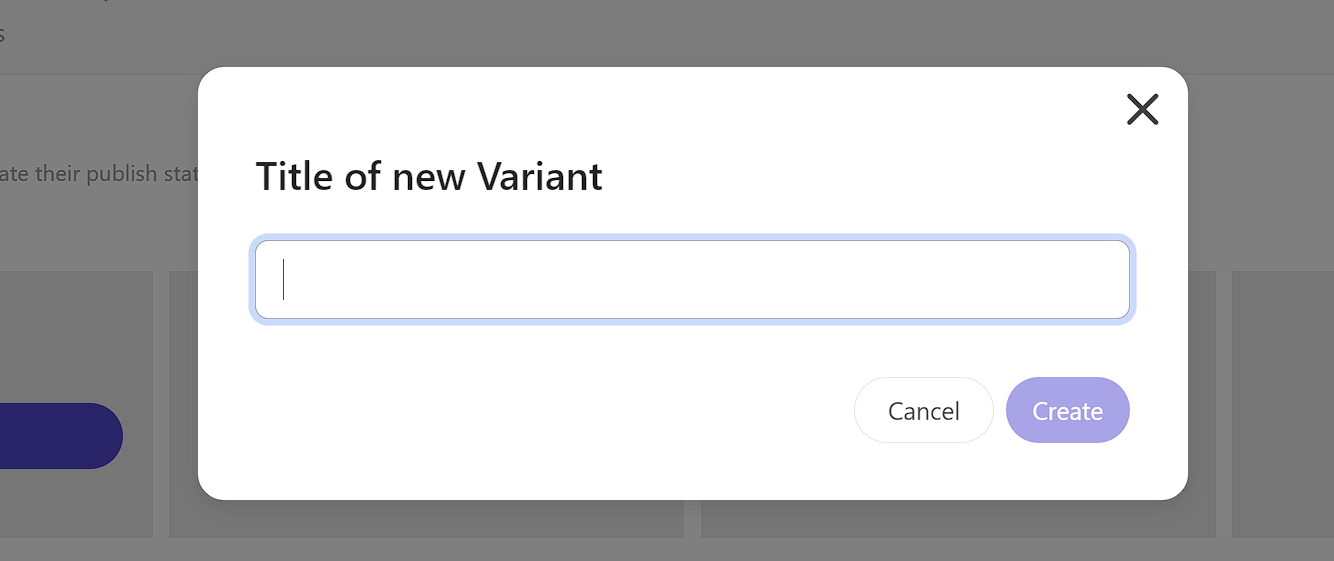
When prompted to give it a name I recommend matching the name of the original Variant in the staging environment. If you’ve named yours as versions “v1.0.0” as I have been doing, match the version number.
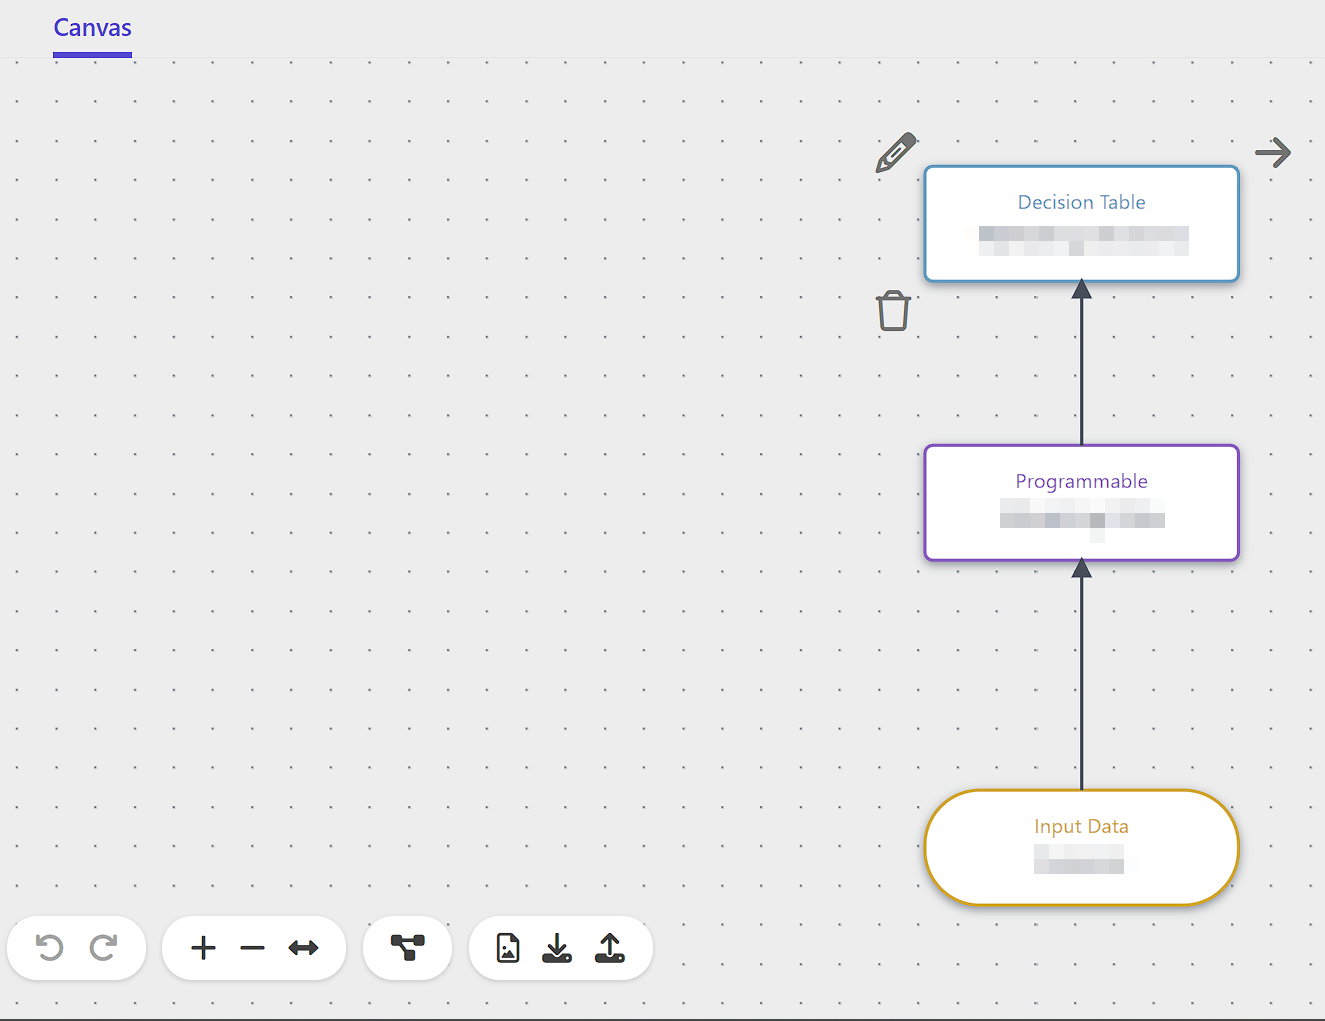
When ready, open the Variant. You will then want to locate the Import XML icon.
Locate the file on your system and load it up. Once it loads you should see your Decision Model that was in the staging environment.
When ready, move the Variant to PRODUCTION and you be then able to utilize it in Experiences or Experiments. It’s a remarkably simple process but one that you can take advantage of both for properly staging personalization experiments but also, as I mentioned, as part of your code management.

Meet David Austin
Development Team Lead | Sitecore Technology MVP x 3
📷🕹️👪
David is a decorated Development Team Lead with Sitecore Technology MVP and Coveo MVP awards, as well as Sitecore CDP & Personalize Certified. He's worked in IT for 25 years; everything ranging from Developer to Business Analyst to Group Lead helping manage everything from Intranet and Internet sites to facility management and application support. David is a dedicated family man who loves to spend time with his girls. He's also an avid photographer and loves to explore new places.