Empowering Sitecore Authors to Add Custom Script
In this guide, we'll focus on giving your Sitecore authors the ability to add custom scripts to their pages. In this example, we will leverage SurveyMonkey as the exemplar script, but the technique outlined here is versatile and adaptable, allowing seamless integration with any third-party scripts.
The Challenge: Implementing a way for the client to be able to add a custom script tag on a per page basis.
Warning - You should have a robust CSP enabled and restrict access to admin user roles to prevent your content authors from inserting potentially malicious code.
Creating A New Sitecore Component
Next.js: Creating script.tsx
The first thing we want to do is create a new .tsx file in your solution. Feel free to name it anything
you like, but because I’m using Survey Monkey as the example, I will name mine
SurveyMonkeyScript.ts
After creating the file, and add the basic Sitecore and React imports. We can add a simple “Script Box loading...” return so we can actively see our new component on the page. This will allow us to make sure everything is configured correctly in Sitecore, before we start adding the script specific code.
import React, { useEffect, useState } from 'react';
    import { withSitecoreContext } from '@sitecore-jss/sitecore-jss-nextjs';

    export const SurveyMonkeyScript = (props): JSX.Element => {
      const { sitecoreContext } = props;

      return (
        <div>
          Script Box loading...
        </div>
      );
    };
    export default withSitecoreContext()(SurveyMonkeyScript);
Sitecore: Creating Our New Rendering
Once you have created your new .tsx file, we need to create a location for our authors to input their
scripts! We can do this by finding the template for your selected pages and adding a new multi-line text
field to your item’s template file. We will use this to access/edit our script's value.
Note: It's important that you use a multi-line text field here and not a Rich Text field, as sitecore will automatically strip all script tags from Rich Text fields.
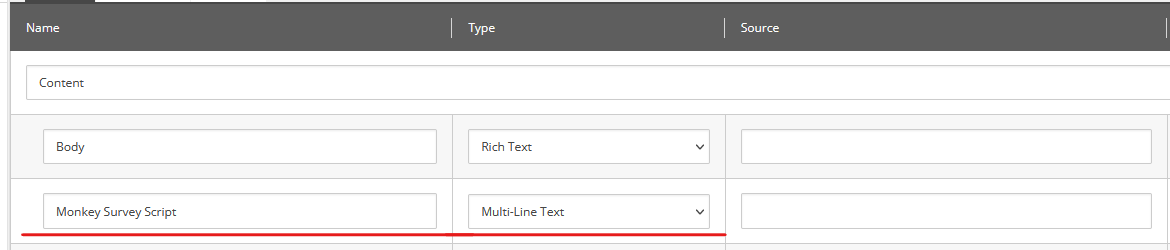
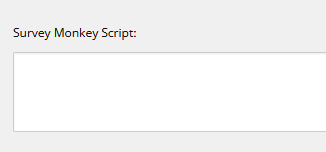
After adding the multi-line text field to your item’s template file, you can go to your item, and add your script code inside the new input.
Next, we need to link our Next.js component with Sitecore. We can do this by creating a new JSON rendering. I am
going to make one specifically for my Survey Monkey script. We can then link it to the .tsx file we
created above. Make sure the “Component Name” in Sitecore matches the name of your Next.js
script.tsx file, for me that’s SurveyMonkeyScript.
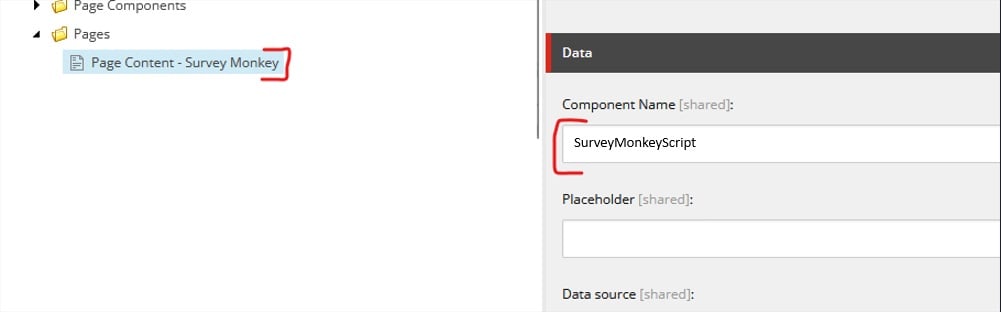
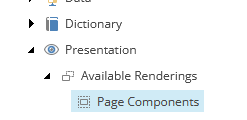
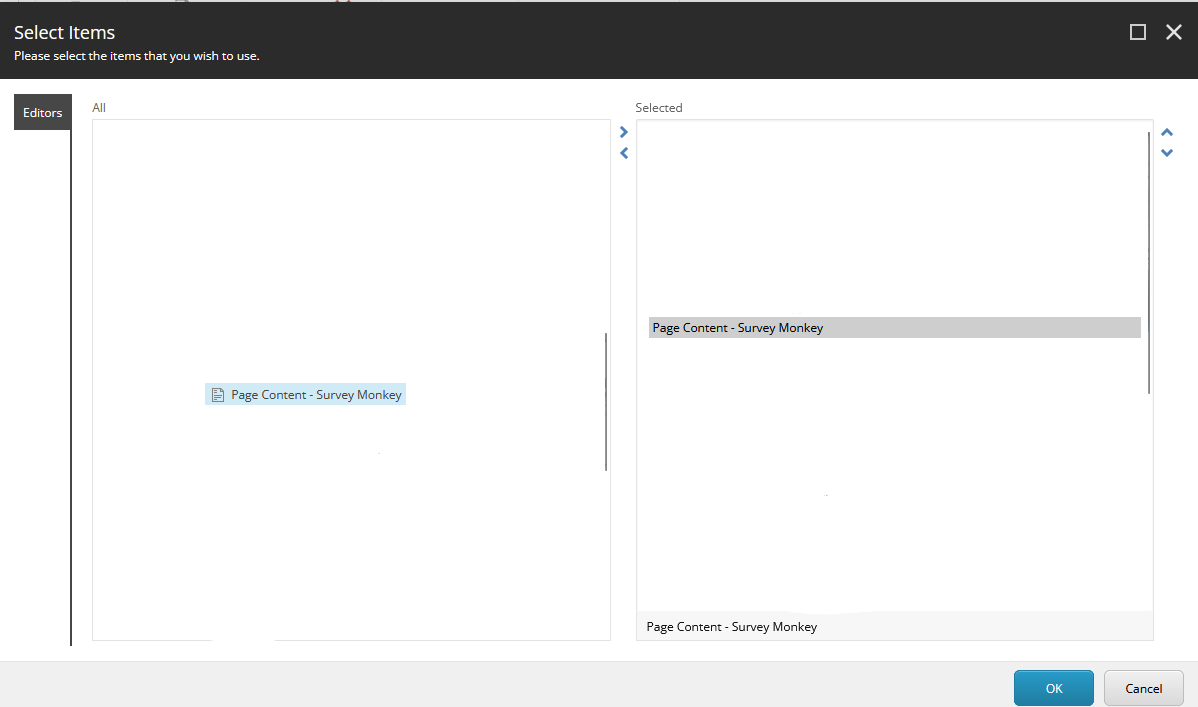
After creating our JSON rendering, we need to add the item into our “Available Renderings”.
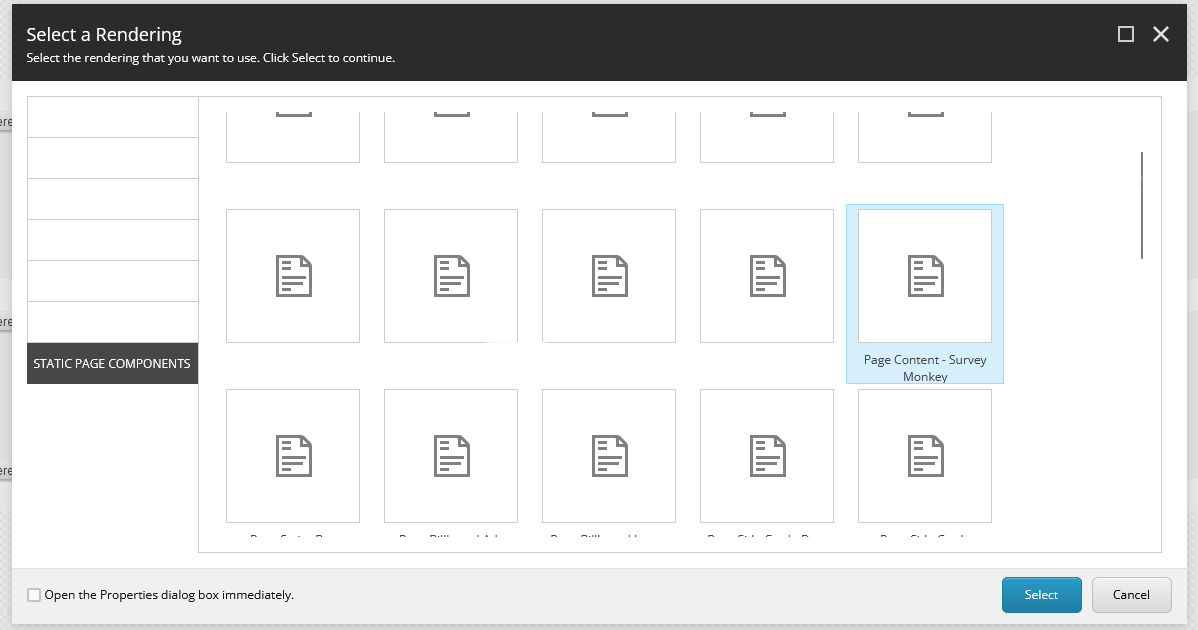
The final step is to insert our new component into our selected page using the Sitecore Experience Editor. Once you
do, you should be able to see the Script Box loading... div we created. If you don't, then you know
you’ve made a mistake, and will need to spend some time debugging before you can continue. As long as you can
see the
Script Box loading... text, you can hit “save” and we can move on to the next
step.
Next.js: Accessing Our Third Party Code Inside script.tsx
As much as I love our “Script Box loading...” text, this doesn’t look great for our
authors. Luckily, we can
easily create an “Experience Editor only” mode. Inside the .tsx file, we can
utilize the
sitecoreContext value pageEditing to detect if we are inside the experience editor, and
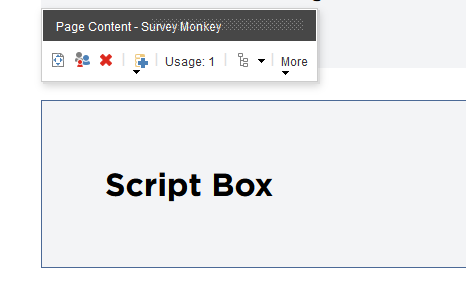
display a user-friendly message, when we are. My example is using Tailwind 3.4
const isEdit = sitecoreContext?.pageEditing;
    if (isEdit) {
      return <h3 className="my-8 bg-gray-100 p-16">Script Box</h3>;
    }

    return (
      <div>
        Script Box loading...
      </div>
    );
Next, we need to add some code to pluck our script value from our multi line field inside
sitecoreContext. You can add a simple console.log for your sitecoreContext
and
find the correct route. For my instance, it was simple:
//console.log('sitecoreContext (Use this to find your Script item): ', sitecoreContext);

    const scriptCode = sitecoreContext?.route?.fields?.['Monkey Survey Script']?.value;
You might get a hydration error when you pass the script code into the DOM. To fix this, we can
create a subcomponent called MonkeySurveyScript and use Next Dynamic
to import the script code without using SSR.
import dynamic from 'next/dynamic';
    const MonkeySurveyScript = dynamic(() => import('./MonkeySurveyScript'), { ssr: false });

    .
    .

    return <MonkeySurveyScript scriptCode={scriptCode} />;
Next.js: Injecting our Sitecore Script into the DOM
Creating a Reusable Custom Hook for Your Incoming Scripts.
If you don’t want to have the reusable functionality of this in your project, you can put the useEffect
directly into
your .tsx file. However, I want to build out the cleanest code possible - so we will be creating a
custom
hook that will take the incoming <script> data, and dynamically insert it into the DOM.
Step 1: Create a new .tsx file under a custom hooks folder. Ex:
hooks/useScript.tsx
Inside this file, we can add a simple document.body.appendChild to append our incoming script tag to the
DOM. It's also good practice to add a cleanup inside the useEffect. In a lot of cases with Next.js, removing the
script when the user navigates to another page ensures the script re-executes when navigating back.
import { useEffect } from 'react';

    const useScript = incomingScript => {
      useEffect(() => {
        document.body.appendChild(incomingScript);

        //Dont forget to clean up your useEffect
        return () => {
          document.body.removeChild(incomingScript);
        }
      }, [incomingScript]);
    };

    export default useScript;
Step 2: We can now import and reference our new hook, passing through our incoming script data. The Custom Hook will dynamically import the script onto the page, after the client loads.
    const isEdit = sitecoreContext?.pageEditing;
    if (isEdit) {
      return <h3 className="my-8 bg-gray-100 p-16">Script Box</h3>;
    }

    const scriptCode = sitecoreContext?.route?.fields?.['Monkey Survey Script']?.value;
    useScript(scriptCode);

    return <div></div>;
Alternative Quick Fix/Work Around. (Optional)
Sometimes you need the script tag on the page prior to Next.js sending the data to the client. If your script tag doesn't work correctly while using the above method, then this is a quick workaround that is a little crude, but will still work.
Instead of creating a customHook, we will use dangerouslySetInnerHTML to insert the script
value inside a div. I recommend setting a unique, and easy to find, ID. This will make it much easier to debug once
the code has been deployed.
return (
        <div
          id="script-box"
          dangerouslySetInnerHTML={{
            __html: `${scriptCode}`,
          }}
        ></div>
      );
Authors Having the Ability to Add Custom Script
You can use the above code for any third-party script that your authors might want to insert onto their pages. In the above example, we limited it to only one individual script, but with some simple refactoring, you could allow the insertion of multiple scripts.

Meet Tyler Holmes
Full Stack Developer
🇬🇧🧑💻🏸
Tyler is an experienced Full Stack Developer who has worked on a plethora of unique projects. He possesses a deep understanding of Technical SEO, C#, and React/Next.js.