Understanding Clickjacking: Navigating the Security Risks
We’ve come a long way in integrating technology into our everyday lives. We’ve used technology in making everything more convenient and we are more interconnected now than ever. We might be as used to technology now but this doesn’t prevent or reduce the possibilities of all the cybersecurity threats around us. Sitecore is not immune to these attacks as well, we have to be mindful when we develop our projects and apply security and preventive measures when we build the website. One of the common cybersecurity attacks for example is clickjacking or UI redressing. This attack is done by specifically creating a legitimately looking page that tricks end users on clicking on the UI. By clicking, you are allowing the attackers to run potentially revealing confidential information or scripts that might cause you problems.
A solution to prevent clickjacking is preventing the website from allowing framing from other domains. This sounds like a complex thing to setup but I’ll guide you through it and you’ll realize how easy it is to setup. Remember the prevention I am setting up will only solve security for clickjacking. This is mostly to help simplify and understand parts of the websites header securities. We will also focus more on how to apply these configurations on a Headless Development in Sitecore using XM Cloud and Next.js.
Using the Content Security Policy (CSP)
The Content Security Policy is a powerful security header. You can setup multiple configurations here that sets up
different preventions into your website. It can take much of your time having to setup all of the possible
configurations especially when the whitelisted sources are more than the domain you are on. Let’s focus more on one of
the options available, which is the frame-ancestors . The different possible values we can set out
frame-ancestors are the following:
- ‘none’ — this basically prevents any domain from framing your content.
- ‘self’ — allows only the current site from framing your content.
We can also add as many websites as we can like
Content-Security-Policy: frame-ancestors 'self' *.somesite.com https://myfriend.site.com; . The
list can get long and hard to debug but knowing that you can add more than one in a single line is pretty neat. You can check the browser versions that support frame-ancestorshere.
Using the X-Frame-Options
The X-Frame-Options HTTP response header controls whether the page can be rendered on te browser in an
<iframe> or <frame>. This prevents the site from being embedded on other sites
aside from the ones listed, this will then avoid clickjacking from happening on unauthorized websites. Three possible
values for this header are the following:
- DENY — this setting basically prevents any site from framing the content.
- SAMEORIGIN — this setting allows only the current site from framing the content.
The X-Frame-Options is used for lower browser versions and may not be supported for more modern
browsers. You can check the browser versions that supportX-Frame-Options here.
Updating the Next.config.js
When we are developing using XM Cloud and Sitecore Headless Development using Next.js, we can set all of these up in
the Next.js project folder in it’s corresponding next.config.js file. We will take the extra step of
keeping the configuration file clean and scalable by placing all the security headers’ array on a separate variable to
keep future updates easier to navigate and direct for other developers.
const securityHeaders = [
    {
      key: 'X-Frame-Options',
      value: 'SAMEORIGIN',
    },
  ];
We can first setup the X-Frame-Options since this is simple. The basic setup we want is simply just
allowing it on the site itself. It might be less secured than DENY but it’s more than enough to restrict
any unwanted websites from rendering your site’s content on just any website.
const nextConfig = {

    ...

    // Run the base config through any configured plugins
    async headers() {
      return [
        {
          // Apply these headers to all routes in your application.
          source: '/:path*',
          headers: securityHeaders,
        },
      ];
    },
  };
Under the nextConfig , we can add the async header function which will setup the according
security headers. We’ll be keeping it pretty simple and applying all the headers on all paths. Next we’ll be
configuring the Content-Security-Policy. This way of setting it up may be too overblown but this is a great way to
work on top of it once you get an idea of the other security headers you would want to add to your project.
Let us first setup the variable that will define all the CSP we need to add into the headers. We’ll set
frame-ancestors to self since the least we would possibly want is allow it to frame itself.
When you want to add a new setting, you will just need to add it on a new line.
const ContentSecurityPolicy = `
    frame-ancestors 'self';
    // Add other policies on a new line here
    // And another one here
  `;
We can then add it in the securityHeaders array along with the X-Frame-Options . The
function basically strips the new line on the ContentSecurityPolicy string and make it a single line
which is hard to read if we add in more policies into it.
const securityHeaders = [
    {
      key: 'X-Frame-Options',
      value: 'SAMEORIGIN',
    },
    {
      key: 'Content-Security-Policy',
      value: ContentSecurityPolicy.replace(/\s{2,}/g, ' ').trim()
    },
  ];
Testing the Security Headers Update
Once we deploy the changes, there are a couple of ways we can test and see that the security headers we have in place actually work. We can get tools online that can do the scan for us and there is a barebone check as well that iframe is really disabled.
Mozilla Observatory
First we can use The Mozilla Observatory, the tool can give you all missing securities you need to add but you have to get permission from the owners of the site you are working on to have their website analyzed. The results are publicly posted unless specifically checking that it will be hidden.
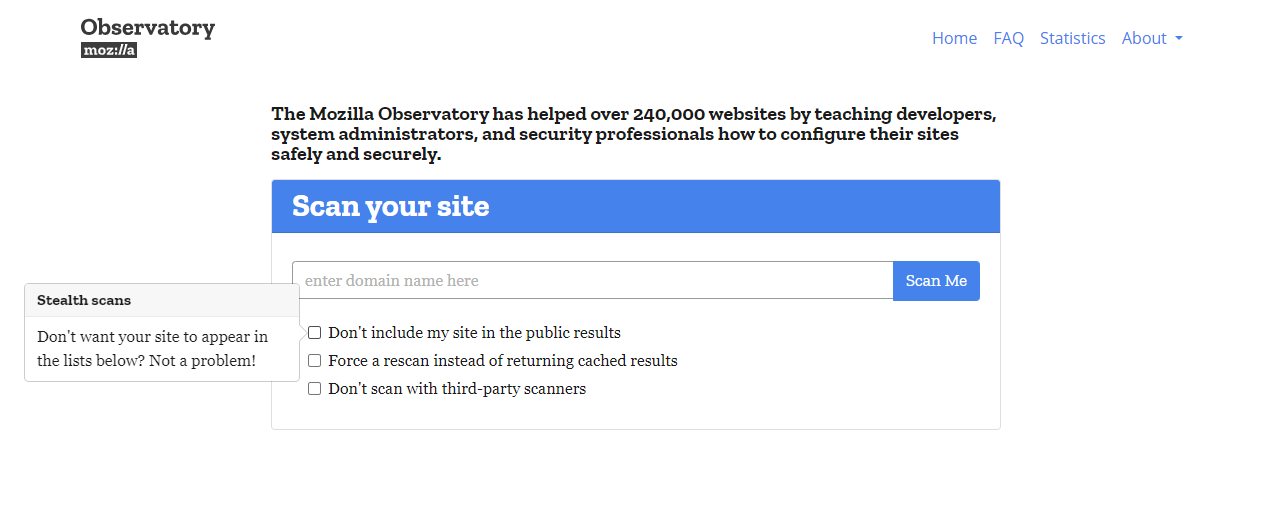
There’s some options that will make the scan less risky. If it suites your need I would give it a try. Once you do have it scanned, you will see all the headers you are missing in the results.
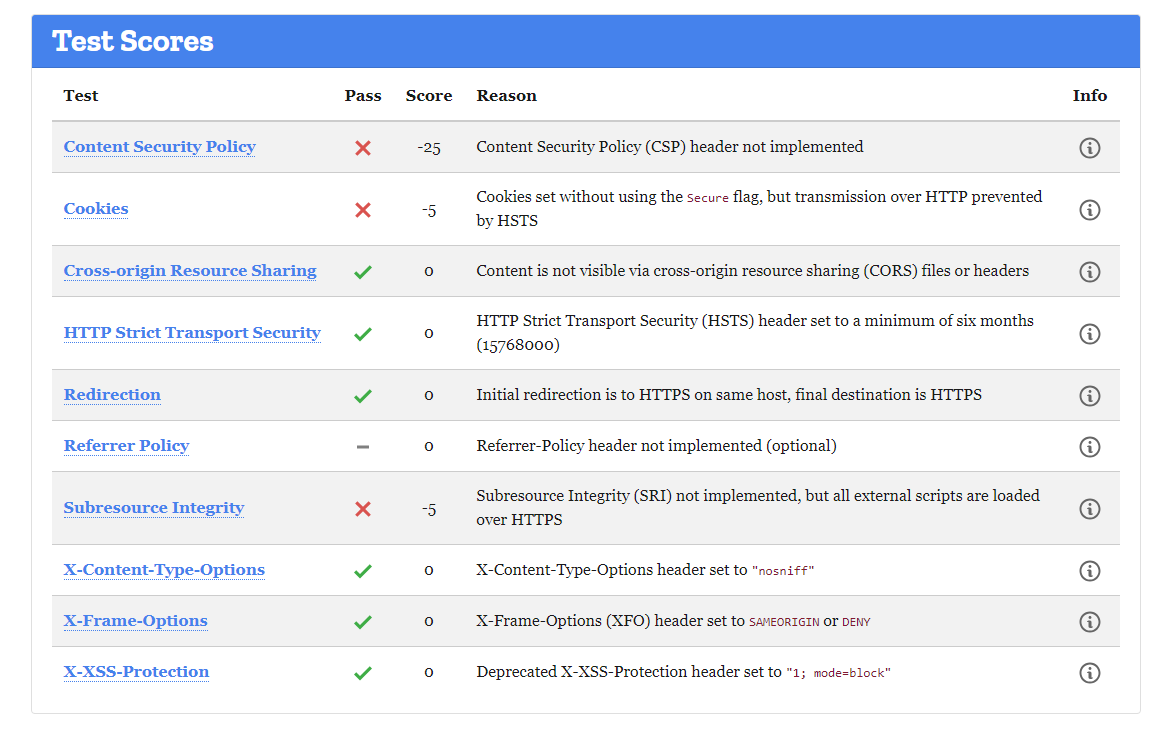
In the example above, it had not implemented the Content Security Policy and only the
X-Frame-Options . So you will know which you need to apply.
Barebone HTML Iframe
Create an HTML file and add in the code below. Make sure to change the iframe source with the website you want to check. After saving the file, try accessing it on any browser.
<html>

  <head></head>

  <body>

  <h1 > WEBSITE IS VULNERABLE TO CLICKJACKING</h1>

  <iframe width=100% height=80% src="https://www.google.com/"> </iframe>

  </body>

  </html>
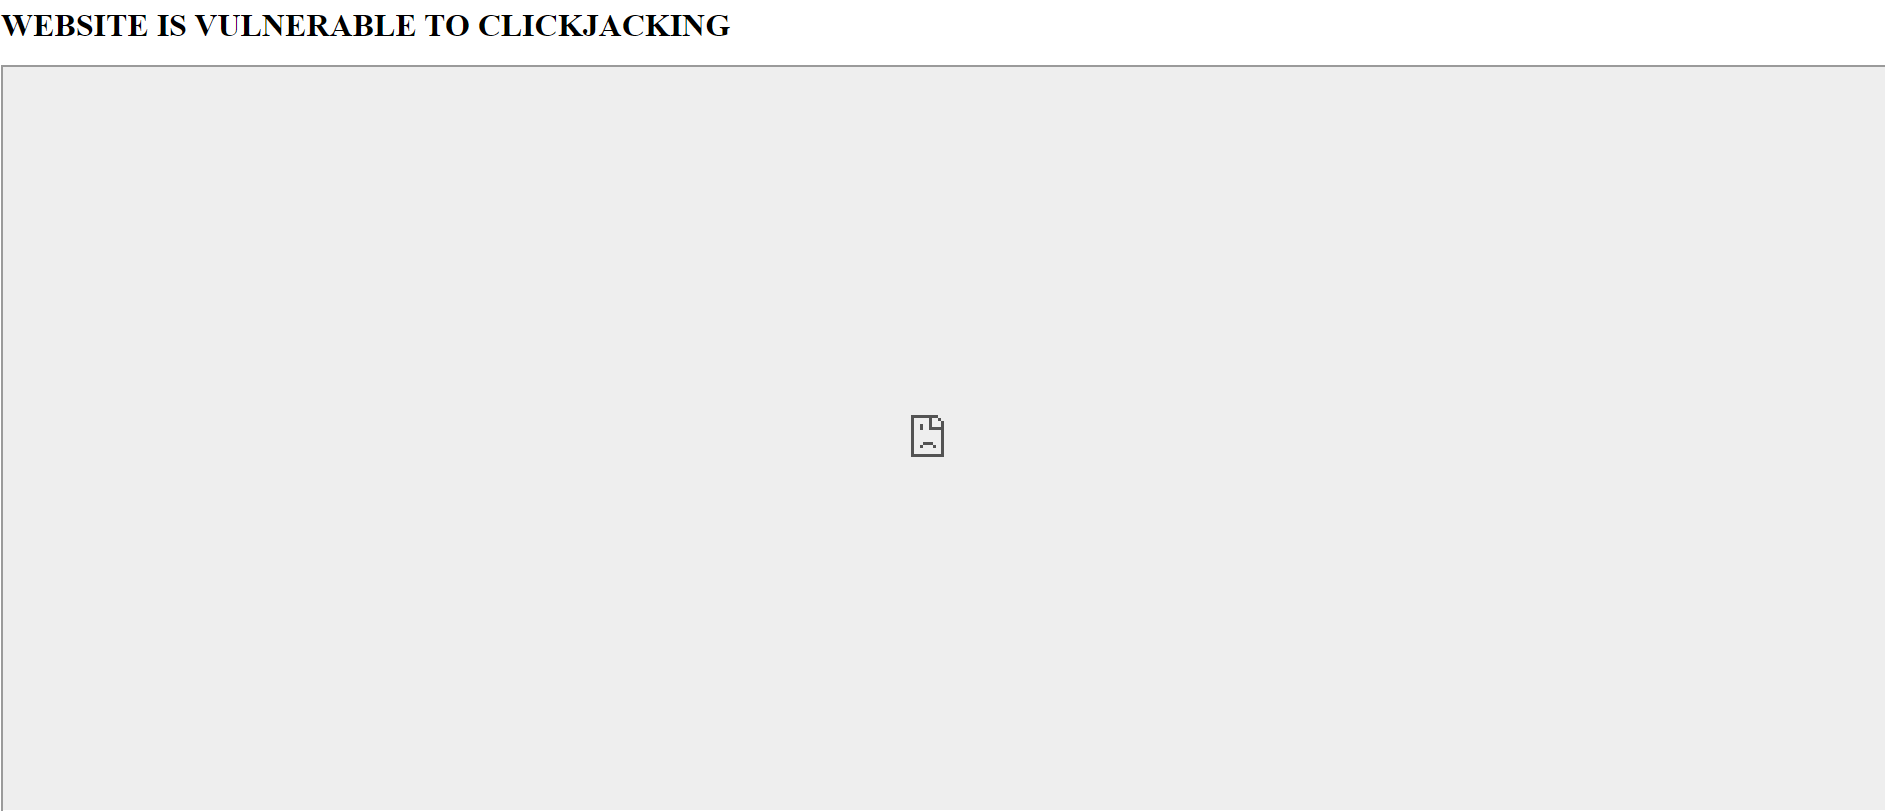
You should expect to get the results below. As you can see the iframe has the rendering disabled and it shows as if the iframe is broken but it clearly let’s us know that rendering it on just any iframe will not work.
Ensuring Your Website's Defense Against Clickjacking
As we continue to integrate technology deeply into our lives and work, understanding and implementing robust security measures becomes increasingly crucial. This article has outlined how to utilize Content Security Policy and X-Frame-Options to protect your Next.js XM Cloud projects from clickjacking—a prevalent and pernicious threat. With the step-by-step guidance provided, you can now confidently configure your security headers, knowing that you're mitigating vulnerabilities and safeguarding your website against unauthorized framing. Testing your security setup is just as important as implementing it, ensuring that your defenses are operating as intended. By taking these proactive steps, you're not only enhancing your project's security posture but also contributing to a safer digital environment for all users.
If you’d like to learn more about protecting your website against clickjacking here are some useful links.
Clickjacking Defense Cheat Sheet
Security Headers | Next.js Documentation

Meet John Flores
Front-End Developer
🪴🐩📷
John is a Front-End Developer who is passionate about design and development. Outside of work, John has wide range of hobbies, from his plant collection, being a dog daddy, and a foodie.