How To Build Custom Reports In Google Analytics 4
In Universal Analytics (UA), you could create Custom Reports under the Customization section. The ability to create custom reports in Google Analytics 4 (GA4) has changed with the introduction of Explorations.
In today’s blog post, we will go over creating a custom page visibility report monitoring the different scroll depth events we created in Google Tag Manager (GTM) for our blog posts. We had created four scroll event at different percentage thresholds, so we could better understand how much of a web page our visitors were reaching. The percentages were: 25, 50, 75, and 100.
If you’d like more detailed instructions on how to create custom scroll events, check out our blog here.
In the meantime, here is everything we will cover in today's blog:
- Getting started with explorations
- Why Free form explorations?
- Configure your Variable settings
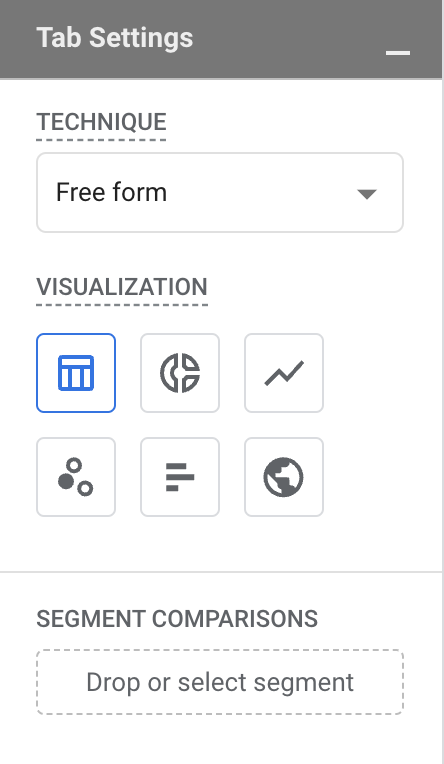
- Configure your Tab settings
- Setup your Filters
- The final page visibility report output
Getting Started
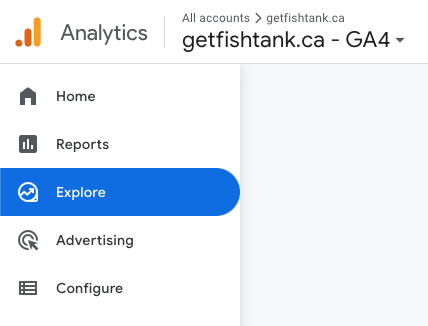
To get started, click Explore on the left menu in GA4.
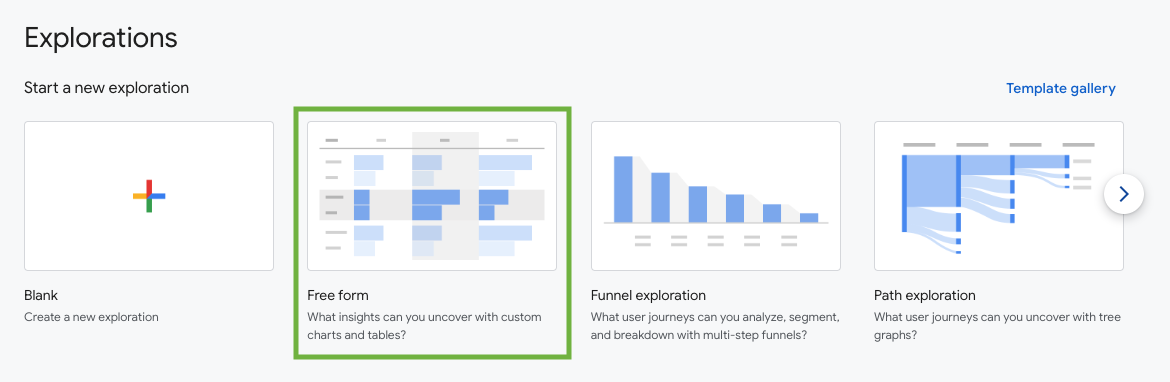
Once in the Explorations section of GA4, select the Free Form technique. This technique allows us to uncover valuable insights using custom charts and tables. We spend a lot of time using this Exploration technique, and you’ll soon see why!
Free Form Exploration
The Explorations interface consists of three parts:
- Variables (green)
- Tab Settings (blue)
- The Canvas/Report Output (orange)
We’ve introduced GA4 Explorations in a previous blog, and we outlined all of the different elements in the Variables section (green), Tab Settings (blue), and the Canvas / Report Output (orange). We recommend reading more about Explorations if you want a more in-depth understanding of Explorations in GA4.
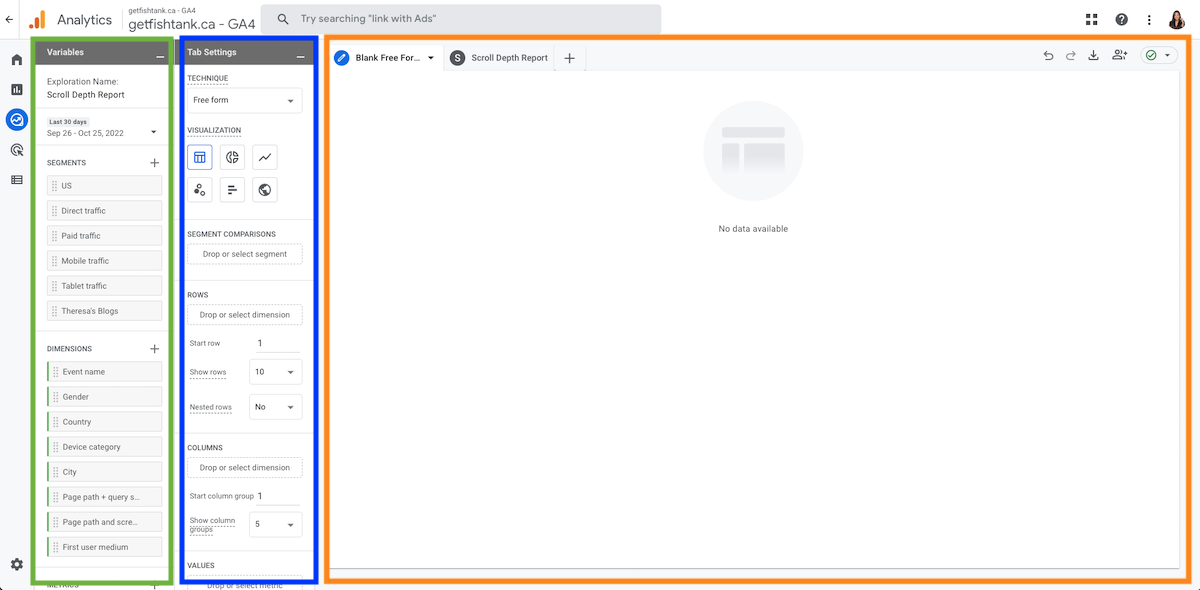
In a free form, you can explore data in a crosstab layout. Here we can apply several different visualization staples (i.e. bar charts, pie charts, scatter plots, and geo maps).
Let’s dive into creating our custom scroll depth report with a Free Form Exploration!
Variable Settings
The Variables section in the Free Form report is where you pre-define the data you want to use:
- Date Range
- Segments
- Dimensions
- Metrics
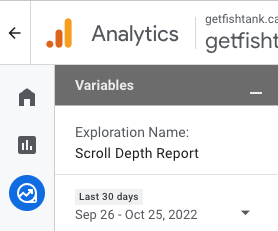
At the top of your Variables menu, you have the option to rename your Explorations report and select a different date range (i.e. Last 7 days, Last 30 days, etc.).
Creating Segments
You can create segments to compare how different groups of users/visitors are behaving on your site.
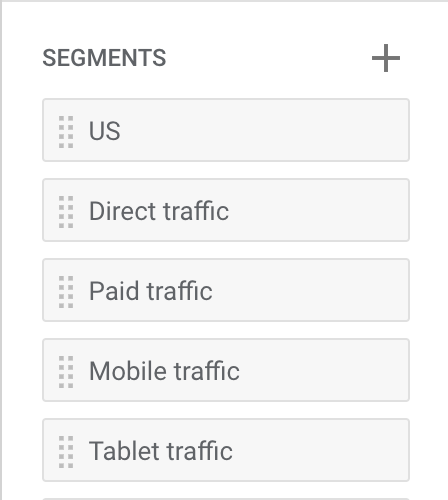
Follow these simple steps to create a new segment in your Free Form exploration, otherwise choose from one of the suggested options:
1. Click “+” in the segments section
2. Click the type of segment you want to create
3. Name and add a description for your segment
4. Add specific conditions to filter our users into this particular segment — Example: Page location > contains > /blog
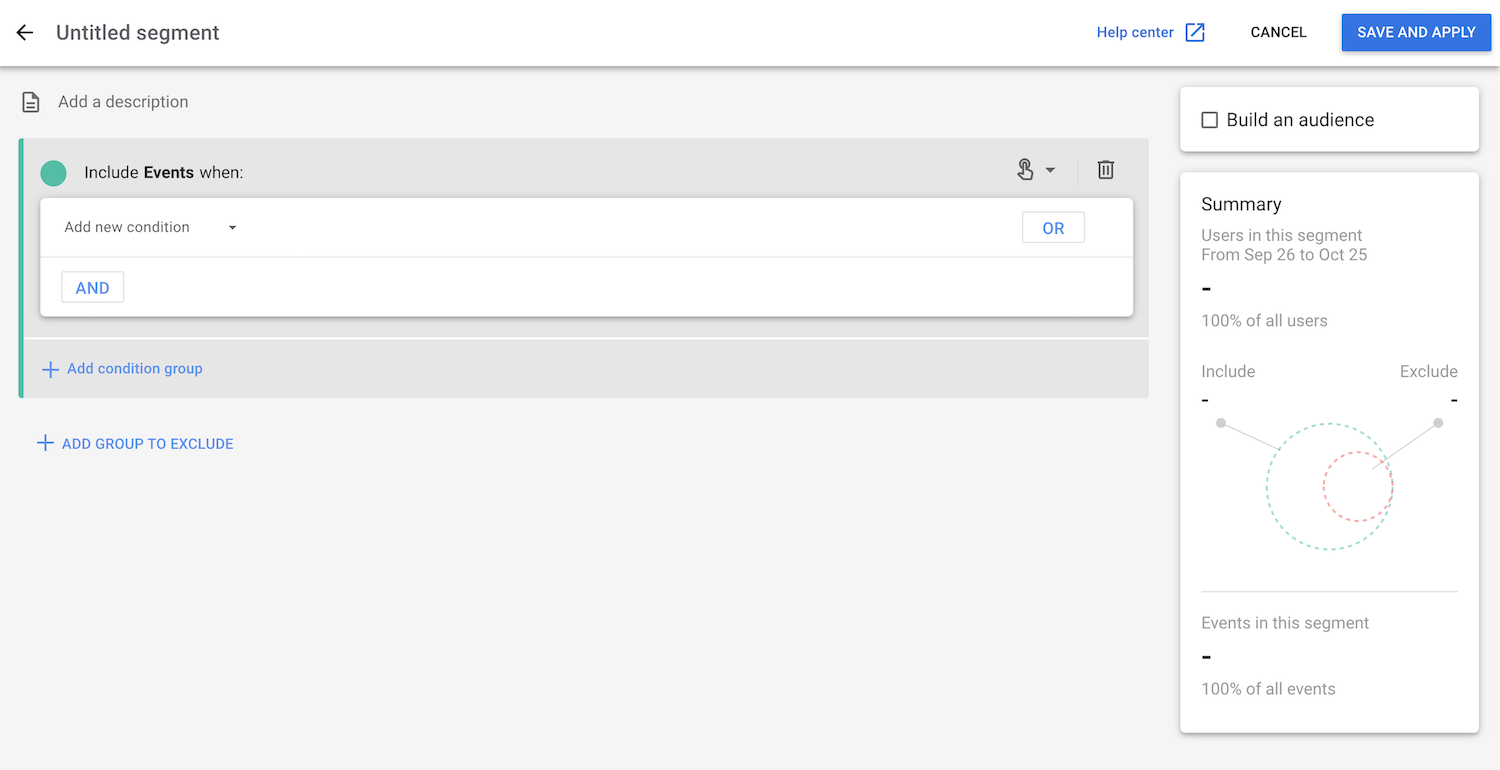
5. Use AND / OR logic if you are adding new conditions
6. Click save and apply
Here is an example of an Events segment where we wanted to create a custom segment including events when a user visited a specific page. A summary of your segment will show up on the right hand side, within the given time period you set in the Exploration.
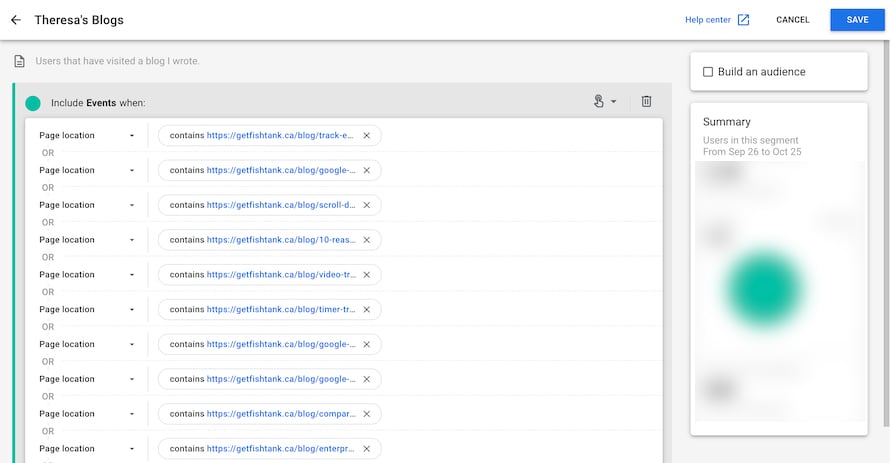
Once your segments are ready, drag-and-drop it into the Segment Comparisons section in your Tab settings.
Dimensions & Metrics
Dimensions in Google Analytics 4 are the different parameters or attributes associated with an event, product, transaction, user, etc. Some examples of these parameters or attributes include:
- Event name
- Transaction ID
- Product Category
- Page Title
Metrics are what we use to measure. Some examples of the metrics you can find in GA4 include:
- Event count
- Number of active users
- Number of transactions
- Total users
The dimensions and metrics sections in the Variables tab will dictate what data we can use to populate the Tab Settings section in our report. This is where you can add any custom dimensions you have added to your GA4 property.
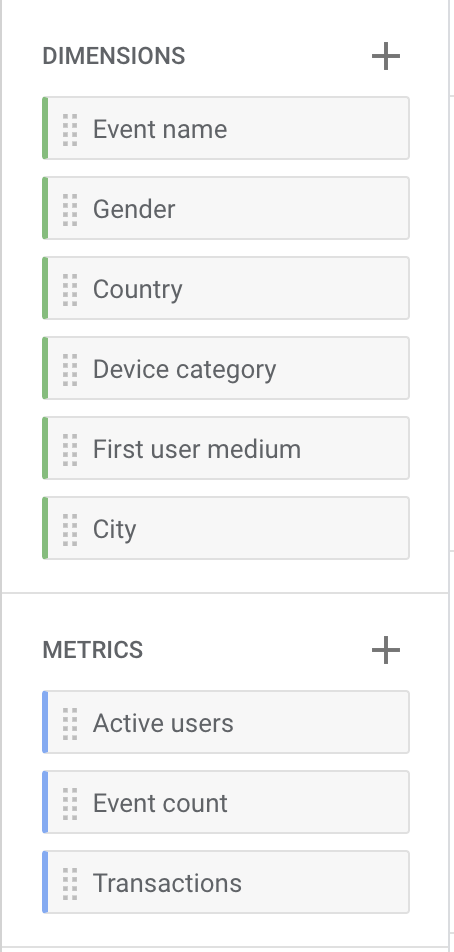
Because we want to track the page visibility of specific pages on our website we need to add the following dimensions and metrics:
Click the “+” next to Dimensions and Metrics and add the following from the list:
| Dimensions | Metrics |
|---|---|
| Page path + query string | Total Users |
Remember, you can’t use any dimensions or metrics in the Tab settings without first adding them to the Variable settings. This is the data responsible for the data input. But not all exploration techniques allow you to use every dimension or metric.
Tab Settings
In this column of the Free Form exploration, we will configure what data will actually populate in the page visibility report.
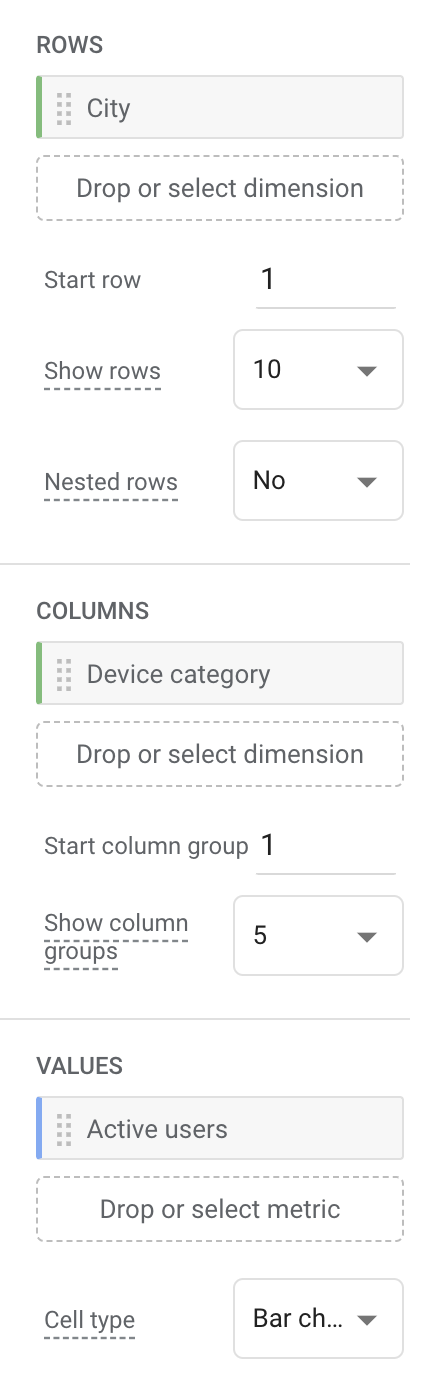
Rows, Columns, & Values
Let’s go ahead and remove the default dimensions and metrics in both the Rows and Columns section.
To populate our report, let’s go ahead and drag-and-drop the following dimensions and metrics from the Variable settings to the Rows & Columns section in the Tab settings.
| Rows | Columns | Values |
|---|---|---|
| Dimensions — Page path + query string | Dimensions — Event name | Metrics — Event count and Total users |
Feel free to add as many dimensions and metrics as you like to your Tab settings. I prefer to keep my reporting clean and as minimal as possible, while still providing valuable insight into my data collection. For the purposes of this example report, Event count and Total users will suffice.
Filters
The last element we need to configure for our page visibility report, is our Filters.
We created custom scroll depth events for our GA4 reporting using Google Tag Manager (GTM). Because we set up four different events to fire at different percentage thresholds on the page, we are able to have a complete view of our page visibility.
Here’s how to set up the scroll events along the top of our report:
1. Drag-and-drop event name into the Filters section in Tab settings
2. Indicate that the filter contains scroll to include all the following events:
- scroll_25
- scroll_50
- scroll_75
- scroll_100
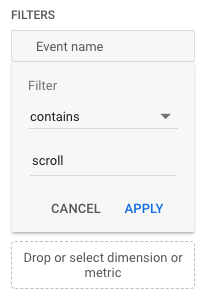
This filter will display each event along the top of the report, each as separate columns.
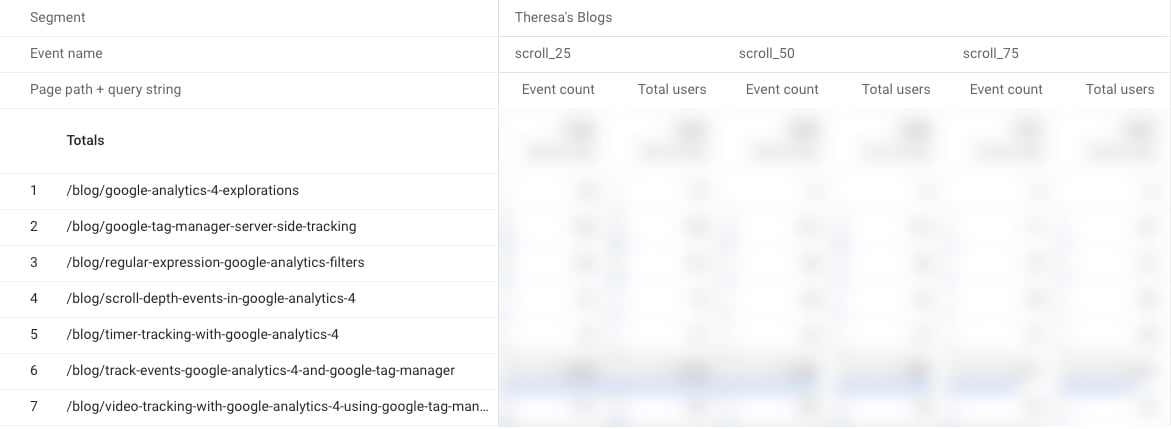
Report Output
Here is a final screenshot of our Page Visibility report output. We are able to see the separate scroll events along the top of report as a column, displaying both the total users and event counts. The different blogs I wanted to track are listed in the rows along the left side of the report.
If there are other custom exploration reports you would like to see, send us a message at [email protected]. We always love to hear from you!
Until then, happy reporting!
👋 Hey Sitecore Enthusiasts!
Sign up to our bi-weekly newsletter for a bite-sized curation of valuable insight from the Sitecore community.
What’s in it for you?
- Stay up-to-date with the latest Sitecore news
- New to Sitecore? Learn tips and tricks to help you navigate this powerful tool
- Sitecore pro? Expand your skill set and discover troubleshooting tips
- Browse open careers and opportunities
- Get a chance to be featured in upcoming editions
- Learn our secret handshake
- And more!


Meet Theresa Gutierrez
Sitecore Strategist | Sitecore Strategy MVP
⛳ 🌮👩🏻💻
Theresa, aka 'T', is a high-energy marketing creative with 8+ years of experience across various industries. She's passionate about delivering strategy and design, with a focus on Sitecore SaaS technologies. T is an avid golfer and loving dog momma, appeased only by delicious food and a bevy of something bubbly. Cheers!