Setting Up Storybook
Storybook has made getting setup and running relatively easy when it comes to XM Cloud Next.js projects. Simply by running the following command in the front-end directory of your XM Cloud project. This may still be sxastarter or maybe you’ve renamed it, but that’s where you’ll run:
npx storybook@latest init
Once complete you’ll of course need to do some post setup. To get Tailwind integrated you’ll want to utilize PostCSS. This will allow you to incorporate CSS styles within Storybook. I’m not going to go into great detail, but I wanted to point out a step that slipped my mind recently so I wanted to share it.
Install PostCSS Into Your Project
Let’s install PostCSS shall we? We only need it as part of development, so let’s ensure it’s loaded under devDependencies.
npm i postcss --save-dev
Additional Setup Steps For PostCSS And Tailwind
Don’t forget to add in the postcss.config.js file in the root of your project. It should look like the following if you’re incorporating Tailwind.
module.exports = {
    plugins: {
      tailwindcss: {},
      autoprefixer: {},
    },
  }
And then jump up to .storybook/main.js and update the add-on list to include the following. You’ll of course require the @storybook/addon-styling NPM package. This will ensure when Storybook runs that it’ll incorporate all your Tailwind settings, etc.
{
      name: '@storybook/addon-styling',
      options: {
        postCss: true,
      },
    },
Configuring A New Site In Netlify
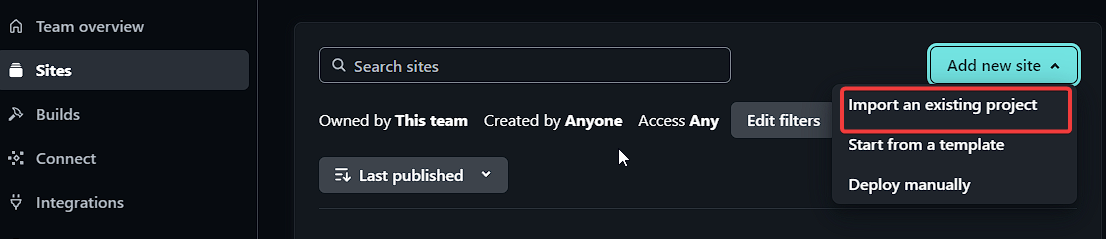
Now, let’s move into Netlify. Log into your Netlify account, select Sites in the left hand navigation and then click Add Site on the right hand side. From the dropdown that appears, select Import an existing project.
At the next page, select the repository you’re using to host your XM Cloud project.
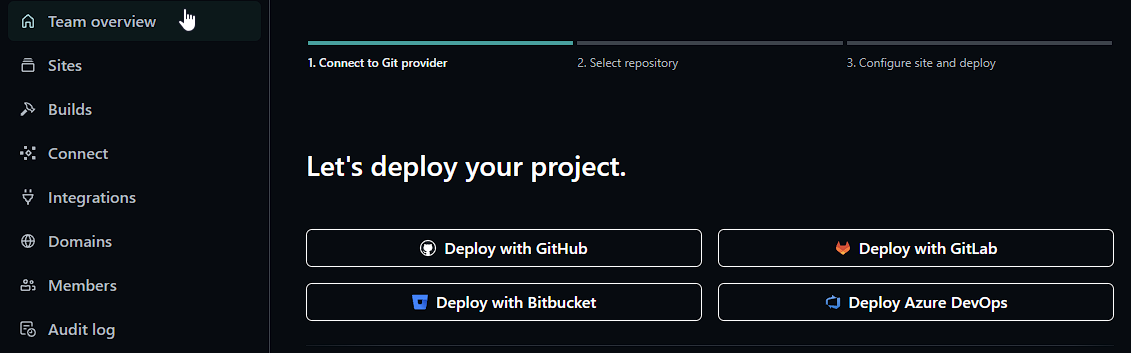
If not already connected, you will be prompted to authorize a connection to your repository followed by selecting the appropriate repo.
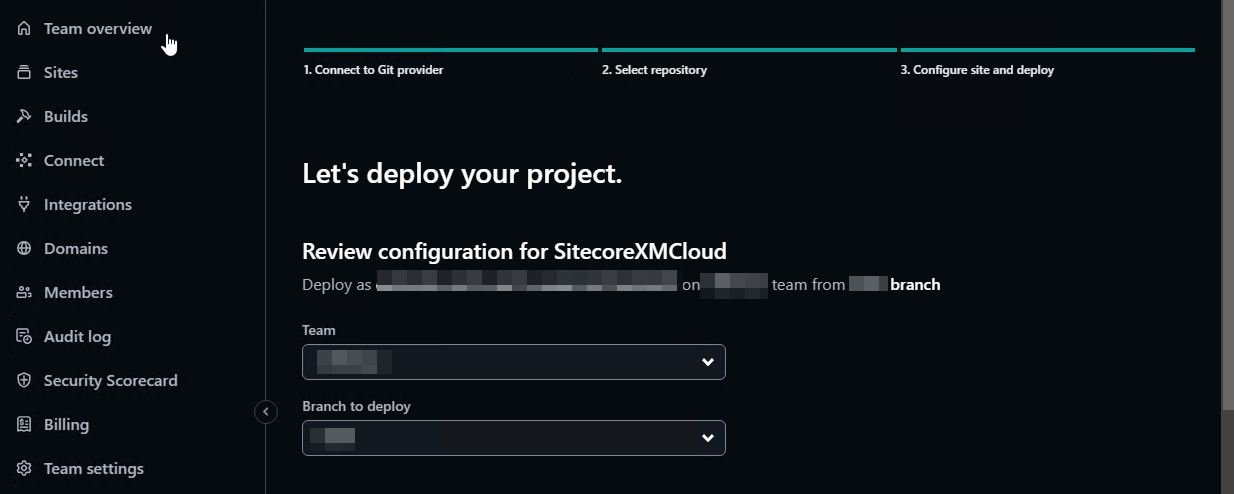
Once the repo has been selected we will then need to select which branch to use.
After that we will need to select the Build Settings for the implementation.
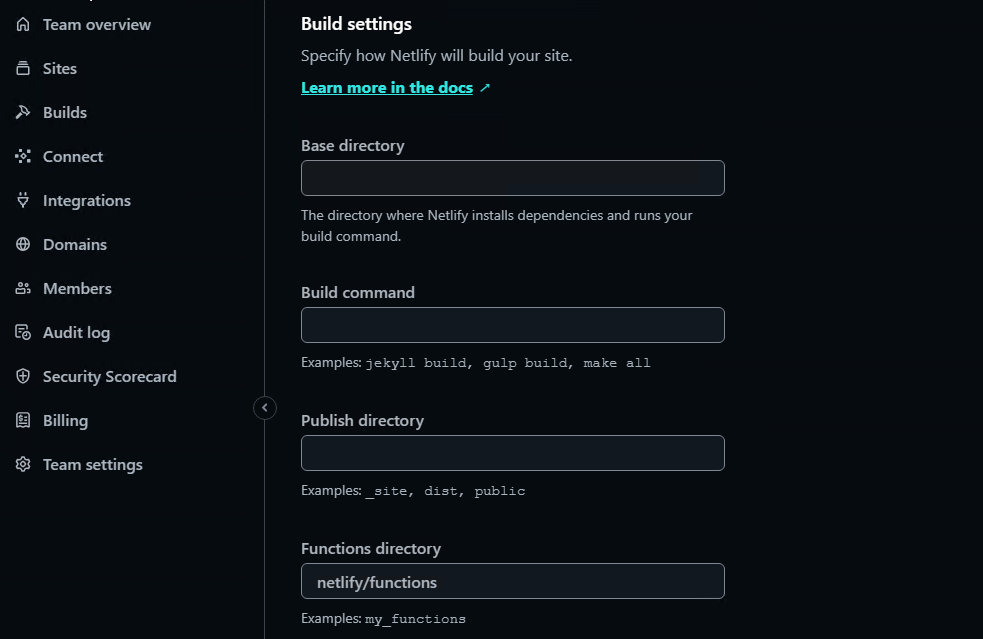
And this is where for at least Storybook, that some details need to be ironed out.
Base Directory
This is the path, from your repository that takes us to the front-end of your application. It might simply look like the following:
src/sxastarter
Build Command
By running bootstrap this will generate the appropriate temp/config.js file required to support Sitecore user context and such.
npm-run-all --serial bootstrap && npm run build-storybook
Publish Directory
src/sxastarter/storybook-static
Functions Directory
src/sxastarter/.next
Now, the next step is to Build and Deploy. But as you’ll see, that doesn’t exactly work. In fact, you’re more than likely to see the following error at the end of your build.
Specifically Plugin: "@netlify/plugin-nextjs" failed.
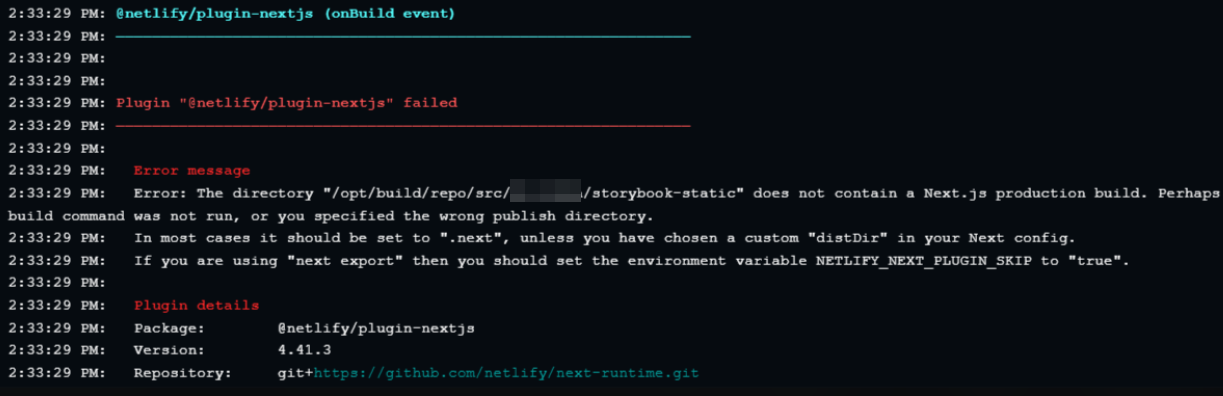
How NETLIFY_NEXT_PLUGIN_SKIP Saved My Storybook
The beauty is that solving this riddle is quite easy. You can simply resolve it by adding in an environmental variable named, NETLIFY_NEXT_PLUGIN_SKIP with a value of true.
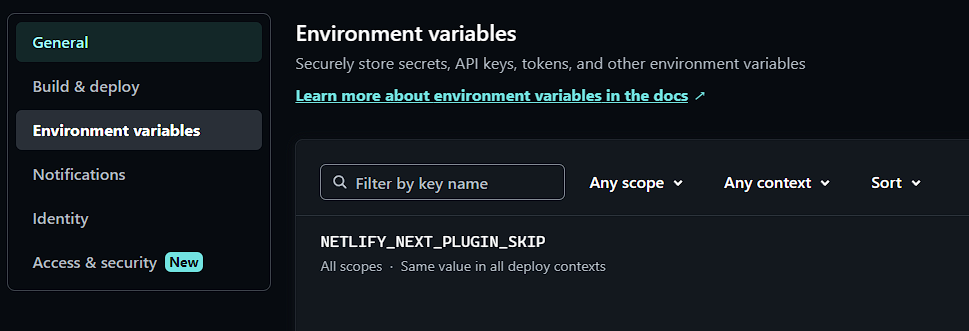
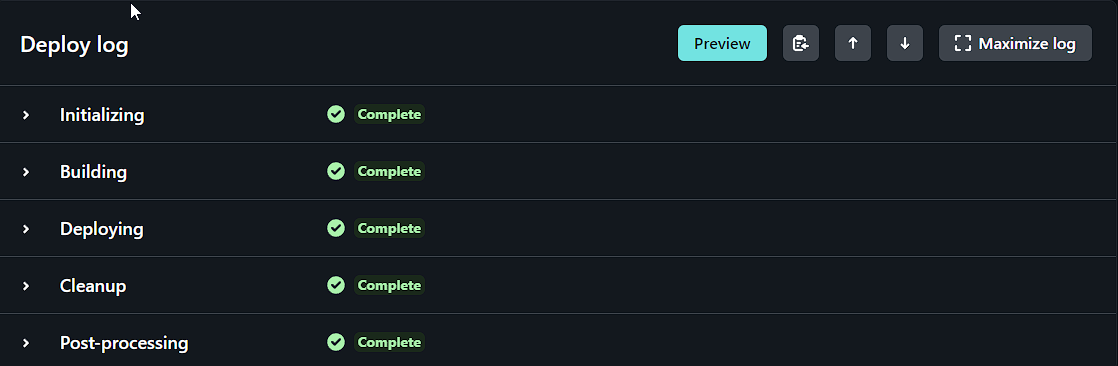
Once you’ve added in said environmental variable you will need to re-run the Build and Deploy step again and then at this point you should end up with all greens.

Meet David Austin
Development Team Lead | Sitecore Technology MVP x 3
📷🕹️👪
David is a decorated Development Team Lead with Sitecore Technology MVP and Coveo MVP awards, as well as Sitecore CDP & Personalize Certified. He's worked in IT for 25 years; everything ranging from Developer to Business Analyst to Group Lead helping manage everything from Intranet and Internet sites to facility management and application support. David is a dedicated family man who loves to spend time with his girls. He's also an avid photographer and loves to explore new places.