Install The Experience Edge Package
First things first. Let's install the Experience Edge package. Head on here to download the Experience Edge Connector for Sitecore XM. You will need Sitecore XM 10.2 and a valid subscription to use it.
Once you have downloaded and installed the package, it's time to configure it.
Configuring Experience Edge Connector
Firstly, add the Connection String. Open up App_Config/ConnectionStrings.config and add in the following line:
<add name="experienceedge" connectionString="url=AUTHORITY_URL_HERE;client_id=CLIENT_ID_HERE;client_secret=CLIENT_SECRET_HERE;audience=AUDIENCE_HERE;delivery_endpoint=DELIVERY_ENDPOINT_HERE; cdn_uri=CDN_URI_HERE;media_prefix=MEDIA_PREFIX_HERE"/>
You should receive this connection string as part of your subscription.
It's important to know that the Experience Edge Connector was not available at the same time as the release of Sitecore Headless 20.0, so you may have originally downloaded the version for 19.0. And while both are compatible with 10.2, the installation process is significantly different. And I'd say, improved for version 20.0.
In version 19.0, Experience Edge used the web publishing target. In version 20.0, it has its own publishing target and appropriate "fake" database to accommodate it. This gives you a bit more control over what is published to your web db and what is available in Experience Edge. If all your content is public, this might be less of a concern.
We're going to cover the installation of version 20.0.
Language Fallback Support During Publish
To enable language fallback during the publishing process, you need to enable it. Create a patch file that sets these values to true if you wish this to be supported. Same process for 19.0.
<setting name="ExperienceEdge.EnableItemLanguageFallback" value="false"/>
<setting name="ExperienceEdge.EnableFieldLanguageFallback" value="false"/>
Create The Publishing Target
Open up Content Editor and navigate to /System/Publishing targets. Create an item, name it whatever you want, and in the Target database field, enter the value you used in the ConnectionStrings file. If you used the default, this value will be experienceedge.
Go Ahead, Publish
Once you're all configured, I'd recommend doing a restart of your instance, but this is not formally required. Once you perform a publish of the site, you can go ahead and perform queries and access media items.
Let's validate our content is in Experience Edge. Go to https://edge.sitecorecloud.io/api/graphql/ide. Once there, you should see something that resembles the following:
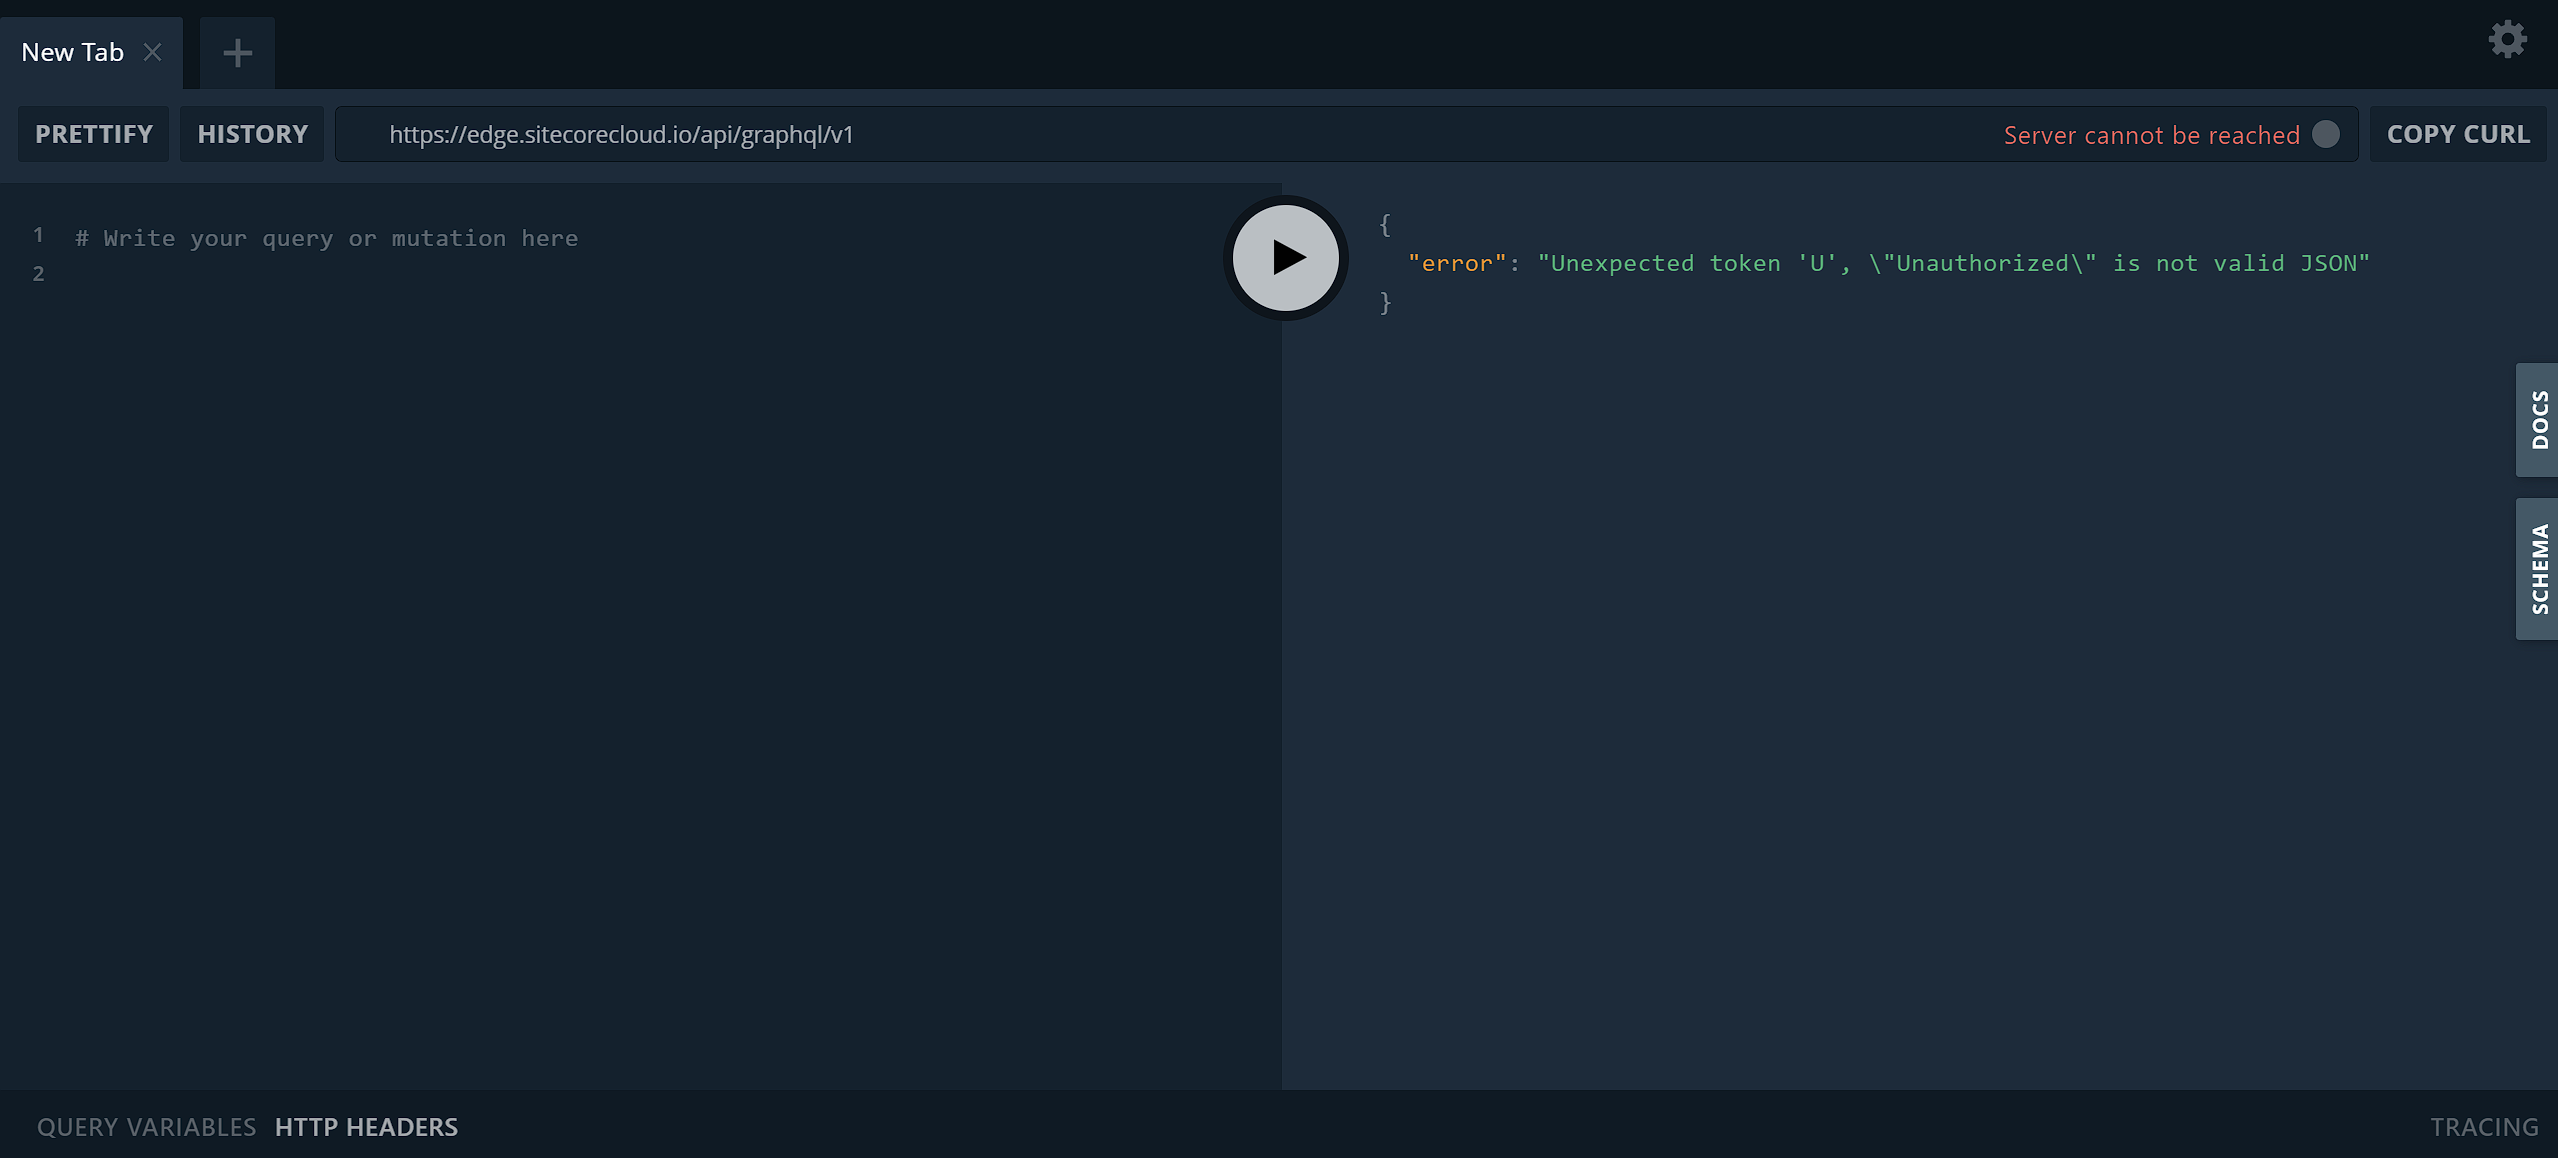
Now before you can use it, you'll need an Access Token. You can retrieve that using the Client ID and Client Secret you would have received as part of your subscription.
curl --request POST --url "https://one-sc-production.eu.auth0.com/oauth/token" --header "content-type:
application/x-www-form-urlencoded" --data grant_type=client_credentials --data client_id=<clientid> --data
client_secret=<clientsecret> --data audience=https://delivery.sitecore.cloud/<tenant-id>
Once you've retrieved the access token, head back to the IDE and click on HTTP HEADERS in the bottom left.
You'll need to add the X-GQL-Token header value in the format shown below.
{
    "X-GQL-Token": "INSERT ACCESS TOKEN HERE",
}
After all that is done, you can perform a query to test on the left side. Just use a simple one that retrieves the home item.
query {
    layout(site: "ENTER SITE NAME HERE", routePath: "/", language: "en") {
        item {
        rendered
        }
    }
}
You should see something that starts similar to what's below. If not, review your credentials and try again or revisit your publishing steps to ensure your content has been published.
{
"data": {
    "layout": {
        "item": {
            "rendered": {
                "sitecore": {
                    "context": {
                    "pageEditing": false,
                    "site": {
                        "name": "SITE NAME HERE"
                    },
                    "pageState": "normal",
                    "language": "en",
                    "itemPath": "/"
                },
            .......
You've now configured and verified you have Experience Edge set-up and configured properly for your environment.
👋 Hey Sitecore Enthusiasts!
Sign up to our bi-weekly newsletter for a bite-sized curation of valuable insight from the Sitecore community.
What’s in it for you?
- Stay up-to-date with the latest Sitecore news
- New to Sitecore? Learn tips and tricks to help you navigate this powerful tool
- Sitecore pro? Expand your skill set and discover troubleshooting tips
- Browse open careers and opportunities
- Get a chance to be featured in upcoming editions
- Learn our secret handshake
- And more!


Meet David Austin
Development Team Lead | Sitecore Technology MVP x 3
📷🕹️👪
David is a decorated Development Team Lead with Sitecore Technology MVP and Coveo MVP awards, as well as Sitecore CDP & Personalize Certified. He's worked in IT for 25 years; everything ranging from Developer to Business Analyst to Group Lead helping manage everything from Intranet and Internet sites to facility management and application support. David is a dedicated family man who loves to spend time with his girls. He's also an avid photographer and loves to explore new places.