How To Get Started With Sitecore JSS CLI
This blog will run through how to get started with Sitecore JSS CLI.
Installing Sitecore JSS CLI
Make sure you have Node installed and run the command: npm install @sitecore-jss/sitecore-jss-cli@version-number replace version-number with the jss version you got in the previous step for example: npm install @sitecore-jss/[email protected].
To verify the installation worked, type jss -version and you will see your version number installed either locally or globally depending on how you chose to install the jss module.
Create Your JSS Application
For this example we will be creating a React template to get started, there are multiple application templates available but this post will focus on React. Type the command jss create appname react replace appname with what you would like your application to be named.
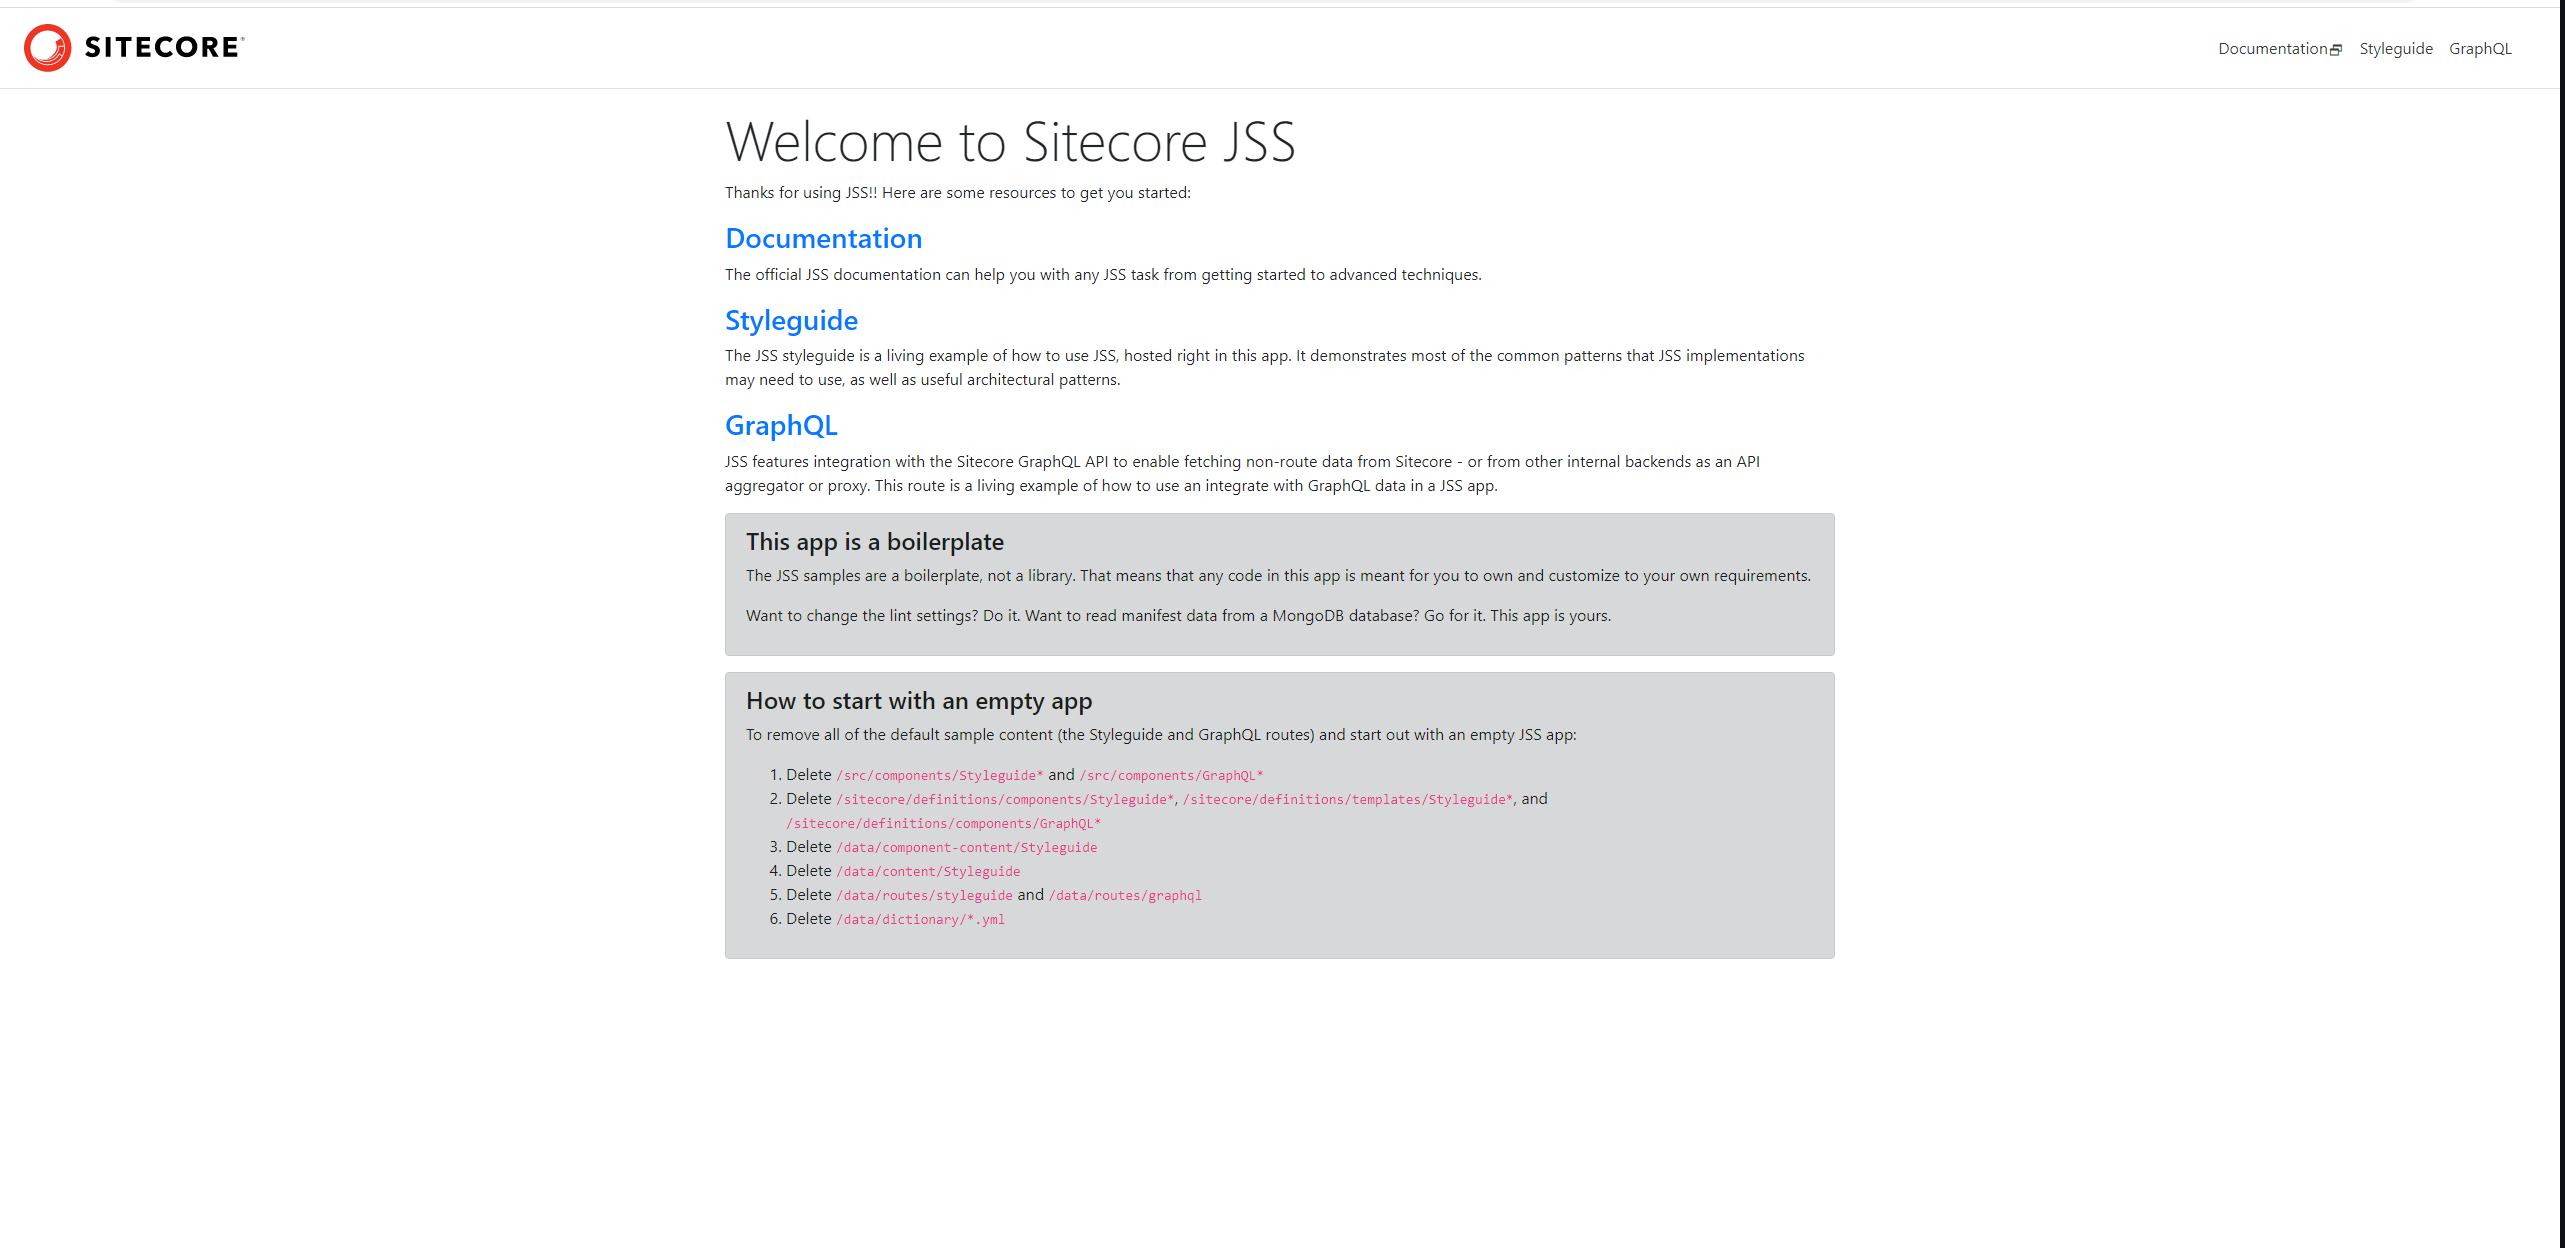
This will create a react app that you can run in disconnected mode using jss start.
Creating Your First JSS Component
JSS apps come coupled with a scaffolding command to help you create components, run the command jss scaffold TestComponent with 'TestComponent' being whatever you want your first component to be.
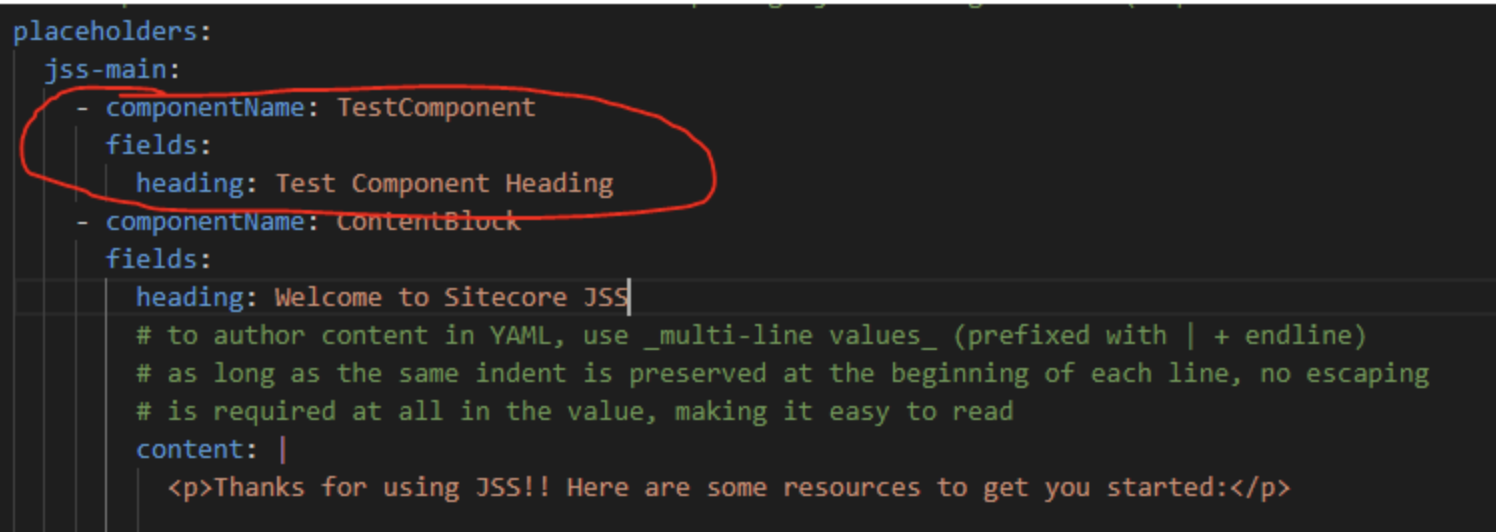
To add your component to the page we will need to add it to the route, open up en.yml under data/routes look for the line that says jss-main: and under that line add the following code:
You will be able to see your newly scaffolded component added to your local webpage to edit the component you can find the component under /src/components/ and begin to edit the html there.
Adding Fields To Your Component
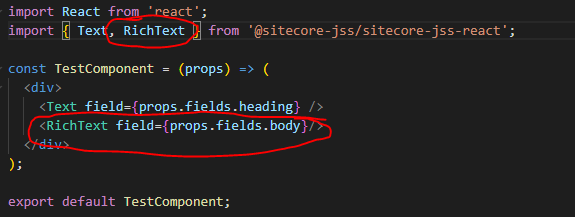
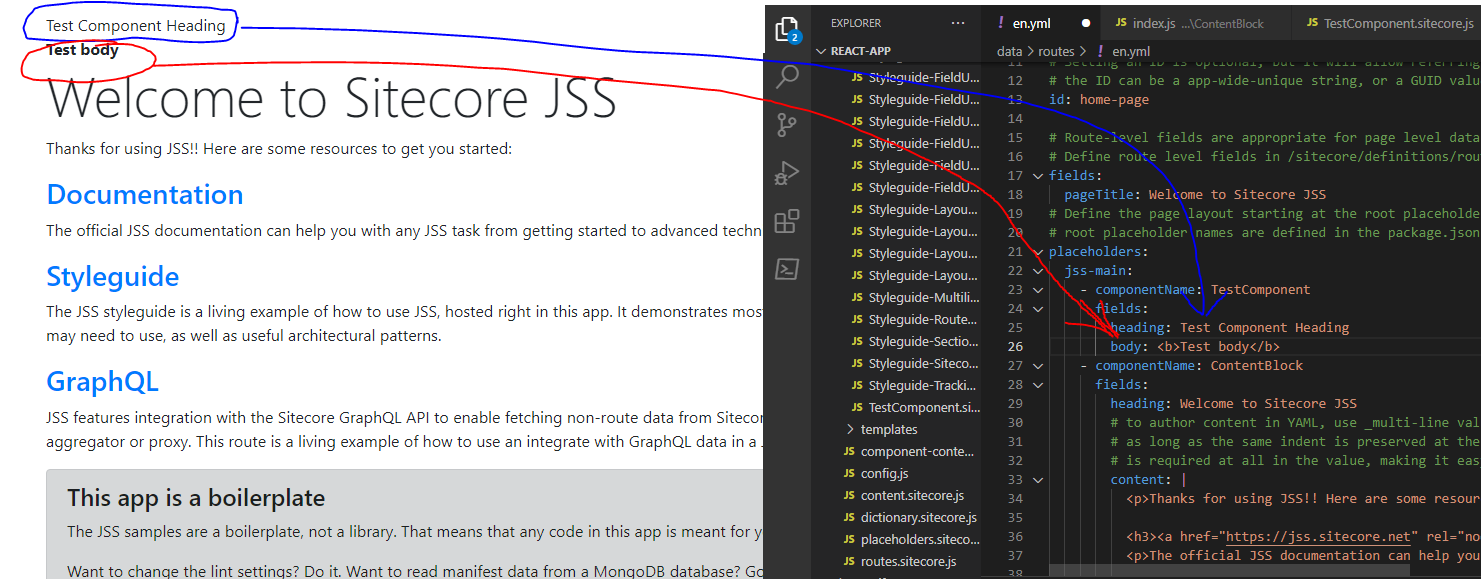
If you would like to add more fields to your newly created component navigate to /sitecore/definitions/components/ComponentName, under the 'fields' nodes you can add additional fields like so:

Navigate back to the render method of your component and add the new field:
Open up en.yml and add the new field created in the previous steps.
Troubleshooting
Note that version 20.0 of Sitecore JSS CLI deprecates the above steps, if you wish to use this implementation we recommend to install version 19.0.0 of Sitecore JSS CLI using the command npm install -g @sitecore-jss/[email protected] and use jss create react-app react --branch release/13.0.0 replacing 13.0.0 with whichever version that is compatible with your Sitecore version. For compatibility, please check here for Sitecore versions 10 and below, or here for newer Sitecore versions.
Closing
This is just to get started with Sitecore JSS CLI, in future blog posts, we will look at implementing the above into a proper Sitecore application, stay tuned.
👋 Hey Sitecore Enthusiasts!
Sign up to our bi-weekly newsletter for a bite-sized curation of valuable insight from the Sitecore community.
What’s in it for you?
- Stay up-to-date with the latest Sitecore news
- New to Sitecore? Learn tips and tricks to help you navigate this powerful tool
- Sitecore pro? Expand your skill set and discover troubleshooting tips
- Browse open careers and opportunities
- Get a chance to be featured in upcoming editions
- Learn our secret handshake
- And more!
