Create A SXA Component Via Cloning
Creating a Sitecore SXA component from scratch isn't difficult, it's just somewhat a tedious step-by-step process that if you missed a step, can result in unnecessary time determining the reason. For that reason, more often than not, we choose to create a component through the use of cloning an existing SXA component.
Thankfully, Sitecore has realized this and even offers you the ability to do it out-of-the-box as of Sitecore 10.
Step-by-Step
Once you have an idea of what you're looking to clone the first thing to do is determine if there are any existing components that are reasonably similar. This might be due to similar fields used or if there is a JavaScript requirement, e.g. a carousel or tabs.
For this article, we're going to create a simple "card" component and for us, the Promo component is ideal.
Create a Module (if needed)
The next thing you'll want to determine is what module it will sit within. If you are looking to have a new module for your custom components to live, you will need to go through the process of creating said Module.
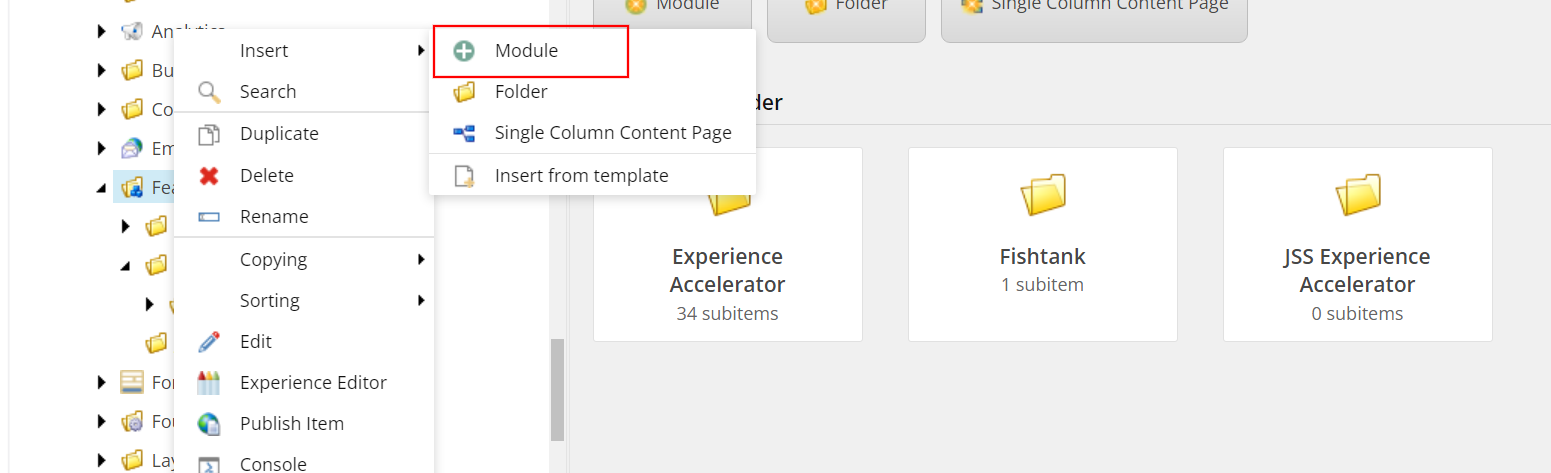
If you need to create one, head on down to System/Settings/Feature create yourself a new folder, we called ours Fishtank, and then right-click on the Feature folder. In the pop-up menu, select Insert > Module.
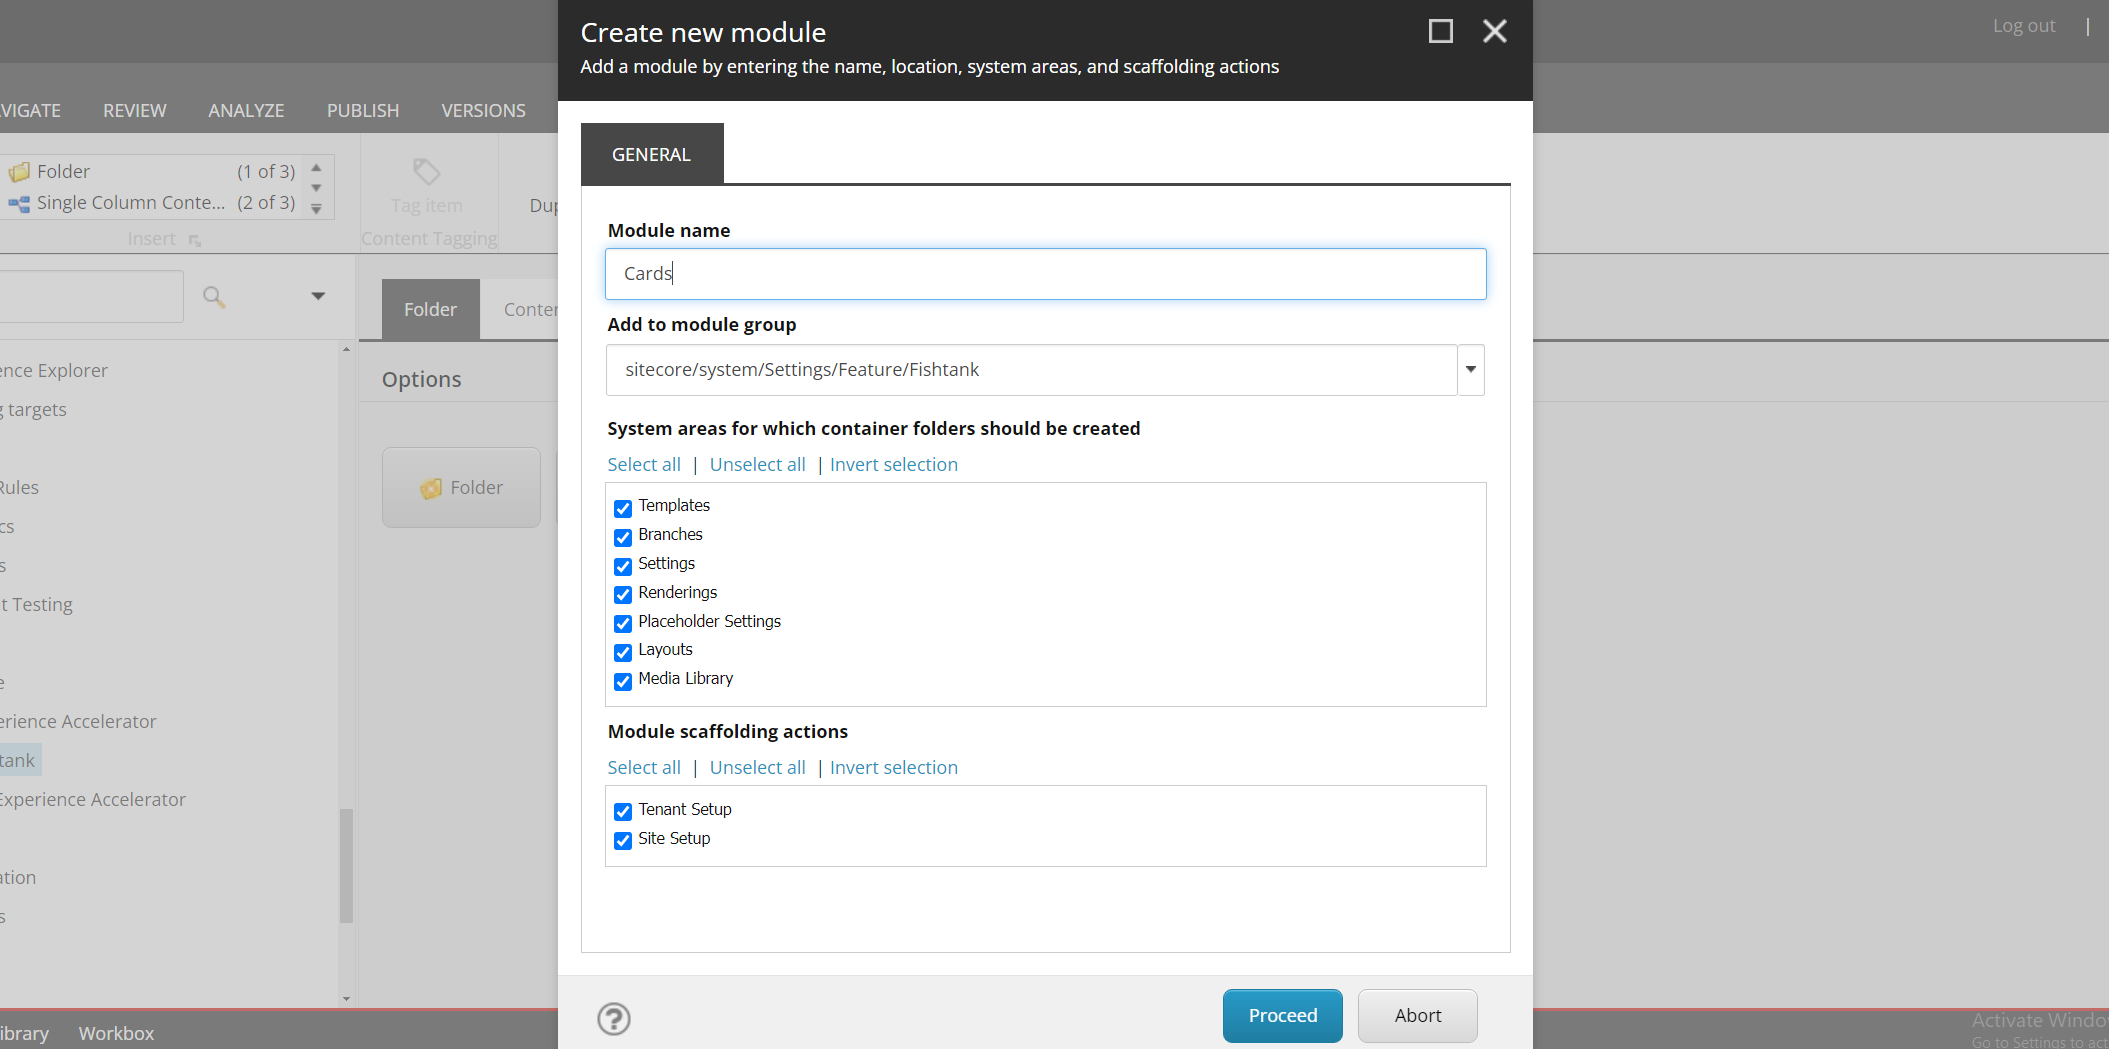
In the pop-up modal, give your module a name and a location (the folder you just created).
Once it has run, all the appropriate sub-folders and items will be created for you.
Clone the Rendering
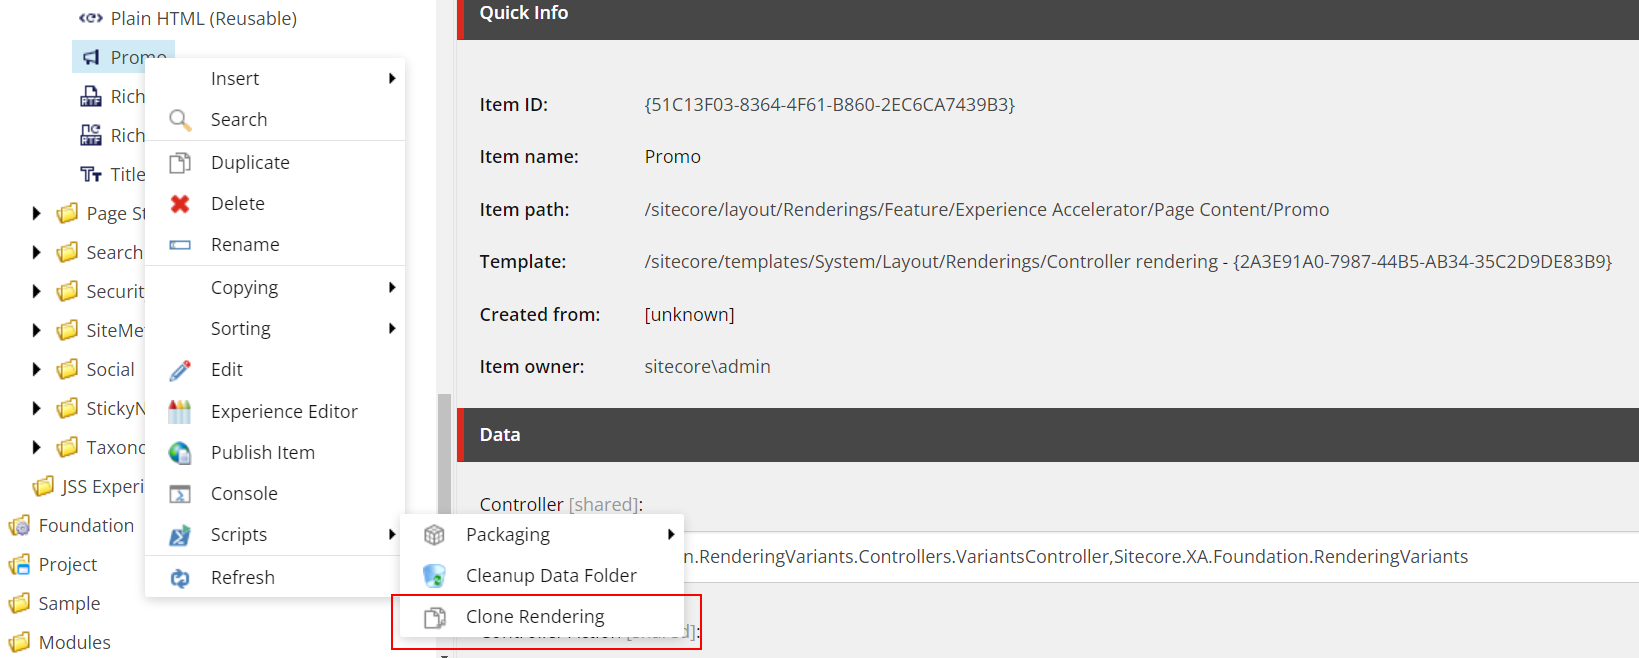
Locate the rendering of the component, most likely located within /Layout/Renderings/Features/Experience Accelerator and then under the appropriate group, ours being Page Content.
One located, right-click the component's rendering and select Clone Rendering.
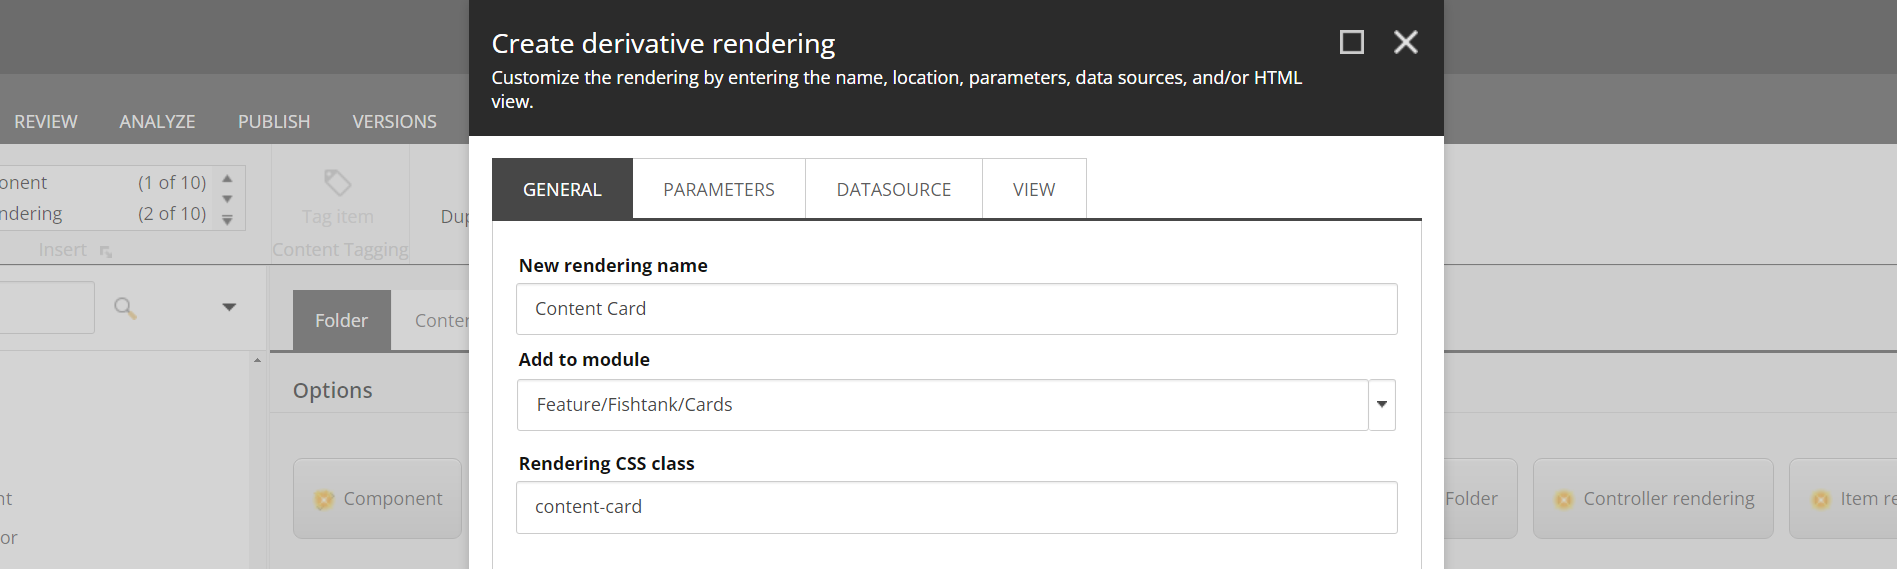
You're going to be presented with a modal called Create derivative rendering. Be sure to give your give your component a meaningful name.
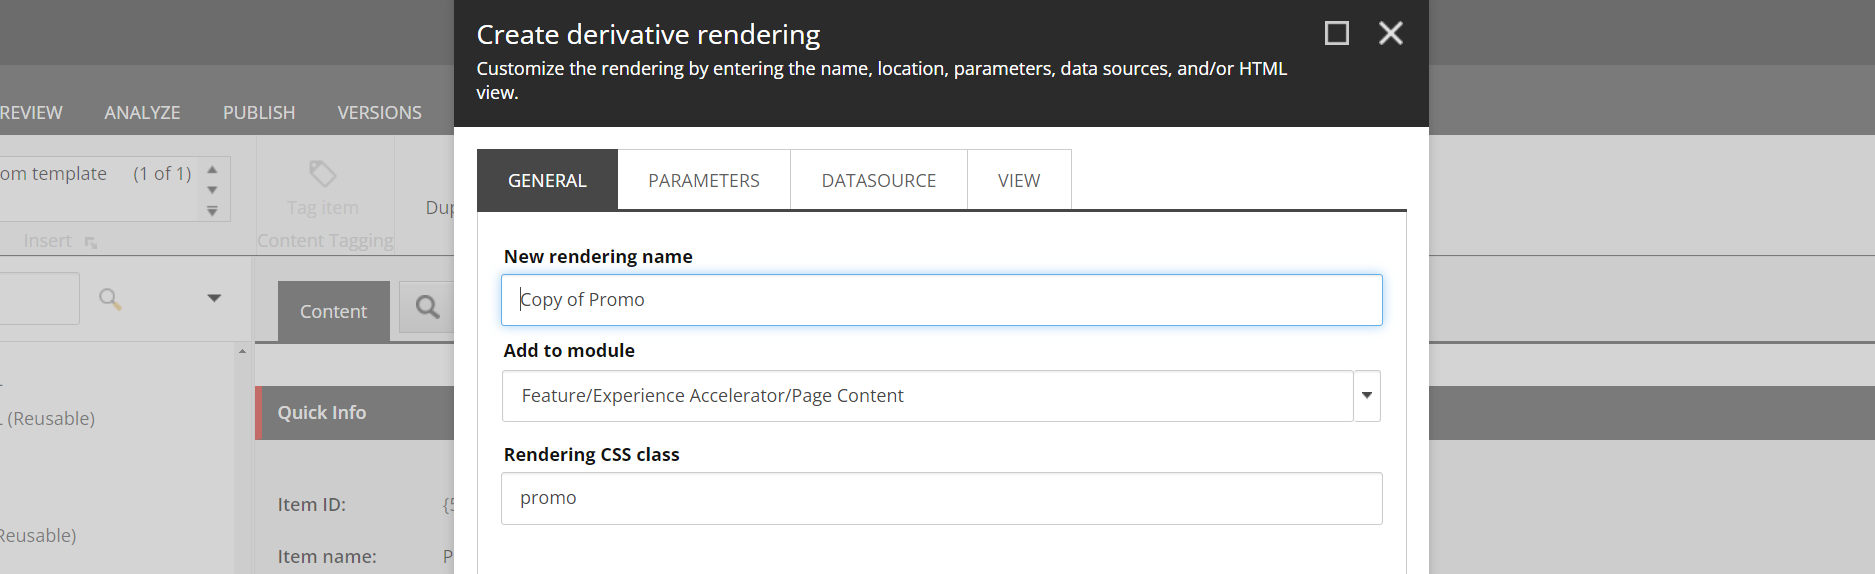
You'll see we've renamed our clone to be called "Content Card" and we've put it under a rendering folder location Feature/Fishtank/Cards.
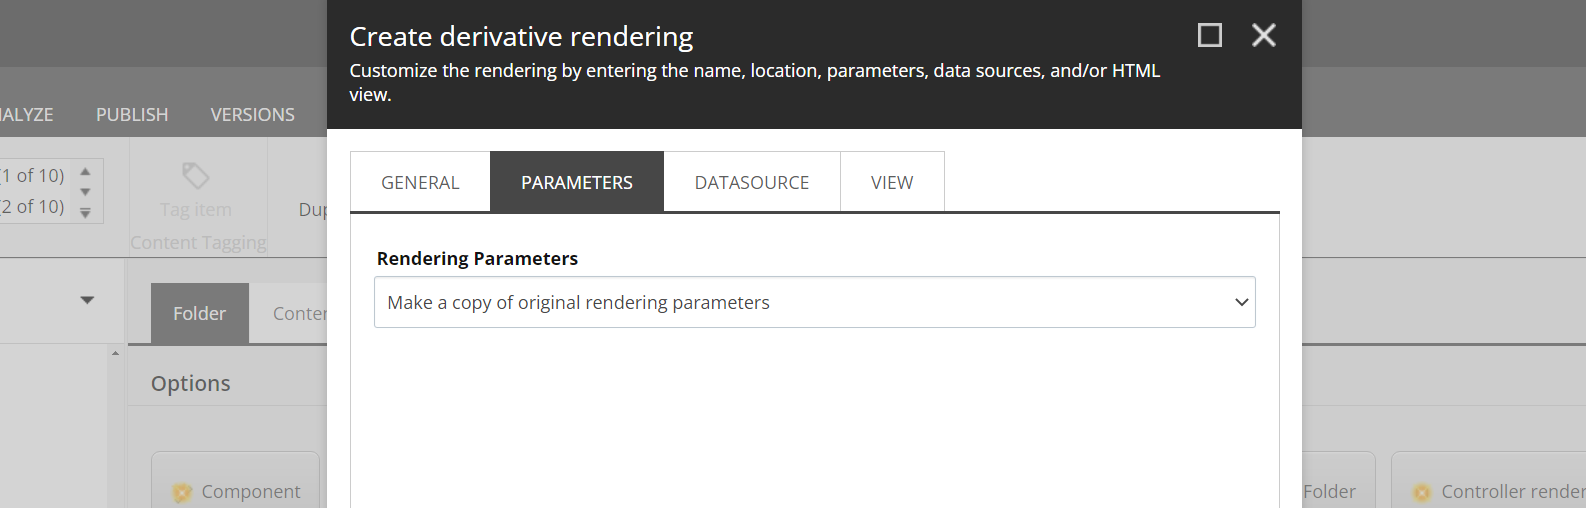
On the second tab labeled Parameters you'll want to select from the drop-down the option called Make a copy of the original rendering parameters.
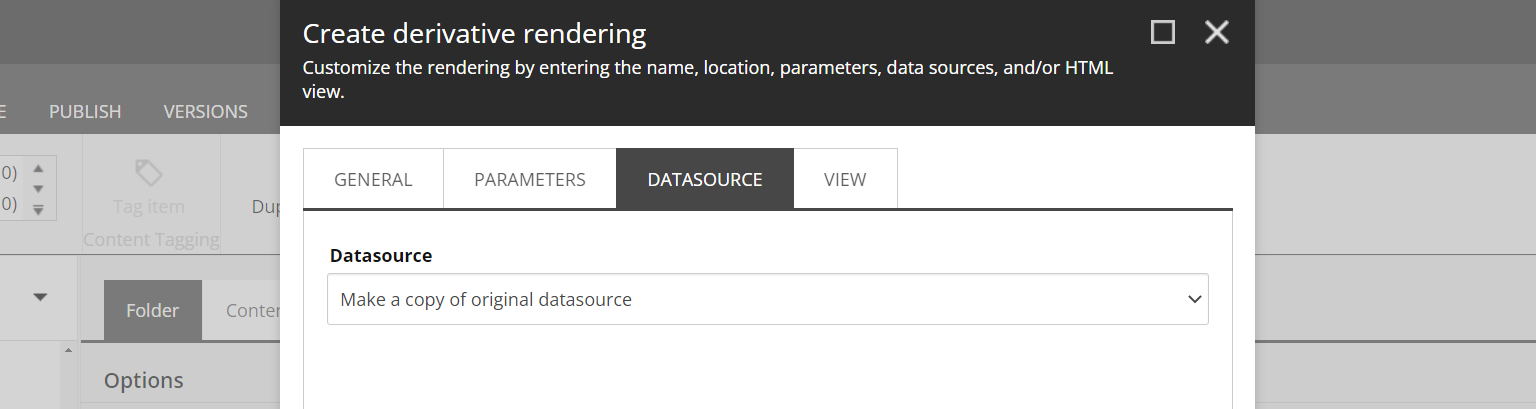
On the third tab, titled Datasource, you will want to select Make a copy of original datasource.
On the last tab, titled View, my preference is to choose Select existing MVC view file (specify path below). This option does require you to go into the Views folder and duplicate the component's view file you are going to use, and put it in the preferred location of your choosing. You will then likely need to ensure this view file is copied back into your source control.

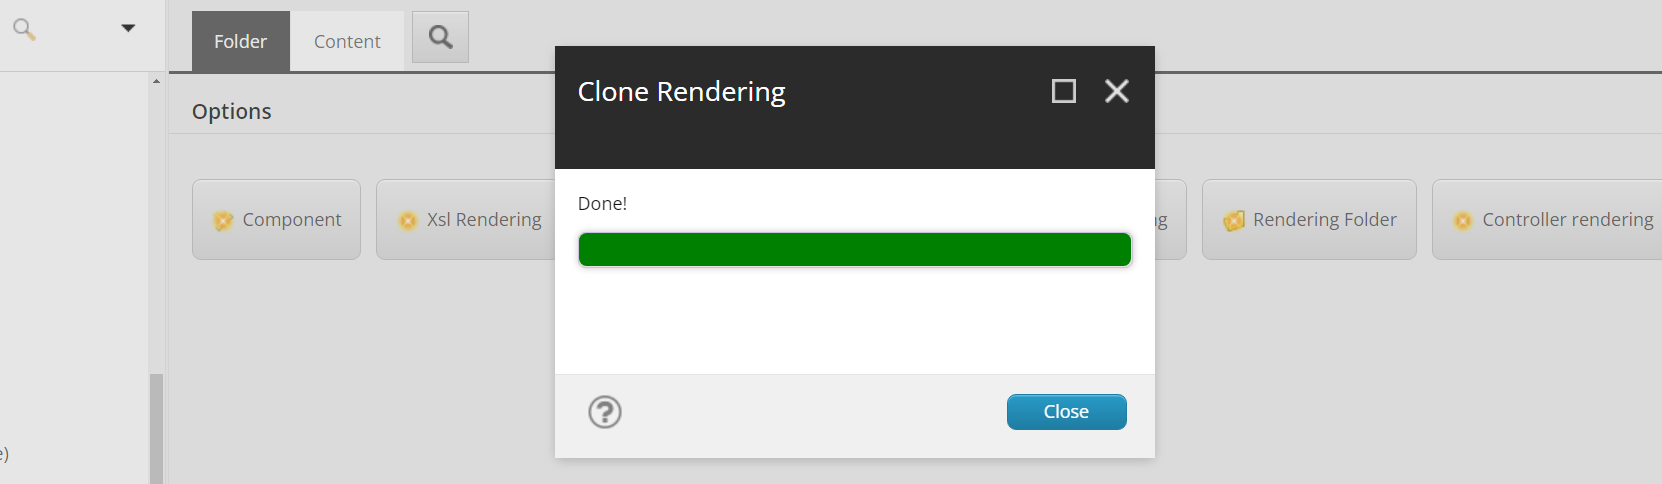
If all goes well, once you click Proceed you should shortly there-after see the following message.
After the component is created from cloning, the first step will be to go to the template and update the fields as you'll see, in our case, they're all related to the original Promo component.
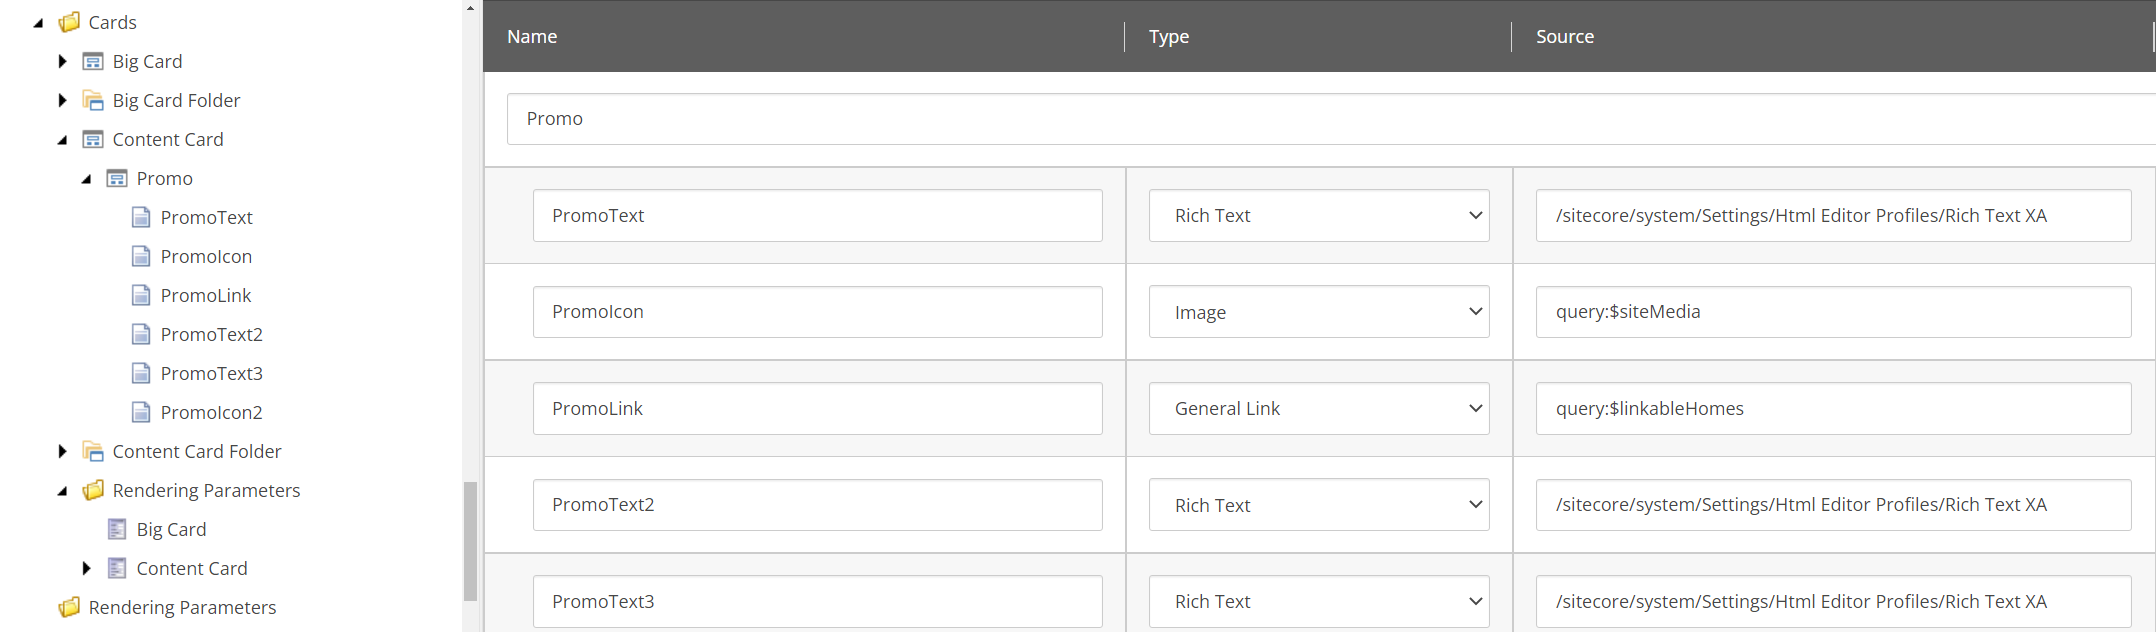
Once the clone is complete, you can continue on as you would normally, updating the rendering variants, data folder setup, etc.

Meet David Austin
Development Team Lead | Sitecore Technology MVP x 3
📷🕹️👪
David is a decorated Development Team Lead with Sitecore Technology MVP and Coveo MVP awards, as well as Sitecore CDP & Personalize Certified. He's worked in IT for 25 years; everything ranging from Developer to Business Analyst to Group Lead helping manage everything from Intranet and Internet sites to facility management and application support. David is a dedicated family man who loves to spend time with his girls. He's also an avid photographer and loves to explore new places.